
Introduction
Use this guide to replace a cracked or broken screen on a US version Samsung A03s.
For this guide we will be using a refurbished screen with the frame preinstalled.
Before beginning this repair, be sure to inspect your new screen to see what small components come installed. Some steps in this guide can be skipped if your using a screen with components preinstalled.
Note: In this guide we will be transferring components to a new screen and frame assembly. If your screen does not come with the frame preinstalled then this procedure will not work.
Note: The US version of this phone is slightly different than the international version. In general, you can still follow this guide, but some components may look slightly different.
Note: For this repair we will be removing the battery and transferring it to the new screen assembly. If your battery is swollen, take appropriate precautions. Before opening your phone, discharge your battery to 25% or lower. The battery could catch fire and/or explode if punctured.
-
-
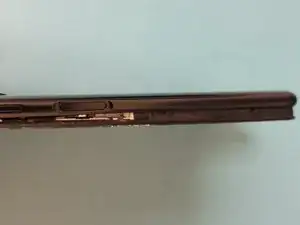
This cover has a series of plastic clips that attach it to the frame. Use your opening tool to gently pry the plastic back cover off.
-
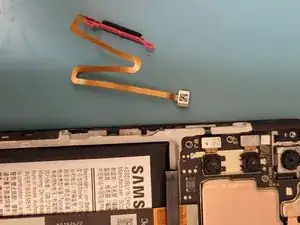
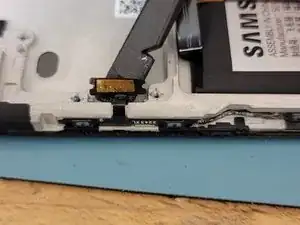
Be careful inserting your opening tool near the power button. This button contains a fingerprint sensor with a ribbon cable that’s attached to the back cover. Do not cut this cable while removing the back cover.
-
-
-
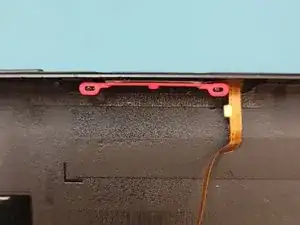
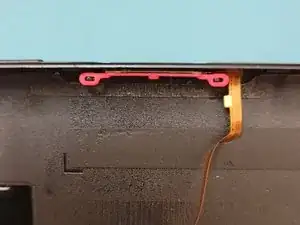
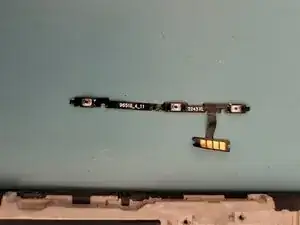
2 plastic notches on the back cover hold the power button in place. Disconnect the power button from the back cover.
-
-
-
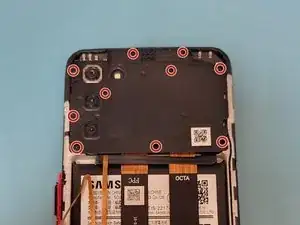
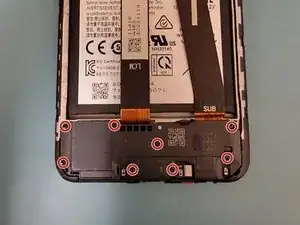
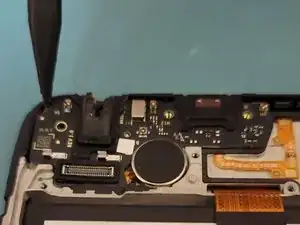
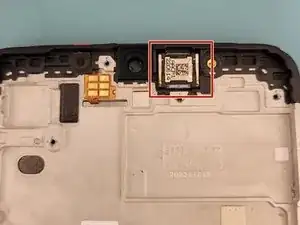
18 screws secure the camera lens bracket and loud speaker. All screws are the same size. Use a Phillips screwdriver to remove the 18 screws securing the camera lens bracket and loud speaker.
-
-
-
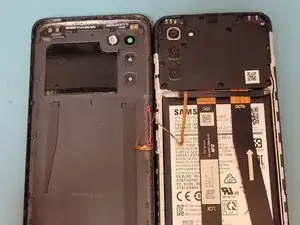
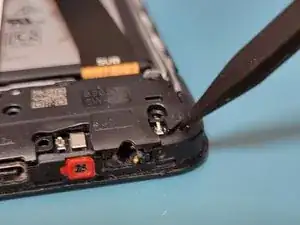
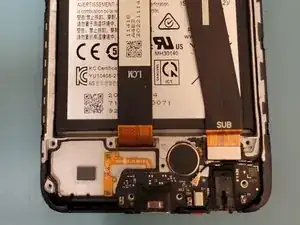
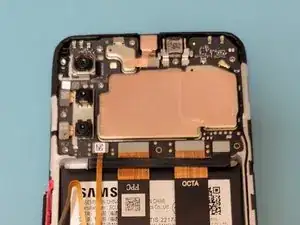
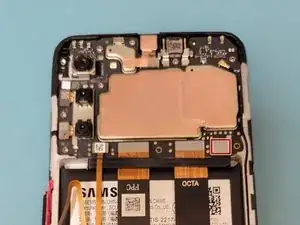
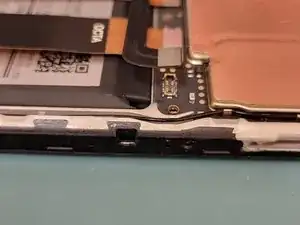
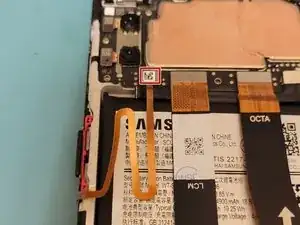
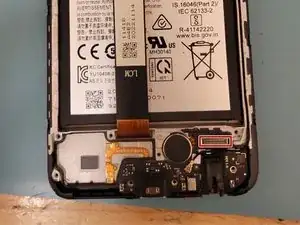
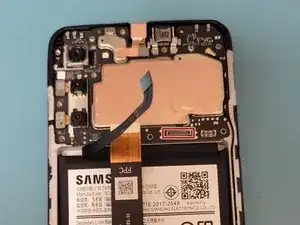
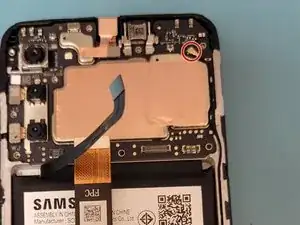
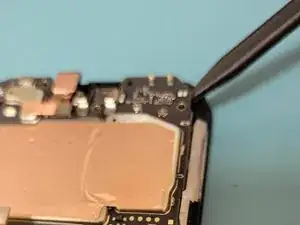
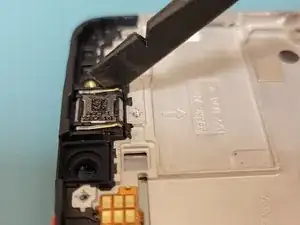
Use tweezers to disconnect and remove the black antenna cable on the mainboard and charging board
-
-
-
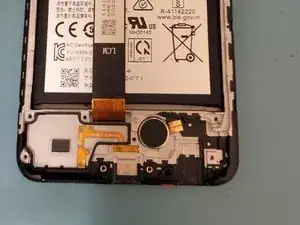
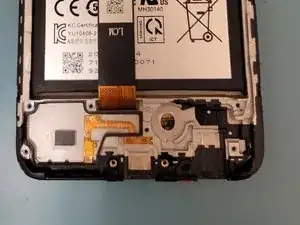
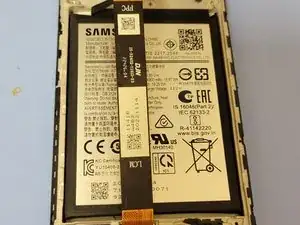
Use heat and isopropyl alcohol to remove the battery.
-
Be careful to not puncture the battery while removing it.
-
There's a lot of adhesive under this battery and it can be tricky to remove. You can slide a thin plastic card underneath the battery to help break the adhesive.
-


To reassemble your device, follow these instructions in reverse order.