Introduction
This is a prerequisite guide only! This guide is meant to be used with other guides.
Follow this guide to remove and replace the display assembly for your Samsung Galaxy Note5. The display assembly includes the front glass and the OLED panel.
This guide instructs you to replace only the display while leaving the original frame, logic board, and battery in place. However, some replacement screens for this phone come pre-installed in a new frame (a.k.a. chassis), which requires a very different procedure—transplanting your phone's internals and installing a new battery. Make sure you have the correct part before starting this guide.
Note: If the frame is damaged or bent, it's important to replace it, or else the new screen may not mount correctly and can suffer damage from uneven pressure.
Warning: The process of separating the display from the frame usually destroys the display, so don't follow this guide unless you intend to replace the display.
-
-
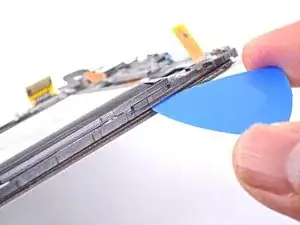
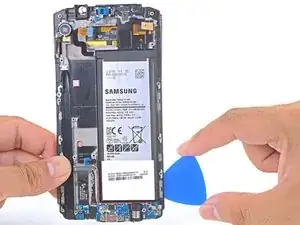
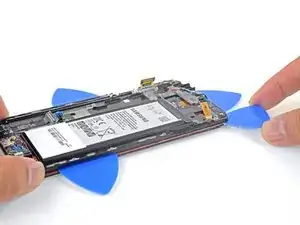
Insert an opening pick between the plastic frame and the display assembly on the same edge you just heated.
-
-
-
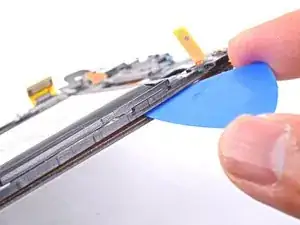
Slide the opening pick down the battery-side of the phone, separating the adhesive.
-
Stop when you get to the bottom of the battery to avoid damaging delicate capacitive buttons at the bottom of the display.
-
Go slowly so that the tip doesn't slip out of the seam. If sliding becomes difficult, reheat and reapply the iOpener.
-
Leave the pick in place and grab a second pick as you proceed to the next step. Leaving the pick inserted can help prevent the glue you just separated from re-adhering.
-
-
-
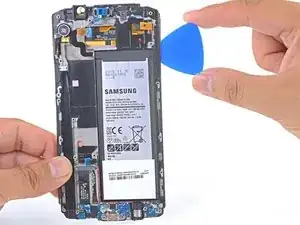
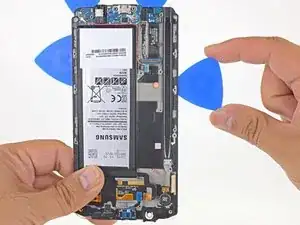
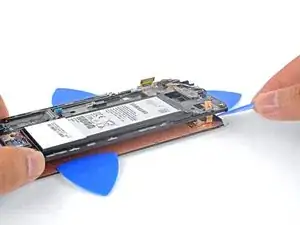
Heat an iOpener and apply it to the non-battery-edge of the phone.
-
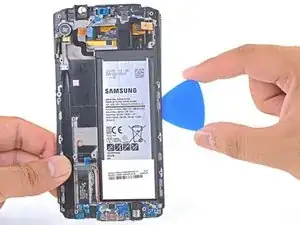
Insert a pick no more than 0.25 inches (~6 mm) into the bottom edge of the phone.
-
Carefully slide the pick along the edge, starting at the headphone jack, until you reach just past the charging port.
-
-
-
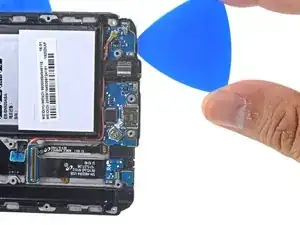
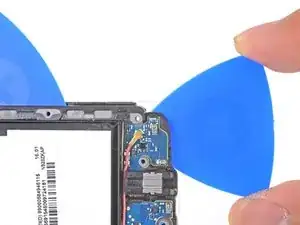
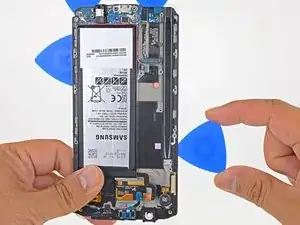
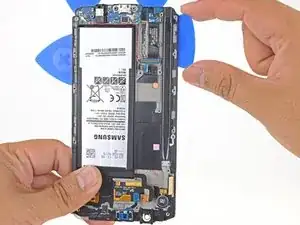
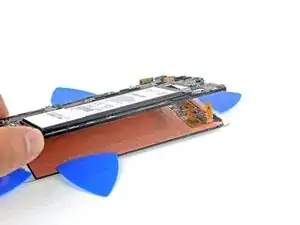
Slide an opening pick from the battery edge battery edge of the phone along the edge of the phone to safely cut over the capacitive button.
-
Leave the pick in place as you proceed to the next button.
-
-
-
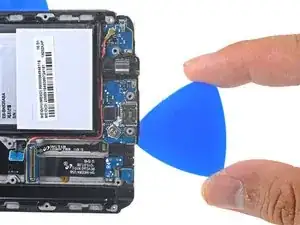
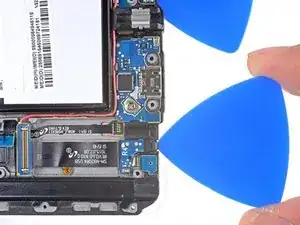
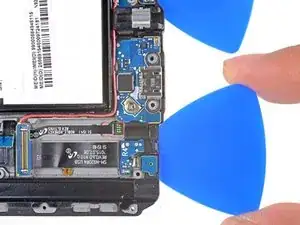
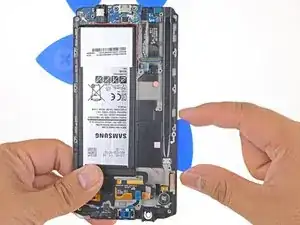
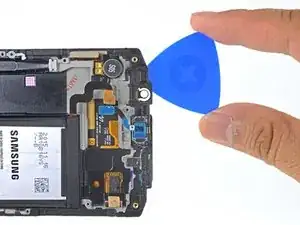
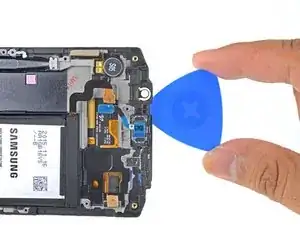
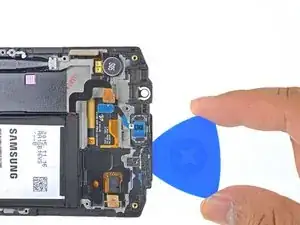
Insert an opening pick under the bottom edge of the display directly below the daughterboard ribbon cable to cut over the other capacitive button.
-
Leave the pick in place.
-
-
-
Heat an iOpener and apply it to the non-battery-edge of the phone.
-
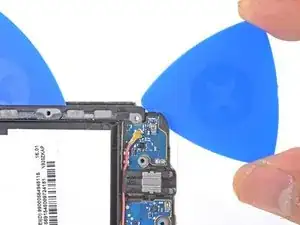
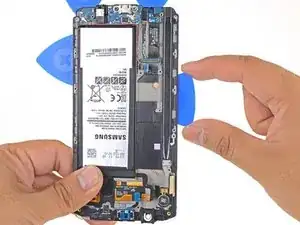
Slide an opening pick down the non-battery-edge of the phone, separating the adhesive.
-
-
-
The non-battery-edge contains a wider swath of adhesive than the other sides. Insert the opening pick as deep as you can to cut through all of it.
-
Leave the pick in place to prevent the adhesive from resealing, and grab another pick as you proceed to the next step.
-
-
-
Heat an iOpener and apply it to the non-battery-edge of the phone.
-
Cut along the top edge of the phone, making sure not to insert the pick more than 0.25 inches (~6 mm) to avoid damaging the front-facing sensors.
-
-
-
Use the opening picks to cut any remaining adhesive holding the display to the frame.
-
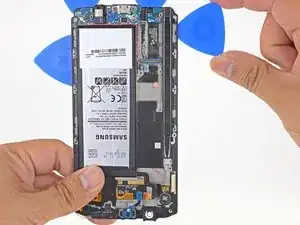
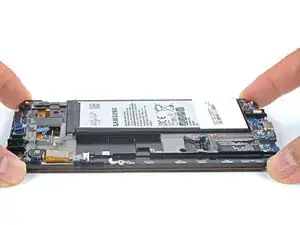
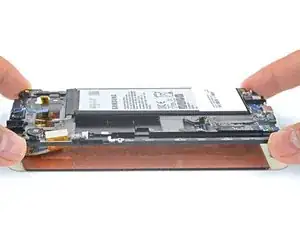
Swing the frame away from the display assembly, threading the touchscreen connector through the frame.
-
-
-
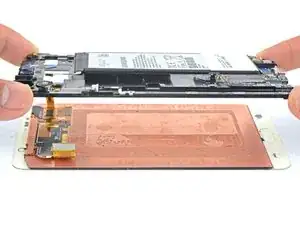
Lift the frame away from the display assembly, threading the display connector through the frame.
-
Remove the frame.
-
-
-
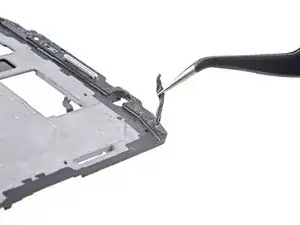
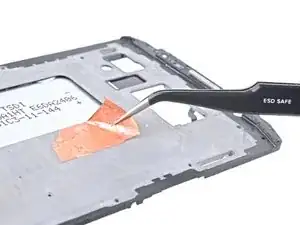
After removing all traces of glue and glass from the frame, clean the adhesion areas with 90% (or higher) isopropyl alcohol and a lint-free cloth or coffee filter. Swipe in one direction only, not back and forth.
-


Compare your new replacement part to the original part. You may need to transfer remaining components or remove adhesive backings from the new part before installing.
To reassemble your device, follow the above steps in reverse order. Take your e-waste to an R2 or e-Stewards certified recycler.
Repair didn’t go as planned? Check out our Answers community for troubleshooting help.