Introduction
-
-
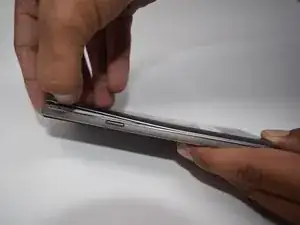
Insert an opening tool or fingernail into the tab on the power button side of the phone.
-
Lift on the tab to pry the back cover off of the phone.
-
Continue to pry off the back all around the edges of the phone until the entire cover is fully removed.
-
-
-
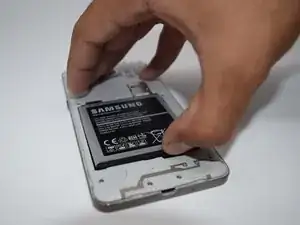
To remove the battery, lift up on the thumb tab located on the bottom right corner of battery bay.
-
-
-
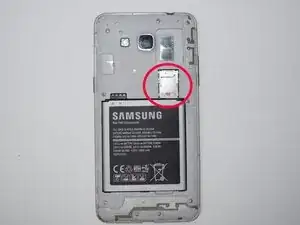
To remove the SD card and Sim card, look above the battery bay and slide the card out.
-
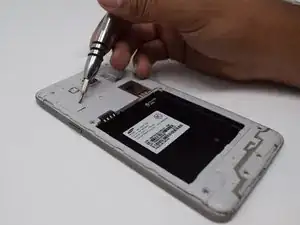
Insert an opening tool to lift up and the plastic plate that covers the LCD ribbon cable and remove it.
-
-
-
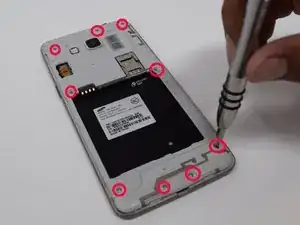
Use a heat gun or a heating device to lightly heat the edges of the screen on the phone
-
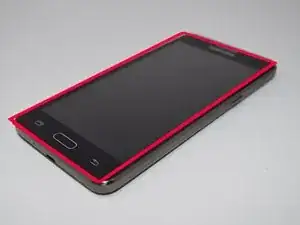
Insert an opening tool between the screen and plastic bezel, then apply pressure to separate.
-
-
-
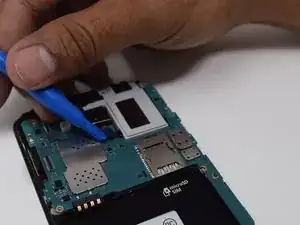
Use a plastic spudger to disconnect the ribbon cable from the loudspeaker unit.
-
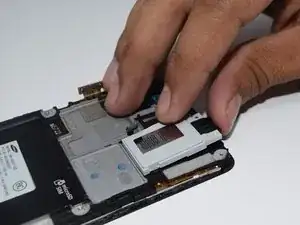
Lift from the top of the loudspeaker unit to release from the phone.
-
-
-
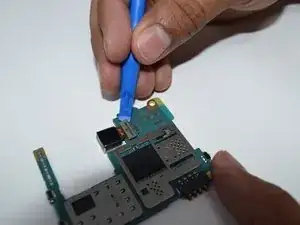
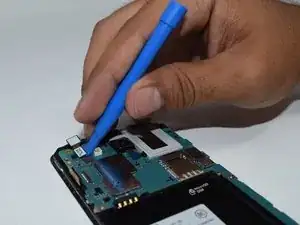
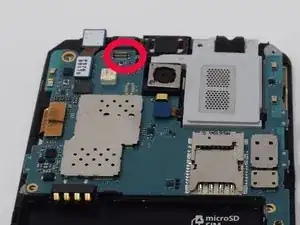
Use a plastic spudger to disconnect the ribbon cable from the motherboard.
-
The camera will be free to remove.
-
-
-
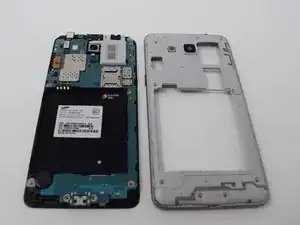
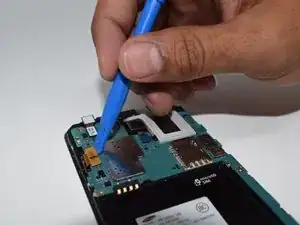
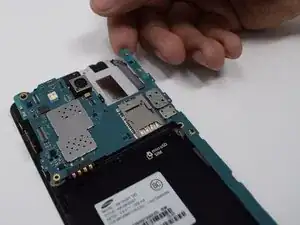
The mother board should now be free to remove.
-
Carefully lift each edge and lift to remove.
-
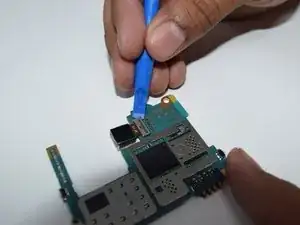
Flip the mother board over and use a plastic spudger to disconnect the rear facing camera ribbon connector to free the camera.
-
Make sure not to overly bend the ribbon connector.
-
To reassemble your device, follow these instructions in reverse order.