Introduction
Prerequisite only
-
-
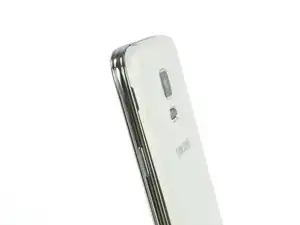
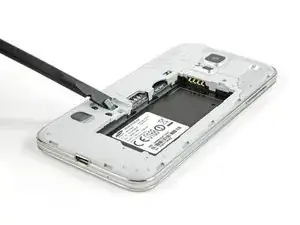
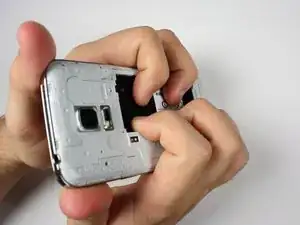
Insert a fingernail or a plastic opening tool into the slot located above the power button.
-
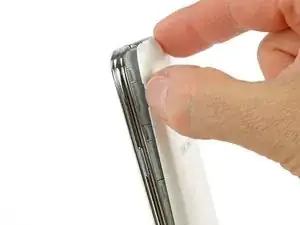
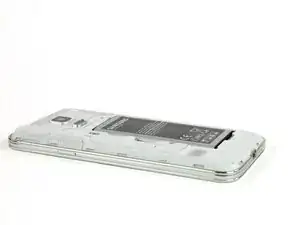
Gently pull the panel off the back of the phone.
-
-
-
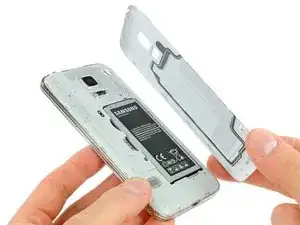
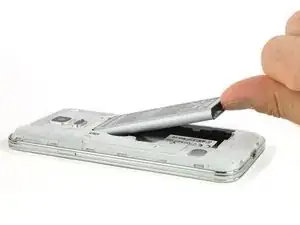
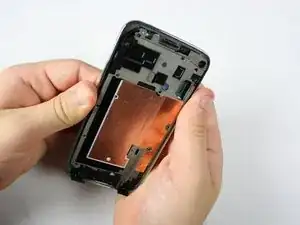
Insert fingernail or plastic opening tool into the slot at the bottom of the battery.
-
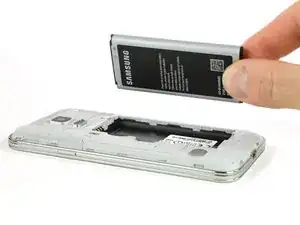
Gently pry the battery away from the phone.
-
-
-
Flip the phone and lay it on a flat surface so that the back is facing towards you.
-
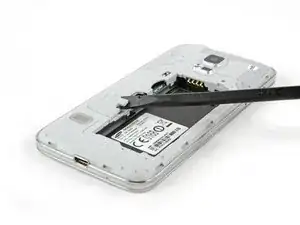
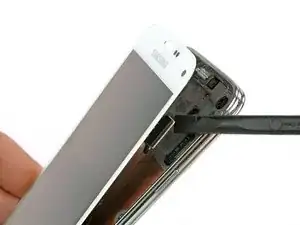
Use a spudger or plastic opening tool to pry up the home button cable connector and disconnect it.
-
For reassembly, insert the home button cable connector through the open slot in the display assembly.
-
Use an iOpener to loosen the adhesive beneath the display.
-
-
-
Flip the phone over so it is lying on its back.
-
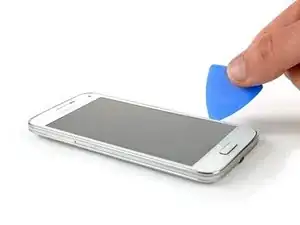
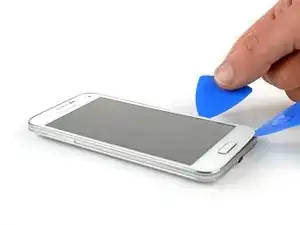
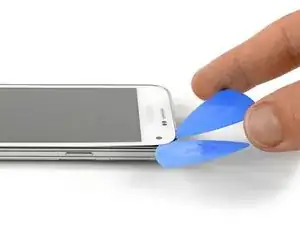
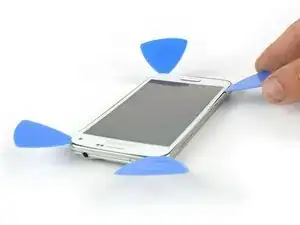
Insert a plastic opening tool or a plastic opening pick in the space between the screen and the frame and slide along the right side of the phone to loosen the adhesive.
-
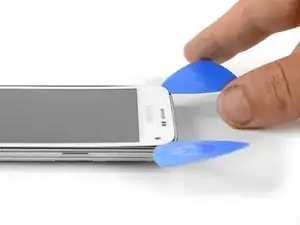
Gently lift the display assembly away from the frame until there is a small gap and leave the first opening pick in the bottom right corner next to your home button.
-
Insert a second opening pick and slide it up to the top left corner of the phone by loosening the adhesive beneath the display.
-
-
-
Reheat the display of your phone with the iOpener. Especially the top and left side of the front.
-
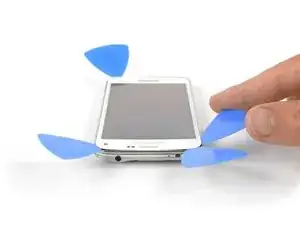
Insert a third opening pick and slide it carefully to the top left corner of the phone. Be aware of the front camera and the loudspeaker!
-
-
-
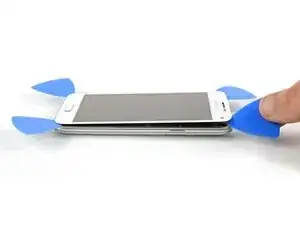
Insert a fourth opening pick and slide it to the lower left corner next to your home button.
-
Flip the opening pick in the top right corner to lift the display. If it is still sticky, move the four opening picks around the frame as you did before to find remains of adhesive.
-
-
-
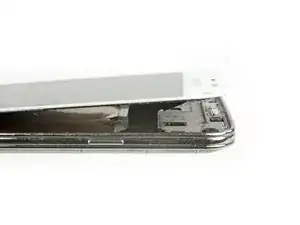
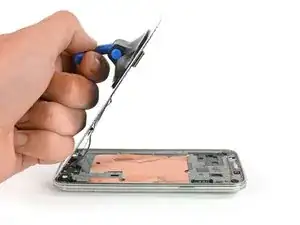
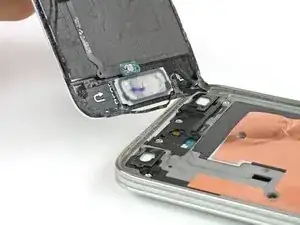
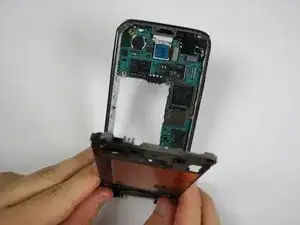
Use a suction handle to lift the display off of your phone. The home button cable connector should go with the display through a small gap in the mid frame. If it doesn't, use a tweezer to help a little.
-
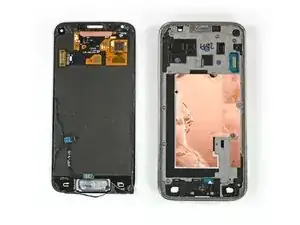
Pull the display assembly away from the phone to remove it.
-
-
-
Flip the phone over and lay it on a flat surface so that the back is facing towards you.
-
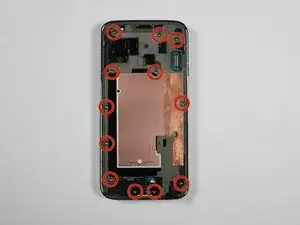
Unscrew the 4 mm Phillips #00 screw next to the battery slot.
-
-
-
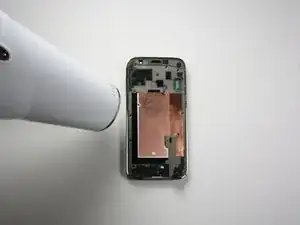
Circle the midframe with a blow dryer or use the iOpener to loosen the adhesive on the midframe.
-


To reassemble your device, follow these instructions in reverse order.
Hi, Yesterday I added a comment (although I can’t it on the site right now) I stated that the back on my S5 Mini was stuck on, not held by clips as you say in your S5 instructions. This was wrong. ''''
''''I wrongly thought my phone was an S5 Mini when in fact it’s an S6. I had forgotten that I had upgraded to the S6 some time ago and had not disposed of the S5 box etc. I will now rest my three remaining brain cells before attempting the repair of the S6.
Richard Kelsall -