Introduction
Use this guide to replace the motherboard in your Samsung Galaxy Watch5.
-
-
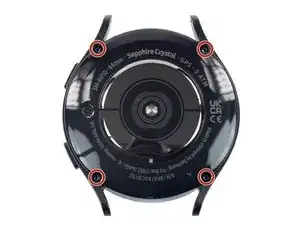
Use a Tri-point Y000 screwdriver to remove the four 4.1 mm-long screws securing the back cover.
-
-
-
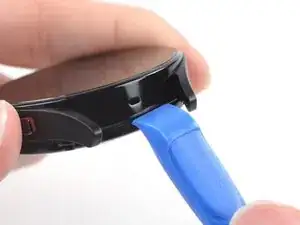
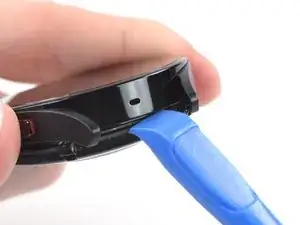
Insert an opening tool into the seam between the back cover and the metal housing.
-
Twist the opening tool to loosen the gasket and create a gap.
-
-
-
Lay the watch screen-side down.
-
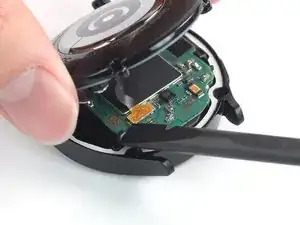
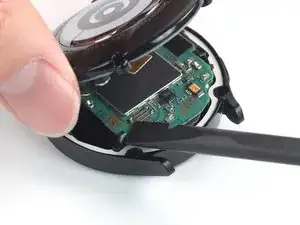
Carefully swing open the back cover at the gap you just created.
-
Use a spudger to disconnect the sensor flex cable from the motherboard by prying the press connector straight up from its socket.
-
-
-
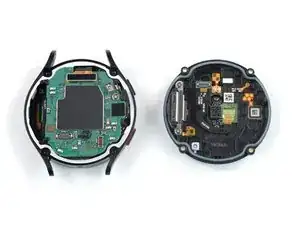
Remove the back cover.
-
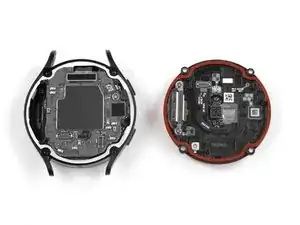
Make sure the rubber gasket (marked in red) is undamaged. If damaged, replace it with a new one to maintain water resistance.
-
-
-
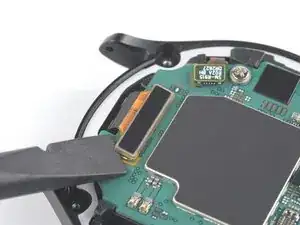
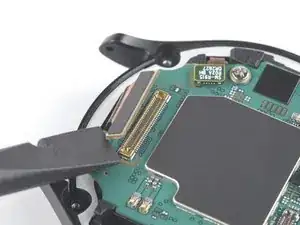
Use a spudger to disconnect the display flex cable by prying the connector straight up from its socket.
-
-
-
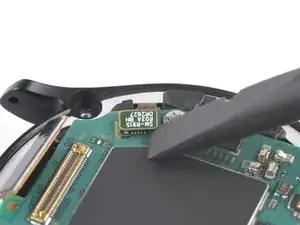
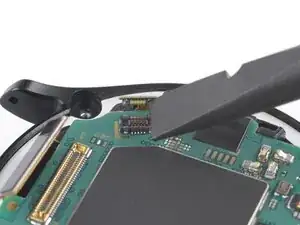
Use a spudger to disconnect the button flex cable by prying the connector straight up from its socket.
-
-
-
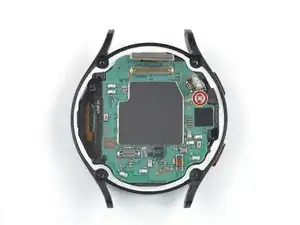
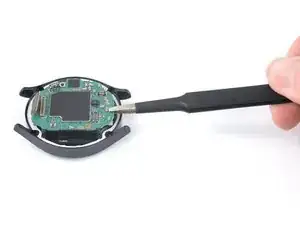
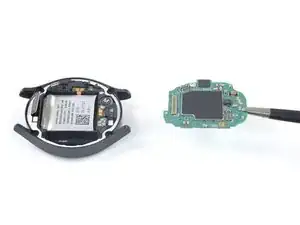
Use a pair of tweezers or your fingers to lift the motherboard out from the watch, clearing the two flex cables.
-

If possible, turn on your device and test your repair before resealing.
To reassemble your device, follow these instructions in reverse order.
Take your e-waste to an R2 or e-Stewards certified recycler.
Repair didn’t go as planned? Try some basic troubleshooting, or ask our Answers community for help.