Introduction
-
-
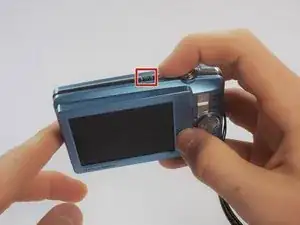
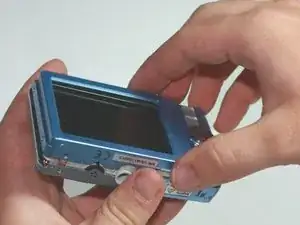
Make sure the camera is powered off by pressing and holding the small, square button embedded in the top rim of the camera.
-
-
-
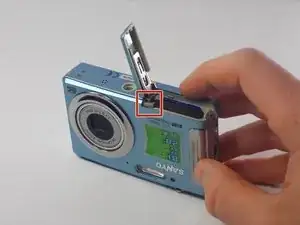
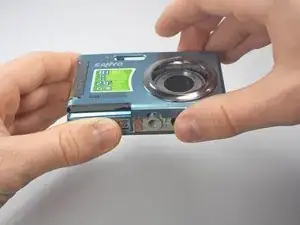
Locate the hatch found on the bottom of the camera.
-
Open the hatch by gripping the small notch and sliding it outwards.
-
-
-
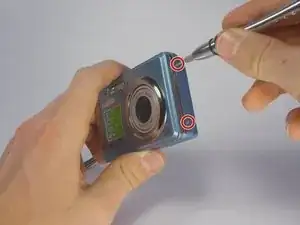
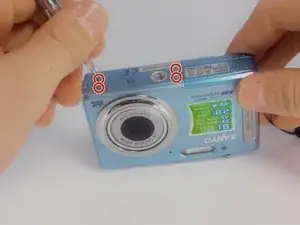
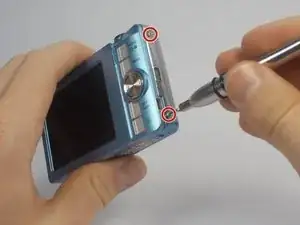
Using your Phillips #000 Screwdriver, remove the eight screws located around the sides and bottom of the camera.
-
-
-
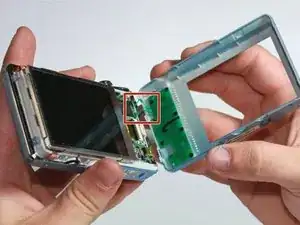
Orient the camera so the display is facing up.
-
Gently pull off the rear panel surrounding the display.
-
-
-
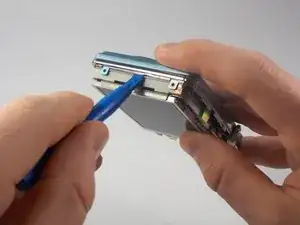
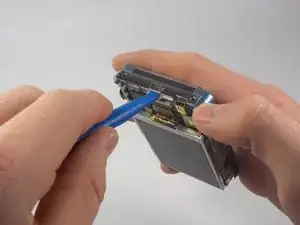
With a plastic opening tool, gently remove the chrome framing on the left and right sides of the camera.
-
-
-
Flip the camera over so the lens is facing up.
-
Gently lift up the front panel to remove it from the rest of the camera.
-
-
-
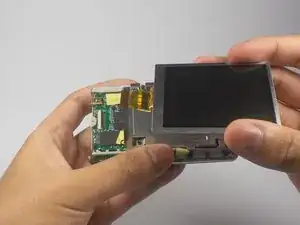
Flip the device over to where the display is located.
-
Using your plastic opening tool, lift the display out of its metal housing.
-
-
-
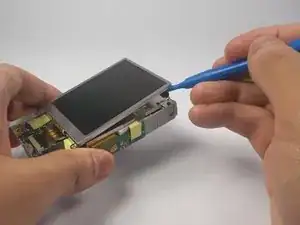
Locate the orange ribbon connecting the display to the camera.
-
Using your plastic opening tool, gently lift the black bar holding the orange ribbon to the camera.
-
-
-
With two fingers held firmly on the display, gently pull the orange ribbon out of the camera.
-
-
-
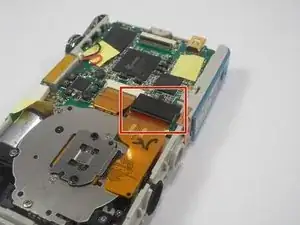
Orient the camera so the lens is facing up.
-
Locate and remove the two screws connecting the lens to the camera.
-
-
-
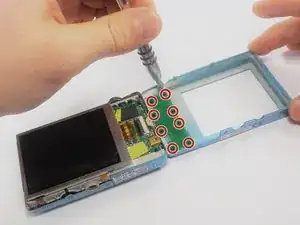
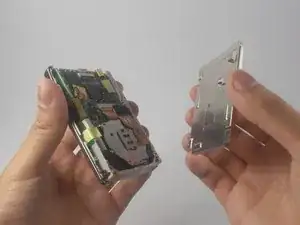
Flip the camera back around to the other side.
-
Remove the four black screws connecting the metal display holder to the camera.
-
Gently lift the display holder to reveal the underside of the lens.
-
-
-
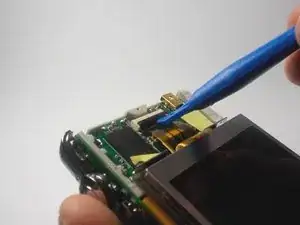
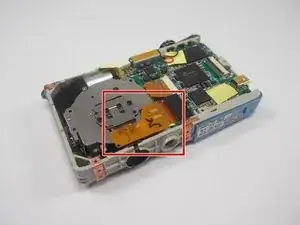
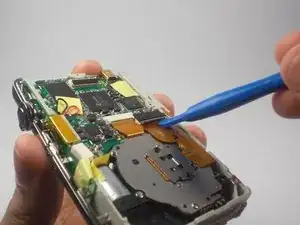
Locate where the larger orange ribbon is plugged into the motherboard.
-
Using your plastic opening tool, gently lift the edge of the rectangle where the orange ribbon is connected.
-
-
-
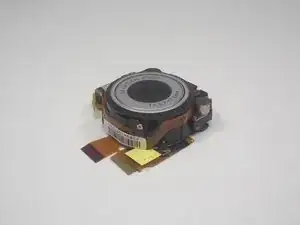
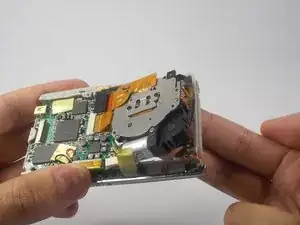
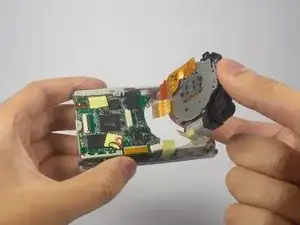
With the lens between your thumb and index finger, pull to delicately slide the ribbons out of their connections.
-


To reassemble your device, follow these instructions in reverse order.
jai le meme mais je n artive plus a l allumer et le viseur ne rentre plus comment je dois faire pour l allumer la bayerie ne reste pas fixe pouvez vous m aider en francais merci
nadine Guchez -
Bjr j aie le meme appareil photo sanyo 8i vpc-T850*megapixel je n arrive plus a l alummer et la naterie est charger a 100pourcents et elle ne reste pas fix pouvez vous m aider en ftancaismerci
nadine Guchez -