Introduction

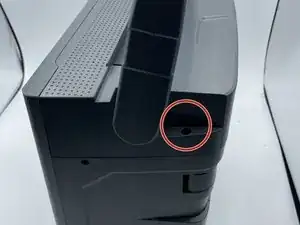
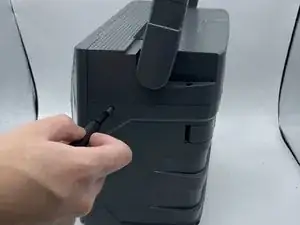
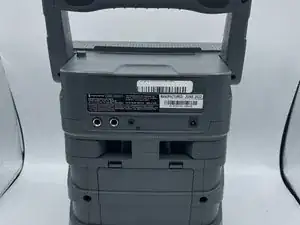
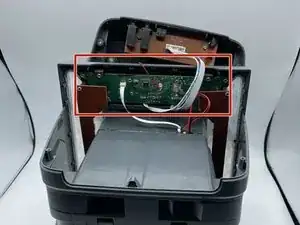
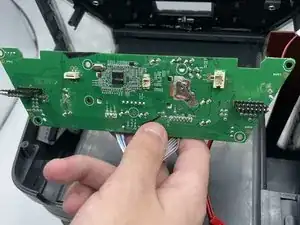
If your Singing Machine Shine Duets audio or power jacks are not functioning, use this guide as a means to replace it. If any parts which are removed in this guide have glue on them, use a metal scraping device to remove it. For our purposes, tweezers were sufficient.

  1. IQQYs3EVYMBIWTfb
    IQQYs3EVYMBIWTfb
    UeMI3G2LFA5htPxZ
    15ILYQOZ2s63wkYN
    • Remove the 10 mm screws on either side of the machine using a Phillips #1 screwdriver.

  2. C5TcCCIa2qUIVHtA
    C5TcCCIa2qUIVHtA
    N3Ejnw4RsC3V2BIe
    fohHTZhrR5xyGGBr
    • Remove the three 8 mm screws with a Phillips #0 screwdriver.

  3. du2nDfWCAQ4cfRoR
    du2nDfWCAQ4cfRoR
    F1i4OXMRfYXjYDVS
    AofpIqDeTF2JVjaY
    • Use the opening tool or your hands to carefully pry open the now-loosened top panel.

    • The top portion of the shell is open, and the inside of the device is now accessible.

  4. jpSD1xjOGuJxhQGV
    • The motherboard is located right behind the control buttons.

  5. yIAAUTRilPsJB3tO
    yIAAUTRilPsJB3tO
    CYZ2QDOseXEHv3dQ
    • Remove the two screws holding the LED board in place.

  6. osjZq3PsDXPqrVgD
    osjZq3PsDXPqrVgD
    vyLHqtNpPm4JHCwv
    • Remove both LED boards from their pins.

  7. tEgs6gNW1LRbqLJs
    tEgs6gNW1LRbqLJs
    DSsIHtfRDGohjDnG
    • Detach the white cable from its connector on the motherboard.

  8. NKAYEWkI2BerxSZE
    NKAYEWkI2BerxSZE
    WllSQgxRMWEq1ENA
    • Carefully disconnect this red-and-black wire from the motherboard.

  9. 16jZ5UIMSnC2T5Xj
    16jZ5UIMSnC2T5Xj
    YQwFAdkZlDfHWhRy
    • Remove the thicker red-and-black wire from its socket on the motherboard.

  10. kE1d6CAECyaYG1OM
    kE1d6CAECyaYG1OM
    UBiVwqnGlUNQRsCo
    wLXuthB6FWs3cKWN
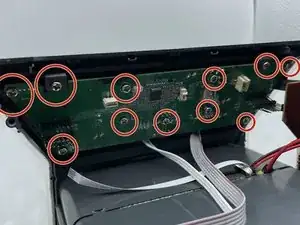
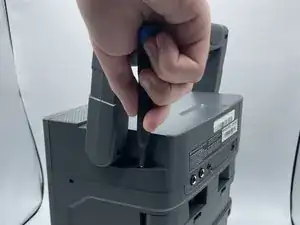
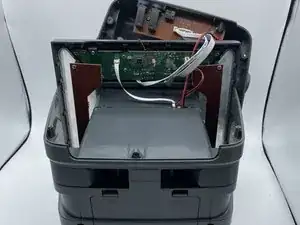
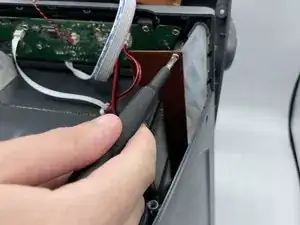
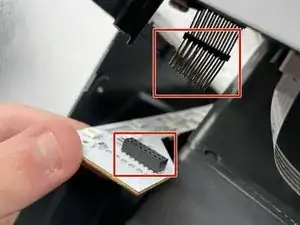
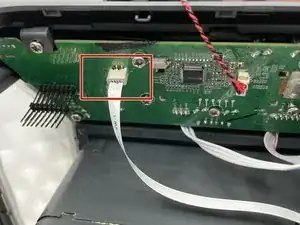
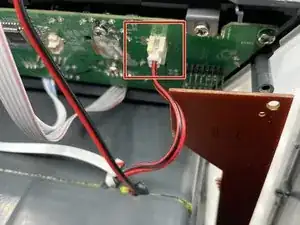
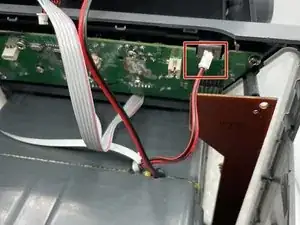
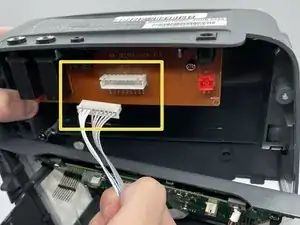
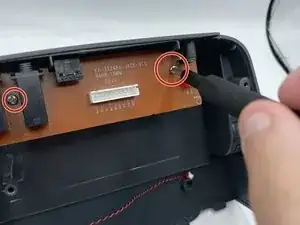
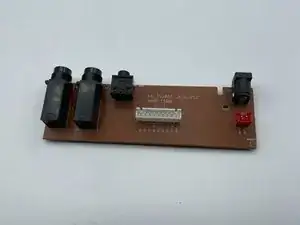
    • Disconnect the red port on the board which holds all of the external plugs

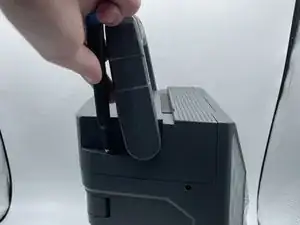
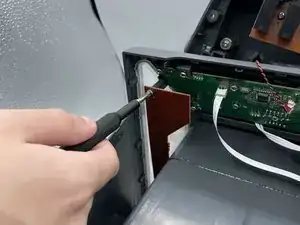
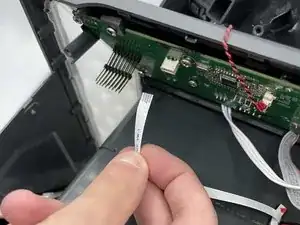
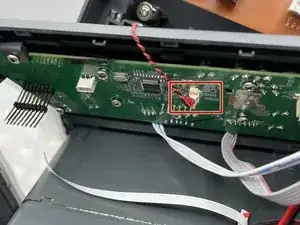
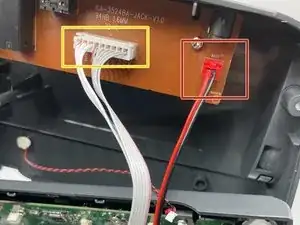
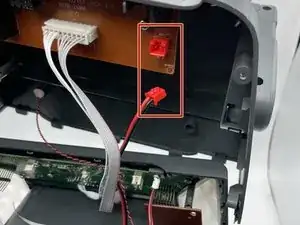
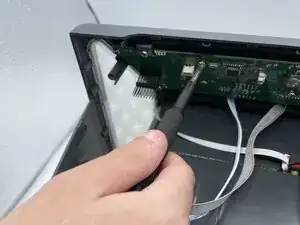
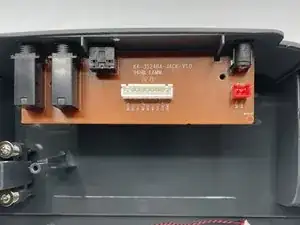
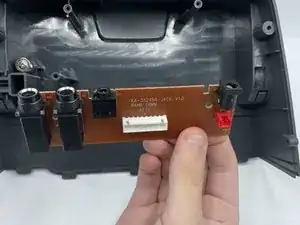
    • Disconnect the white wires from the board.

  11. XKibF2o5JFYkEauj
    XKibF2o5JFYkEauj
    ZGNWtC4N4iRCZRCg
    • Remove eleven 8 mm screws from the motherboard with a Phillips #0 screwdriver.

  12. NE4yQGmQbGFoHR1u
    NE4yQGmQbGFoHR1u
    YM3DVFfP2n3J2sCZ
    hROZkFsFhIbj6PRe
    • Remove the motherboard from the shell.

  13. V6OweUXOaMxPKDZj
    V6OweUXOaMxPKDZj
    QDJXhXgmDk3fe6x2
    • Remove both screws from the board.

    • Use caution when removing the screw in between the two ports.

  14. LuyWCLieTehYgCuX
    LuyWCLieTehYgCuX
    kFPQIvaDonsE5Qip
    • Remove the board from the shell.

Conclusion

To reassemble your device, follow these instructions in reverse order.

Ethan Dodson

Member since: 09/02/23

533 Reputation

0 comments