Introduction

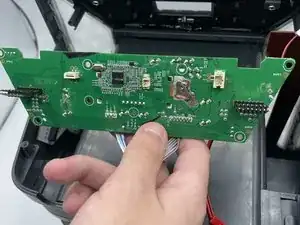
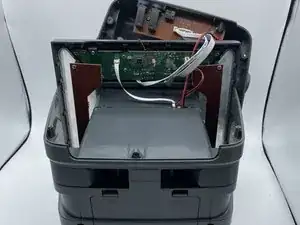
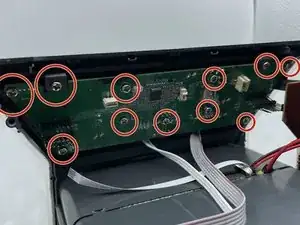
If your Singing Machine Shine Duets motherboard is malfunctioning for any reason, use this guide to replace it. Your device may require the removal of glue or wax on the motherboard, so have a thin metal scraping device at the ready. We used tweezers for ours. If a piece we removed has glue on it, you will need to scrape it off.

  1. IQQYs3EVYMBIWTfb
    IQQYs3EVYMBIWTfb
    UeMI3G2LFA5htPxZ
    15ILYQOZ2s63wkYN
    • Remove the 10 mm screws on either side of the machine using a Phillips #1 screwdriver.

  2. C5TcCCIa2qUIVHtA
    C5TcCCIa2qUIVHtA
    N3Ejnw4RsC3V2BIe
    fohHTZhrR5xyGGBr
    • Remove the three 8 mm screws with a Phillips #0 screwdriver.

  3. du2nDfWCAQ4cfRoR
    du2nDfWCAQ4cfRoR
    F1i4OXMRfYXjYDVS
    AofpIqDeTF2JVjaY
    • Use the opening tool or your hands to carefully pry open the now-loosened top panel.

    • The top portion of the shell is open, and the inside of the device is now accessible.

  4. jpSD1xjOGuJxhQGV
    • The motherboard is located right behind the control buttons.

  5. yIAAUTRilPsJB3tO
    yIAAUTRilPsJB3tO
    CYZ2QDOseXEHv3dQ
    • Remove the two screws holding the LED board in place.

  6. osjZq3PsDXPqrVgD
    osjZq3PsDXPqrVgD
    vyLHqtNpPm4JHCwv
    • Remove both LED boards from their pins.

  7. tEgs6gNW1LRbqLJs
    tEgs6gNW1LRbqLJs
    DSsIHtfRDGohjDnG
    • Detach the white cable from its connector on the motherboard.

  8. NKAYEWkI2BerxSZE
    NKAYEWkI2BerxSZE
    WllSQgxRMWEq1ENA
    • Carefully disconnect this red-and-black wire from the motherboard.

  9. 16jZ5UIMSnC2T5Xj
    16jZ5UIMSnC2T5Xj
    YQwFAdkZlDfHWhRy
    • Remove the thicker red-and-black wire from its socket on the motherboard.

  10. kE1d6CAECyaYG1OM
    kE1d6CAECyaYG1OM
    UBiVwqnGlUNQRsCo
    wLXuthB6FWs3cKWN
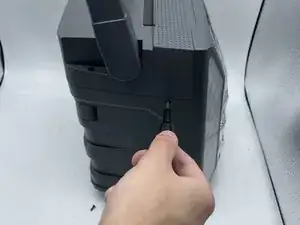
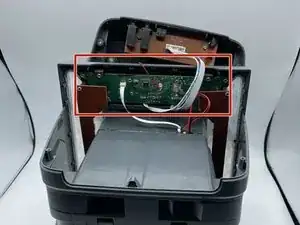
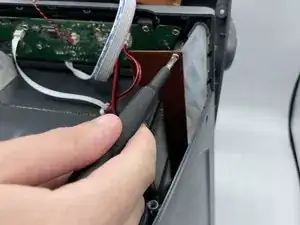
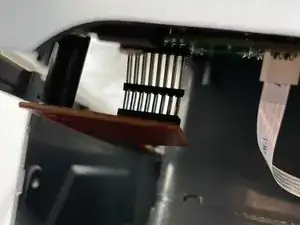
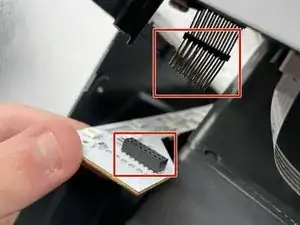
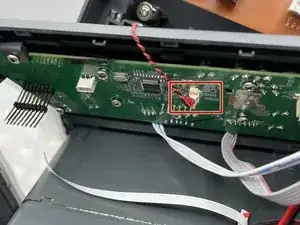
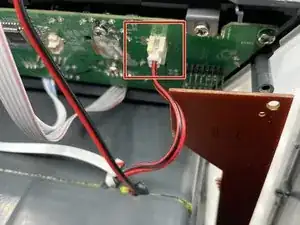
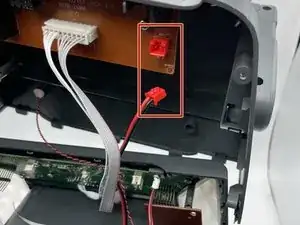
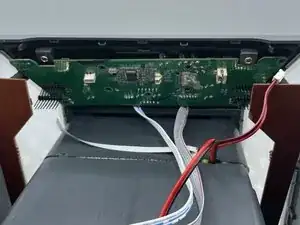
    • Disconnect the red port on the board which holds all of the external plugs

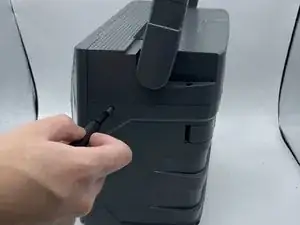
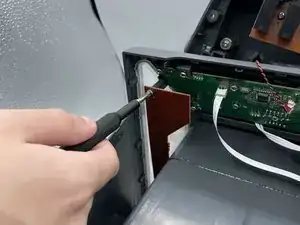
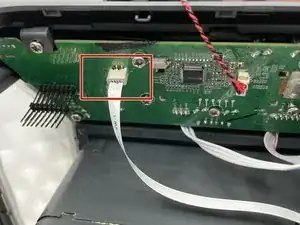
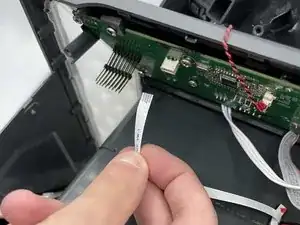
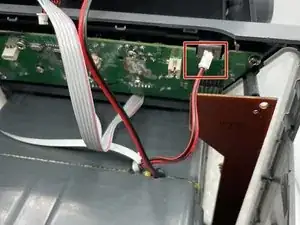
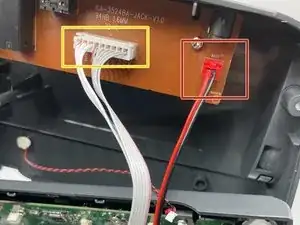
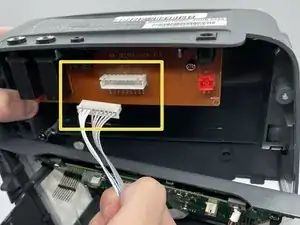
    • Disconnect the white wires from the board.

  11. XKibF2o5JFYkEauj
    XKibF2o5JFYkEauj
    ZGNWtC4N4iRCZRCg
    • Remove eleven 8 mm screws from the motherboard with a Phillips #0 screwdriver.

  12. NE4yQGmQbGFoHR1u
    NE4yQGmQbGFoHR1u
    YM3DVFfP2n3J2sCZ
    hROZkFsFhIbj6PRe
    • Remove the motherboard from the shell.

Conclusion

To reassemble your device, follow these instructions in reverse order.

Ethan Dodson

Member since: 09/02/23

533 Reputation

0 comments