Introduction

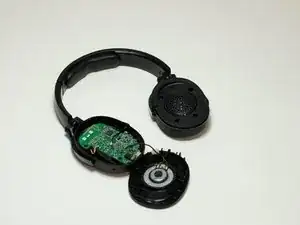
If your Skull Candy Hesh 3 headphones (model S6THW) are having audio issues like sound distortion in one or two speakers, then use this guide to replace your speakers. Before proceeding, make sure to check the audio port for debris. You can easily remove the debris by blowing in the port or using a dust blower tool.

Before beginning the repair, make sure to power down the headphones completely and disconnect them from any external power source.

This repair requires soldering. The soldering iron may reach temperatures of up to 480'C (896'F) and can cause severe burns to skin. You might consider using heat proof gloves if you aren't experienced with soldering. In addition, for information on how to solder consider reading this page on How to solder and desolder

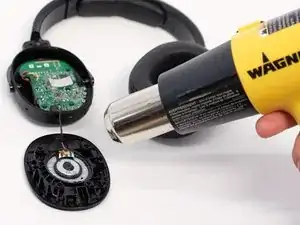
It also requires the use a heat gun. This also gets very hot. For instruction or a refresher on using a heat gun, see this guide.

  1. Yc6hrTOAoRWfS4Cm
    Yc6hrTOAoRWfS4Cm
    2uZtajOImyewYYWc
    VtYQIDcOwmhyhCXf
    • Start by removing the earmuffs on the speaker side with the charging port. Gently pull from any point of the ear cushion, while also holding on to the base of the speaker.

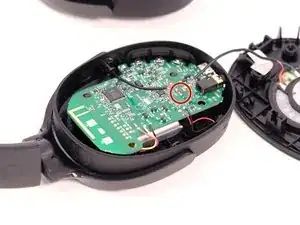
    • Use a Phillips #00 screwdriver to remove all four 4.0 mm screws securing the faceplate.

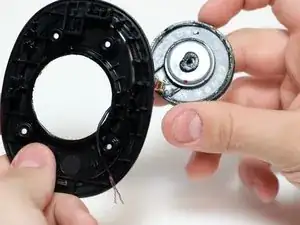
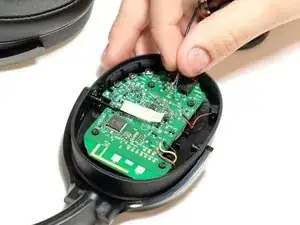
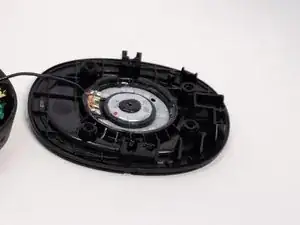
    • Lastly, remove the faceplate by gently lifting it without pulling off the wires that are attached to the faceplate.

  2. sdkJEKJgX5R1oBZy
    sdkJEKJgX5R1oBZy
    hwa34u4xaiIjcglB
    • Use a soldering iron to detach the red wire (R+) and blue wire ( R) from the motherboard.

    • The soldering iron is very hot. Be careful when using it as it can burn skin, etc. Please refer to the How to Solder and Desolder Connection guide for more information on soldering.

    • R+ should be connected to the red wire and R should be connected to the blue wire.

  3. BxXtJpJf3lWhBdPA
    BxXtJpJf3lWhBdPA
    rSLCOXZQh6YucA1I
    AJkFXCvXCBOe3E6D
    • Position the speaker so the inside is facing up.

    • Use a heat gun to warm the adhesive securing the speaker to the housing.

    • Aim the gun from a distance to prevent any damage to the plastic. Always keep the heat gun in motion while using it so one area doesn't melt.

    • Use tweezers to push the speaker through to remove it. Avoid using your hands directly on the speaker to avoid burns.

Conclusion

To reassemble your device, follow these instructions in reverse order.

Emma Lyman

Member since: 18/01/23

385 Reputation

0 comments