Introduction
Tools
-
-
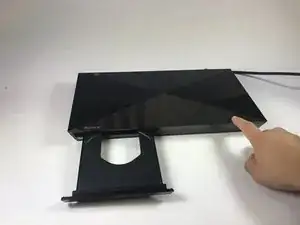
Power on the device, eject the disk tray, and power off the device.
-
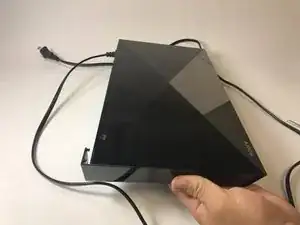
Turn the device over.
-
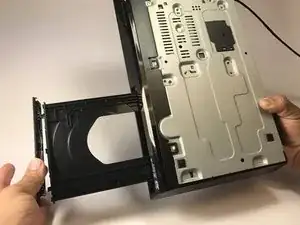
Lightly apply downward pressure on the black covering on the disk tray until it comes off.
-
-
-
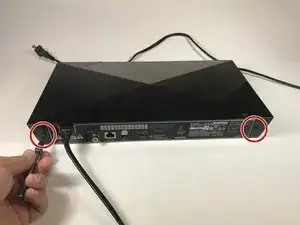
Turn the device around.
-
Using a Phillips screw driver, remove the screws on both ends of the device circled red in the image.
-
Slide the side covers on either side towards the back of the device.
-
-
-
Turn the device so that the bottom is facing up.
-
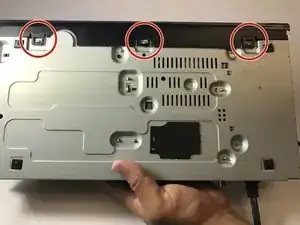
In the bottom, unclip the three plastic clips circled in red.
-
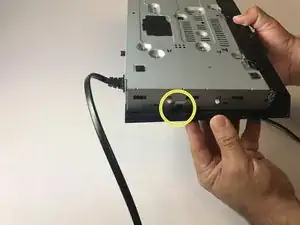
On either side, unclip the plastic clip circled in red
-
Slide the black covering forwards to remove.
-
Conclusion
To reassemble your device, follow these instructions in reverse order.