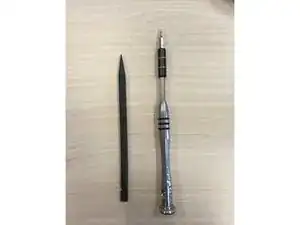
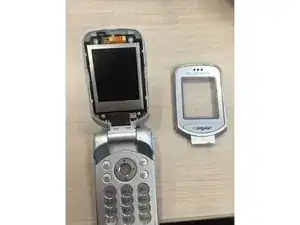
Introduction

  1. e3oL1FJkgBB2XN2C
    e3oL1FJkgBB2XN2C
    hFKhR3GeX1Km6yUN
    • The tools you will need for this step is the prying tool and the T6 Torx screwdriver.

  2. TZ5nJFFiE4ALYyHt
    TZ5nJFFiE4ALYyHt
    cECTDEqskkXqci2U
    CQimNgLBjrTuFOIG
    • Remove the back cover of the phone by pushing downwards with your thumbs.

  3. YCUhVMZkebdWs5s6
    YCUhVMZkebdWs5s6
    PtOLSfIwHwfHiOZw
    • Now, remove the battery from the phone by gently prying the battery out.

  4. kKPq4IJXhpttn2n1
    kKPq4IJXhpttn2n1
    6FxkQD3RPoWlGKsD
    • Remove the front plate from the phone by using the prying tool.

  5. Y45K4cwsbaQVyWRp
    Y45K4cwsbaQVyWRp
    s3VKDoyUVNxbIDjD
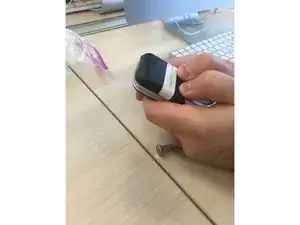
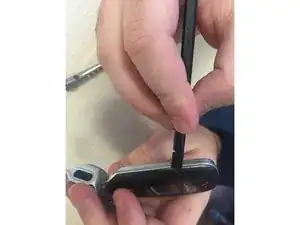
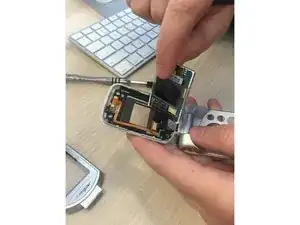
    • You now have access to the fours screws that hold the front of the phone together. Remove the four screws.

  6. 5oTdGUj13ibWuDFu
    5oTdGUj13ibWuDFu
    OAAoePLKpDaFuSCx
    • Use the prying tool to separate the two parts of the top of the phone

  7. WbuhQUDfOpKmR1Jn
    WbuhQUDfOpKmR1Jn
    QJZXIVwAxFDbXFwK
    fYVln2vQEFowDQui
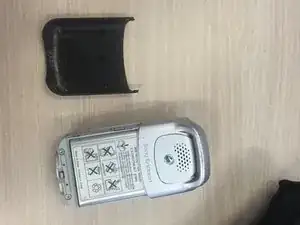
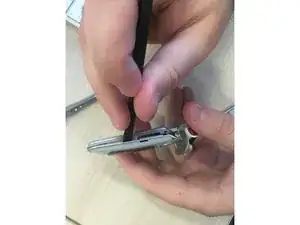
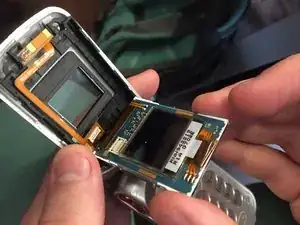
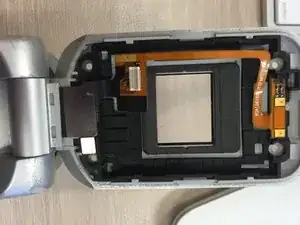
    • Use your fingers to remove the screen and unplug the ribbon cable from the bottom right corner of the back of the screen.

  8. ceIY5MUNr2mHob4p
    ceIY5MUNr2mHob4p
    GXjlAhUjSMw1NrQN
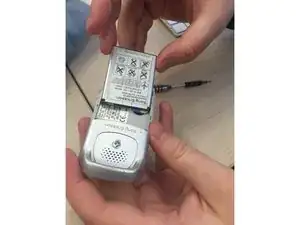
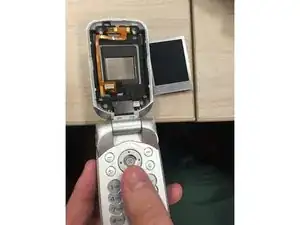
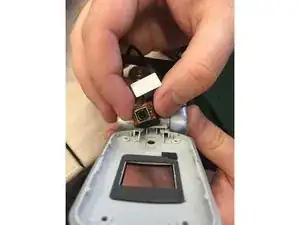
    • Now you have access to the camera, which is the silver plate at the bottom of the phone. Remove the camera and replace with a new camera.

Conclusion

To reassemble your device, follow these instructions in reverse order.

Laura Inbody

Member since: 19/02/16

7 Reputation

0 comments