
Introduction
Removing the lens mount is a quick process that is fully outlined by this guide.
Tools
-
-
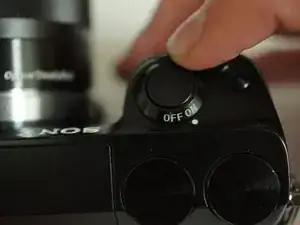
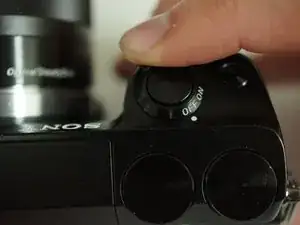
If the camera is on, rotate the power switch on top of the camera counterclockwise to turn the camera off.
-
-
-
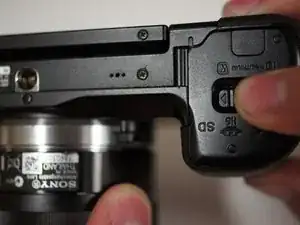
Flip the camera over such that the power switch points down.
-
Slide the switch on the bottom of the camera grip towards the lens to open the battery door.
-
-
-
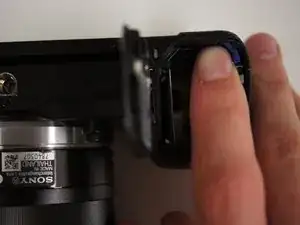
With the battery door open, push the blue lever in the battery compartment to release the battery.
-
-
-
To the left of the battery compartment, the SD card needs to be pushed down slightly with your fingers, which will cause the card to eject.
-
Pull the card out with your fingers.
-
-
-
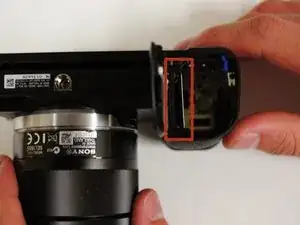
First, turn the camera upside down.
-
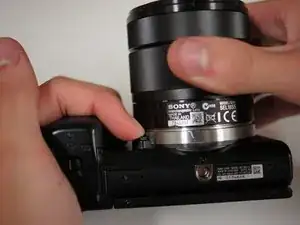
Press the button located next to silver lens mount and rotate the lens counterclockwise.
-
Pull the lens away from the camera body.
-
-
-
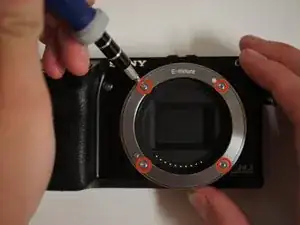
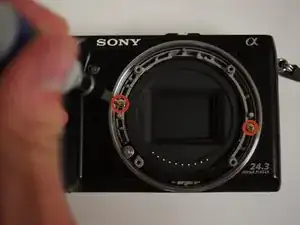
With the front of the camera facing you, remove the four silver #00 Phillips screws from the metal lens mount.
-
-
-
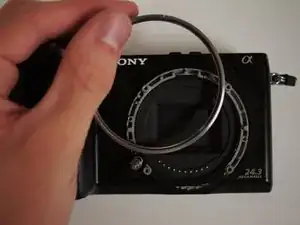
Remove these three layers from the lens mount with your finger or by turning the camera face down.
-

To reassemble your device, follow these instructions in reverse order.