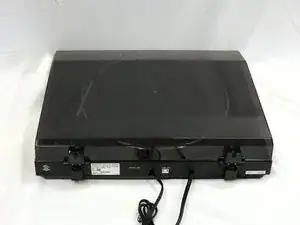
Introduction

The motor is a big part of having the turntable turn, because it spins the drive belt. Replacing it requires some specialty work such as soldering, because it has some electrical components that need to be connected to a power source. Other than that, everything is pretty simple in replacing the motor.

  1. cJUOlCaHqPCyWEq2
    • Turn the turntable around so that the back side is visible.

  2. A1nfwqXuj34ocygL
    A1nfwqXuj34ocygL
    cg1yCNXhxUlpCSLu
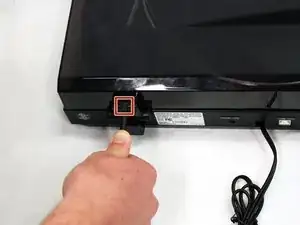
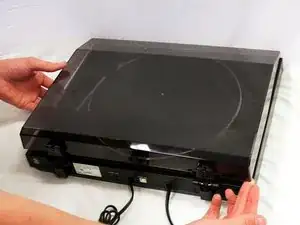
    • Begin by releasing the left latch. Apply downward pressure to the square, black button using a flathead screw driver.

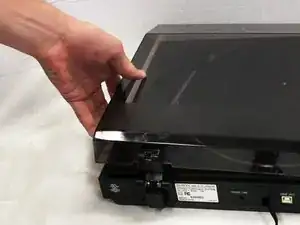
    • Once the latch is released, lift upward.

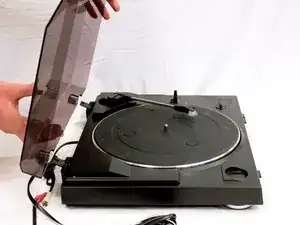
    • Use your left hand to hold the left side of the dust cover above the latch. This ensures the latch does not reconnect.

  3. Yq5FwBUEZrLAV4Iy
    • Use a flat head screw driver to apply pressure to the black square button on the right side.

  4. FUTlk1NlTR4ih2ag
    FUTlk1NlTR4ih2ag
    HZeWNheaXPUiUj4k
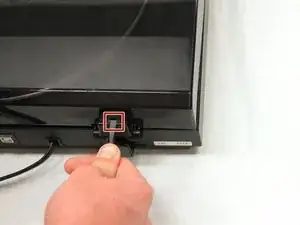
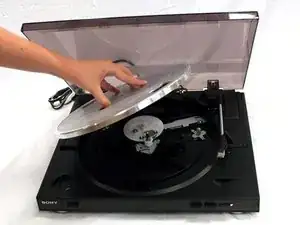
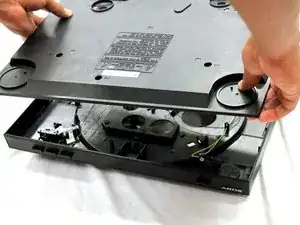
    • Once both the right and left buttons are released, pull the dust cover upwards.

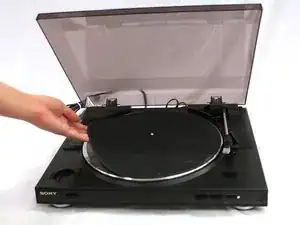
    • The dust cover is now disconnected and ready for replacement.

  5. NRmHH1jn3Vso2e41
    NRmHH1jn3Vso2e41
    GDUvdFU4sbXML4hd
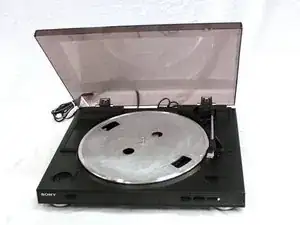
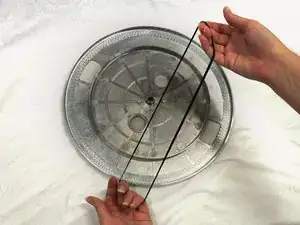
    • Lift the rubber mat, and put it to the side. It should be easy to remove, because it simply rests on a metal platter without anything securing it down.

  6. KxanMAkQKDvPtkYg
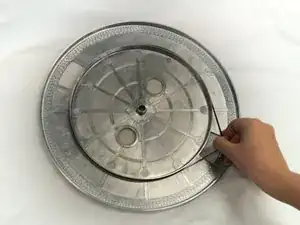
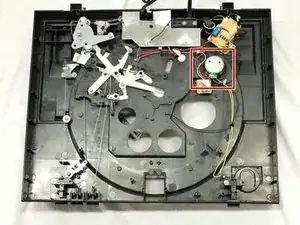
    • Turn the platter so that the motor pulley can be seen through one of the two outer holes in the platter.

    • If the drive belt is hooked around the motor pulley, unhook it.

    • When reassembling to device, don't forget to hook the new drive belt to the motor pulley.

  7. DBFBbNvvXkTEgZPj
    • Grasping the platter by its two inner holes, lift it upwards.

    • Removing the platter may take a small amount of force. If the pulley is unhooked and the tone arm is safely to the side, don’t fear using a small amount of force in lifting the platter.

    • If you haven’t yet unhooked the drive belt, the motor pulley and the belt could sustain damage.

  8. GkLoEo61lT6N5lhn
    GkLoEo61lT6N5lhn
    LvNYATgyRYWwMPnW
    • Peel the drive belt from the inner ridge of the metal platter and put it to the side.

    • Sometimes, the drive belt can fall off the platter during deconstruction. If this is the case, simply take it out of the device wherever it is.

  9. CYamMYSyC3fOAswH
    CYamMYSyC3fOAswH
    MlZGQZunMCg6DLAq
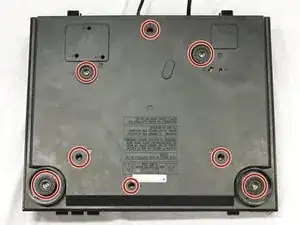
    • Use a PH2 screwdriver to remove the 8 screws from the bottom cover.

    • Now lift the bottom cover to remove it.

  10. vstgaCEJSpFFvEFx
    • The motor is in the right upper corner area of the turntable, shown in the red square.

  11. EnJJsPeOEpdkbIxD
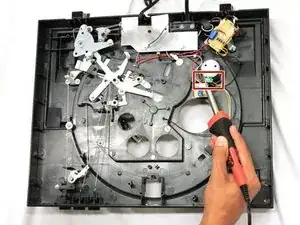
    • Using a solder iron, carefully desolder the wires that are connected to the old motor to be able to remove it. Making sure to pay close attention where each wire is connected.

    • From left to right: Black is all the way to the left. Red is next. White is third. Yellow is all the way to the right.

    • When reassembling, do not forget to solder in the wires in their previous places.

  12. P5H3AyOC6Wuk1RsJ
    • Remove the old motor by turning it counterclockwise, freeing it from its position.

    • When reassembling, place the new motor in by aligning the two screws and turning the motor clockwise to secure it.

Conclusion

To reassemble your device, follow these instructions in reverse order.

Christian Fuentes

Member since: 28/09/17

116 Reputation

0 comments