Introduction
This guide shows you how to replace the laser unit in the Playstation 2.
Tools
Parts
-
-
Turn off your PlayStation 2 and remove the disc and Memory Card.
-
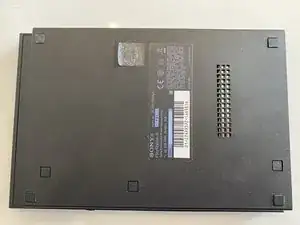
Turn over the PlayStation 2 and put it on a soft surface (e.g. a towel).
-
-
-
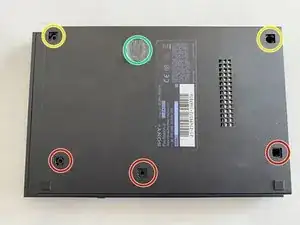
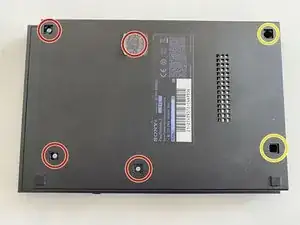
Locate the six covers.
-
Two are located underneath the feet.
-
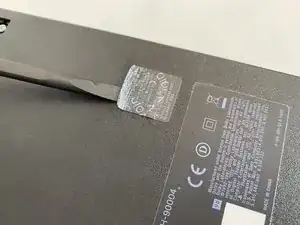
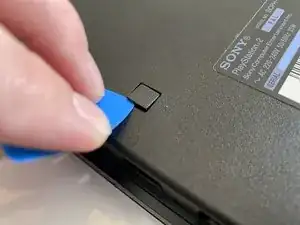
One cover is located underneath the Void sticker.
-
-
-
Remove the six Phillips #1 screws with a screwdriver.
-
The screws on the right are a bit deeper inside the shell as like the rest but are the same size.
-
-
-
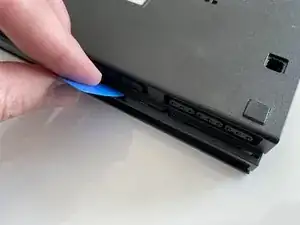
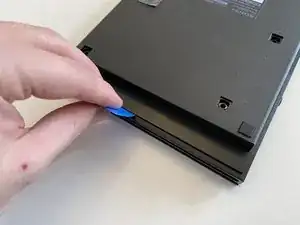
Separate the clips at the front and the overhanging side from their mounting using a Prying Tool.
-
Separate the two halves.
-
-
-
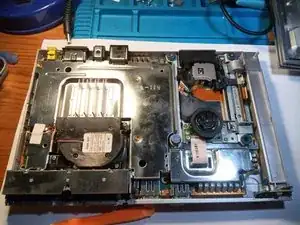
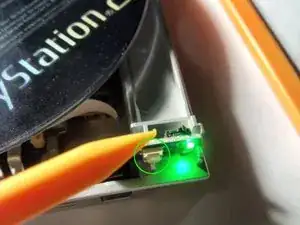
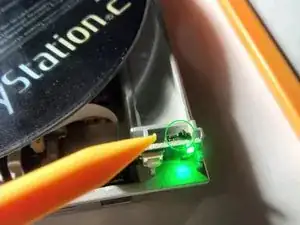
With a plastic tool, lightly press down these two levers at the same time. Ideally, the CD should now start to spin.
-
If it doesn't spin, the whole drive or other parts of it may be damaged and need to be replaced.
-
Don't forget to unplug the power supply again!
-
-
-
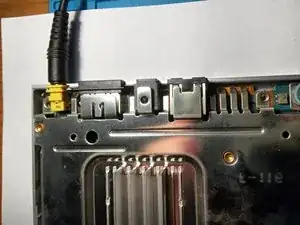
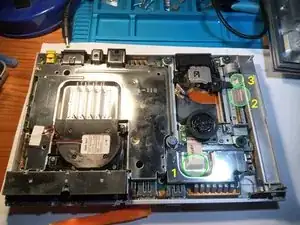
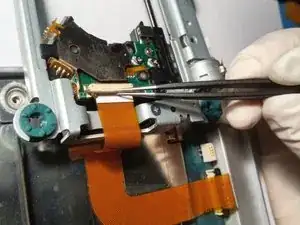
Now, there are 3 flat cables to disconnect. Caution: Some have a small clamp that must first be released, so that you can carefully pull them out.
-
Cable 1 can easily be pulled out. However, be careful not to damage it!
-
-
-
Cable 2 on the other hand, has a clamp. This must be carefully preyed up from both sides before you can disconnect the cable.
-
Cable 3 can easily be pulled out.
-
-
-
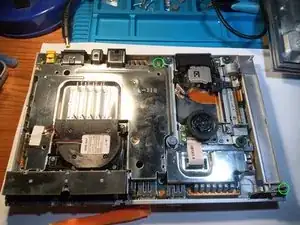
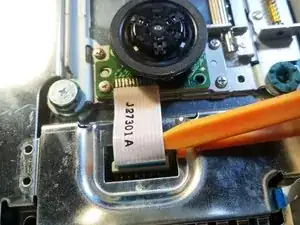
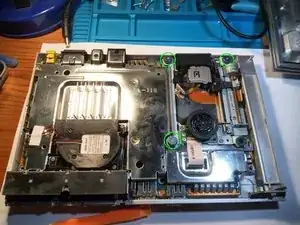
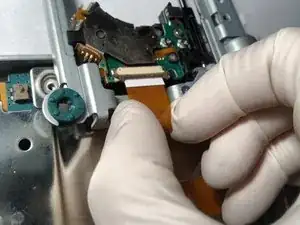
Now the drive, which is held in place by 3 screws, can be unscrewed.
-
Caution: It's still held on the underside by a flat cable! It's the cable for the laser head.
-
This cable also has a clamp that you can carefully pry open and release the cable from the interface.
-
-
-
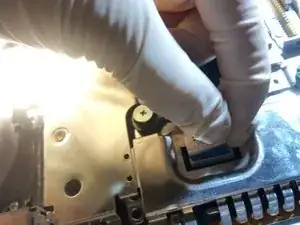
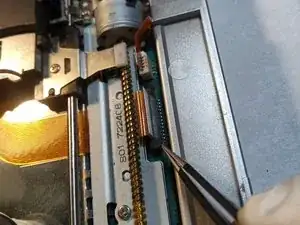
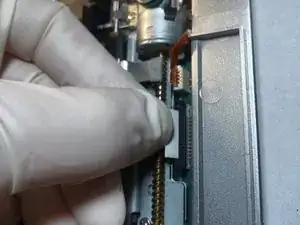
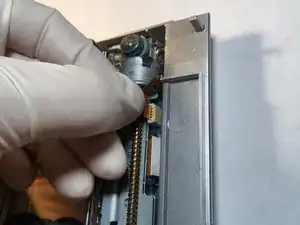
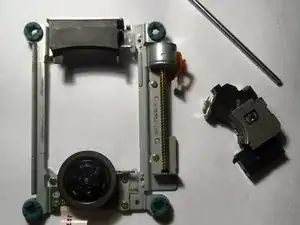
To release the laser unit from the bracket you must remove the 3 marked screws.
-
Attention: Don't loose the small brackets and screws!
-
-
-
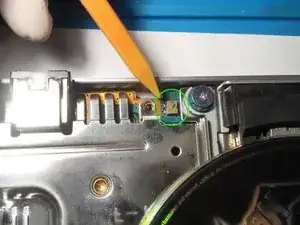
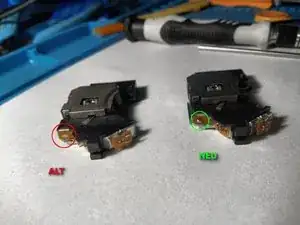
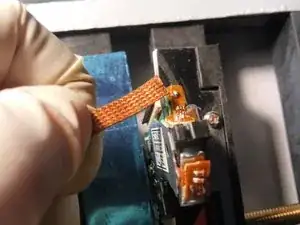
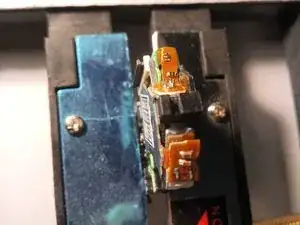
The new laser must be prepared. The small portion of solder at the area marked in green, must be removed with the help of desoldering wire. At this point, the new laser should look exactly like the old one.
-
Take the desoldering wire and the heated soldering iron in-hand, and remove the bit of solder from this part.
-
Finished! The new laser is ready to be installed! You're almost done! Now you just have to screw everything back together again in reverse order!
-


Follow the steps in reverse to reassemble your device.