Introduction
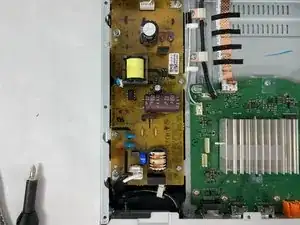
The power board only needs to be replaced if the device can not turn on and all other troubleshooting options have been attempted. When dealing with a power board, be careful of the capacitors as they can hold charge and shock you. Unplug device before starting.
-
-
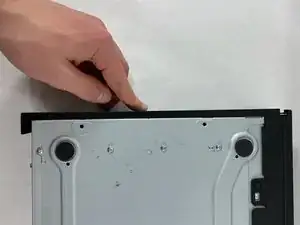
Use a Phillips #2 screwdriver to remove the two 10.5 mm screws that secure the two side panels onto the back of the player.
-
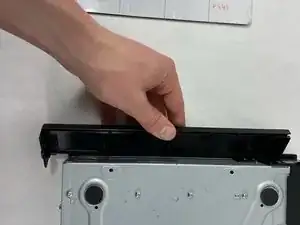
Slide both covers back about a 1/2 inch, then pull them away from the case.
-
-
-
Use a Phillips #2 screwdriver to remove the two 10.5 mm screws on the side of the case, each connecting to a tab on the cover.
-
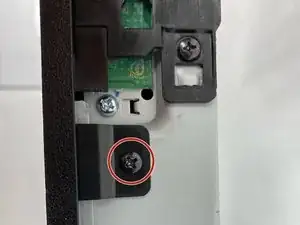
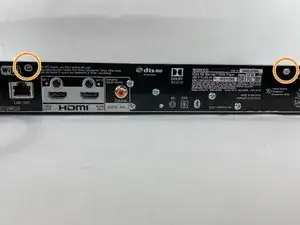
Use a Phillips #2 screwdriver to remove the two 10.5 mm screws (one next to the Wi-Fi logo and one next to the Blu-ray logo).
-
-
-
Press in the tabs found on the front-sides of the case (connected to the front panel).
-
Slide the top cover forward.
-
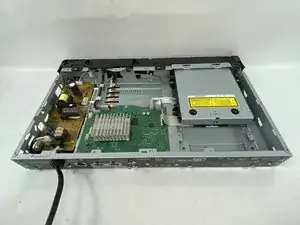
Lift off the case.
-
-
-
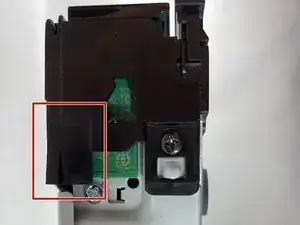
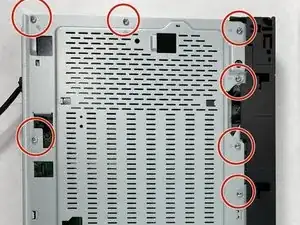
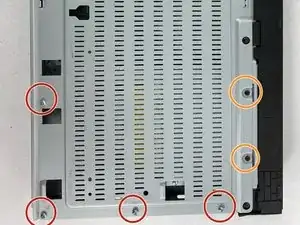
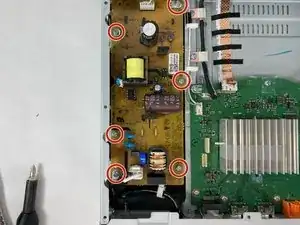
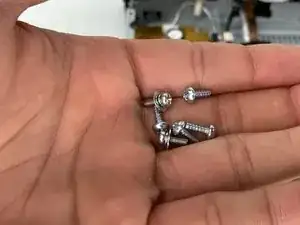
Find the eleven 10.5 mm silver screws and two 6 mm black screws on the perimeter of the silver cover plate.
-
Remove the silver screws using a Phillips #2 screwdriver and the black ones using a Phillips #1 screwdriver.
-
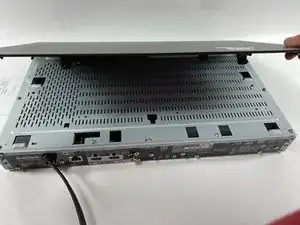
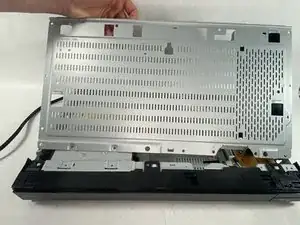
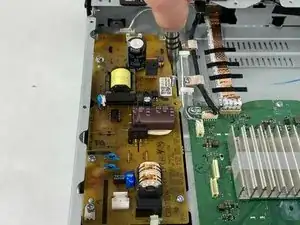
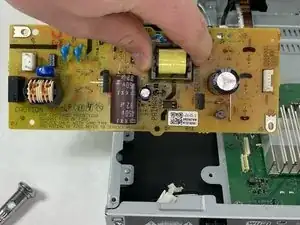
Life the back of the cover up and off of the chasis.
-


To reassemble your device, follow these instructions in reverse order.
