Introduction
To replace any parts within this device, you will need to remove the top cover in order to get inside.
Please make sure to completely power down and unplug your device before working on it.
This should be done before any of the other part replacements for this device.
-
-
Use a Phillips #2 screwdriver to remove the two 10.5 mm screws that secure the two side panels onto the back of the player.
-
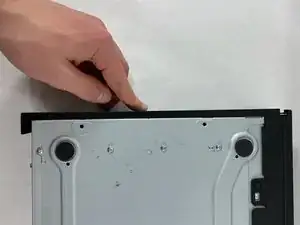
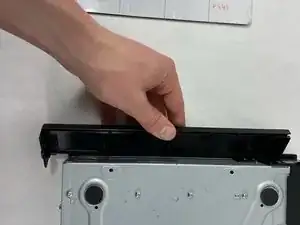
Slide both covers back about a 1/2 inch, then pull them away from the case.
-
-
-
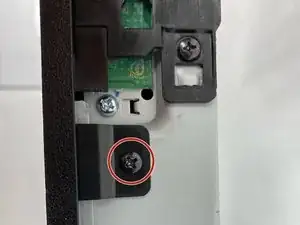
Use a Phillips #2 screwdriver to remove the two 10.5 mm screws on the side of the case, each connecting to a tab on the cover.
-
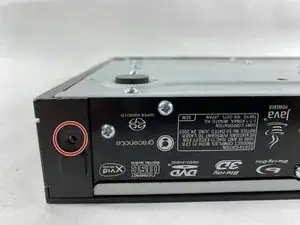
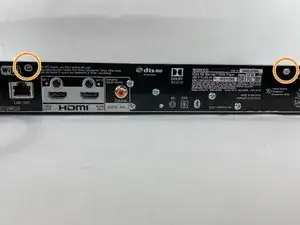
Use a Phillips #2 screwdriver to remove the two 10.5 mm screws (one next to the Wi-Fi logo and one next to the Blu-ray logo).
-
-
-
Press in the tabs found on the front-sides of the case (connected to the front panel).
-
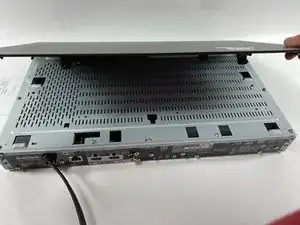
Slide the top cover forward.
-
Lift off the case.
-
-
-
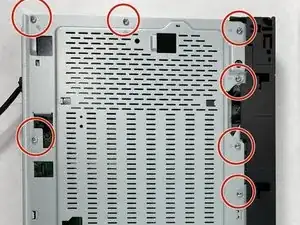
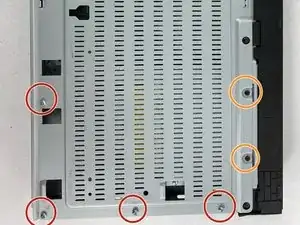
Find the eleven 10.5 mm silver screws and two 6 mm black screws on the perimeter of the silver cover plate.
-
Remove the silver screws using a Phillips #2 screwdriver and the black ones using a Phillips #1 screwdriver.
-
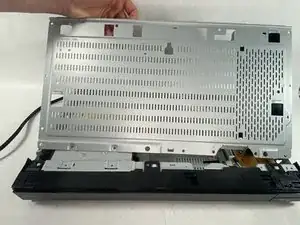
Life the back of the cover up and off of the chasis.
-