Introduction
The hard drive stores all the user’s data in the laptop, so once the hard drive fails all of the laptop’s data is harder to restore. A hard drive would only have to be removed if the laptop’s screen fails to display, which is often associated with overheating, or if the user is looking to store a larger data set. Before replacing, make sure the replacement hard drive and a Phillips #0 screwdriver are present.
-
-
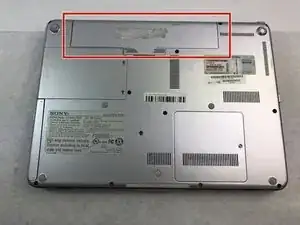
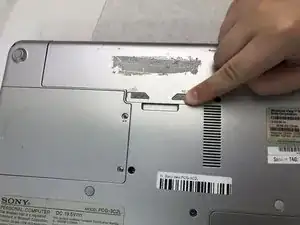
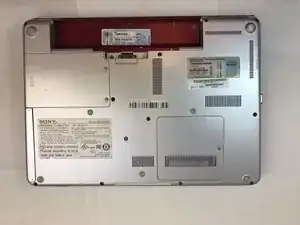
Turn your computer over so the bottom is facing up.
-
The battery should be in the top on the back of the computer.
-
-
-
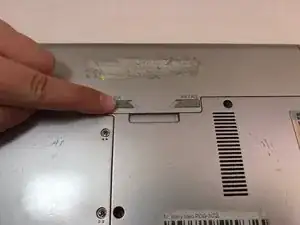
Initially, the "lock" button should be pushed all the way to the left. To unlock the battery, move the lock button from the left to the right.
-
-
-
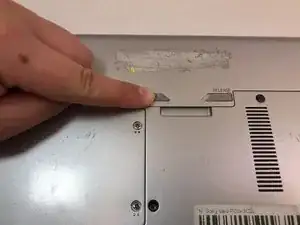
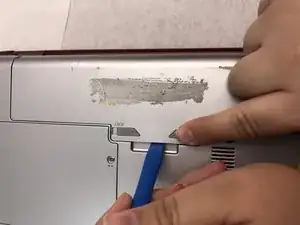
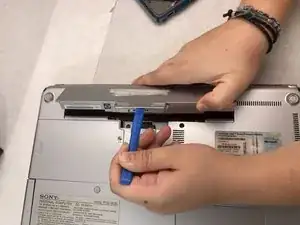
Keep the "release" button pressed.
-
Use the iFixit opening tool (or your hands) to lift the battery up.
-
-
-
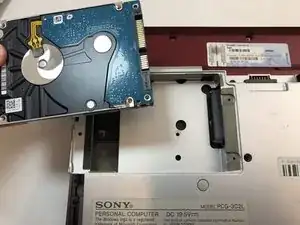
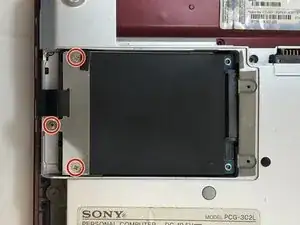
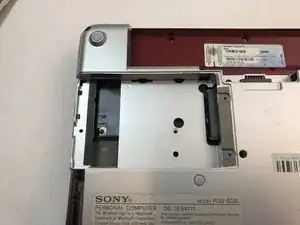
Using a Phillips #0 screwdriver, remove the three 8mm screws on the hard drive casing.
-
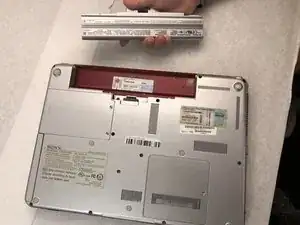
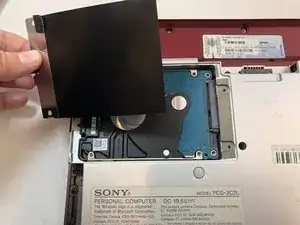
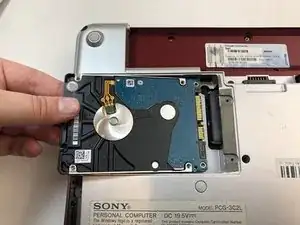
Remove the black hard drive casing by pulling it off.
-


To reassemble your device, follow these instructions in reverse order.
