Introduction
The hard drive is essential for saving all of your files and data. Over time, the hard drive performance can start to deteriorate, putting your data at risk. This guide will demonstrate how to properly remove and replace your hard drive for the device.
-
-
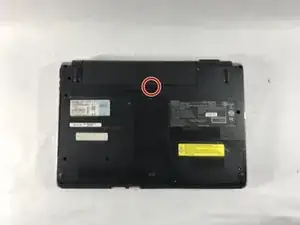
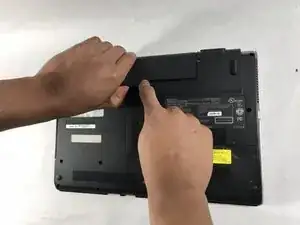
Turn the device over onto its back, where the battery is at the top of the device. Slide the "lock" switch to the right.
-
-
-
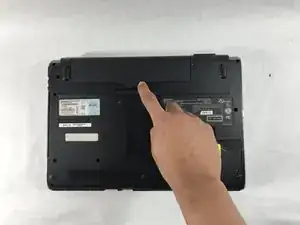
Slide the "release" switch to the left and gently lift the battery up to remove it.
-
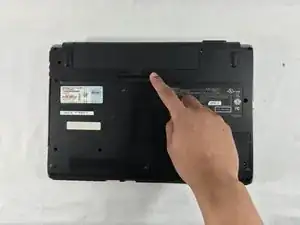
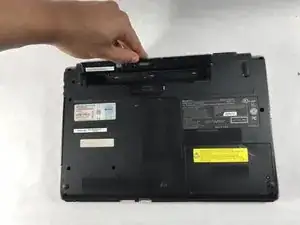
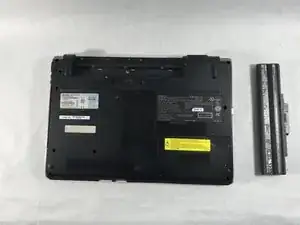
Completely remove the battery from the device.
-
-
-
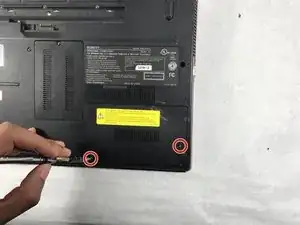
Using the PH #0 screwdriver, unscrew the two 6.5mm screws located in the bottom left and middle right of the panel. The screws remain in the panels.
-
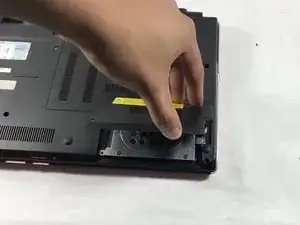
Remove the panel by pulling it up towards yourself.
-
-
-
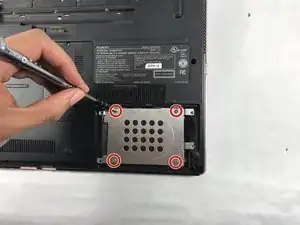
Using a PH0 screwdriver, remove the four 3mm silver screws located in the external hard drive cover.
-
Using a PH00 screwdriver, remove the final 3mm black screw located in the top right section of the hard drive cover.
-
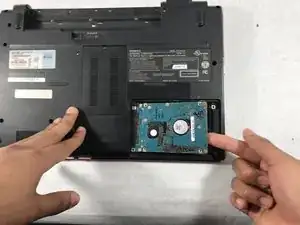
Carefully remove the silver hard drive cover.
-
-
-
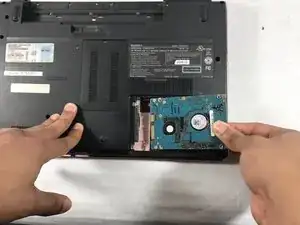
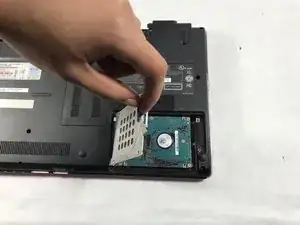
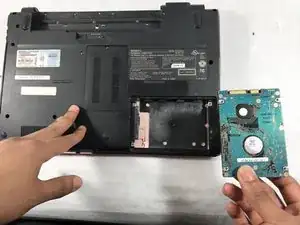
Detach the hard drive by disconnecting it from the motherboard, pulling it gently from left to right.
-


To reassemble your device, follow these instructions in reverse order.