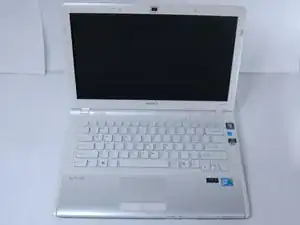
Introduction
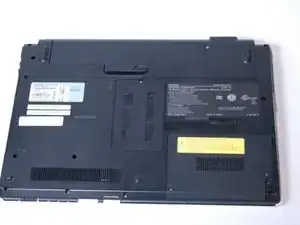
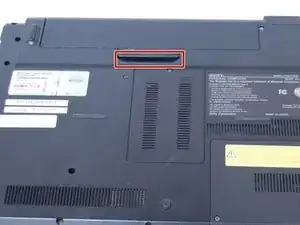
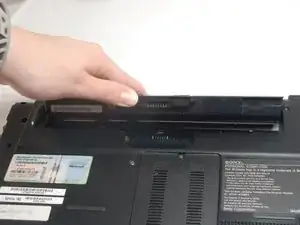
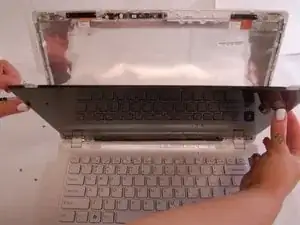
In order to remove the screen safely, be sure to take out the battery first. The screen can be replaced once you remove the plastic cover located on the back of the laptop with all screws removed.
-
-
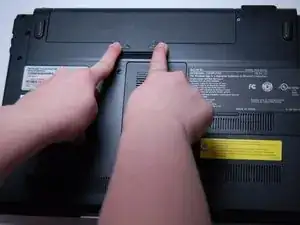
Use your fingernail or a plastic tool to lift the battery. Rotate the battery up and away to remove from the laptop.
-
-
-
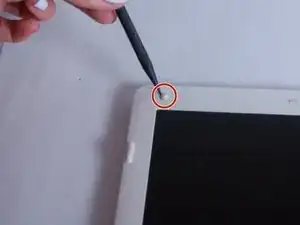
Remove the rubber pads on all four corners of the screen bezel using the spudger.
-
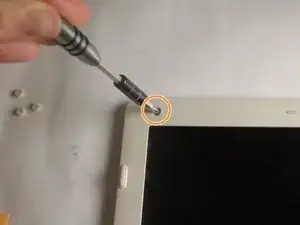
Remove the four screws (Length: 7.7 mm) using the Phillips #0 screwdriver.
-
-
-
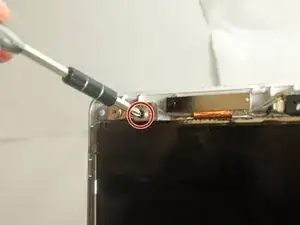
Remove all four screws (Length: 7.7 mm) using a Phillips #0 screwdriver. Make sure to hold the screen while removing the screws so it doesn't fall.
-
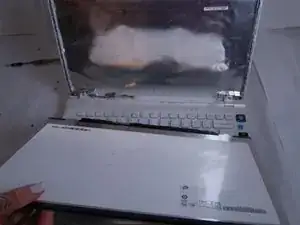
Using your thumb, carefully lower the glass and place it on the keyboard.
-
-
-
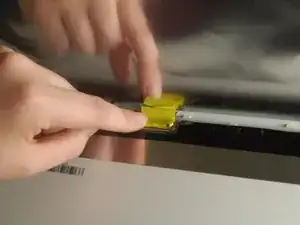
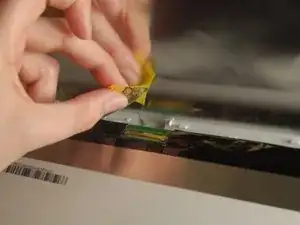
Pull off the tape and disconnect the display cable connector by gently sliding up to remove it from its socket.
-

To reassemble your device, follow these instructions in reverse order.