
Introduction
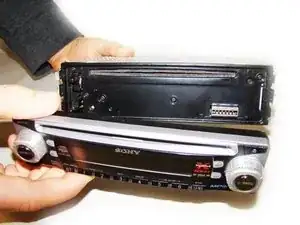
Make sure you can explore the Xplod very well.
-
-
Press down the release button on the bottom left corner of the face plate.
-
Then remove the face plate carefully.
-
-
-
Using the Phillips #0 Screwdriver, unscrew the 4 (length - 11.11mm) screws on the front screen.
-
-
-
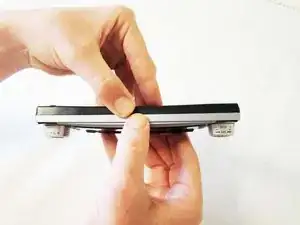
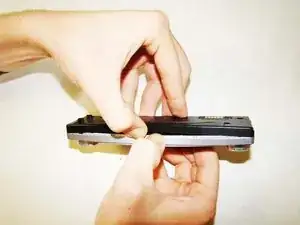
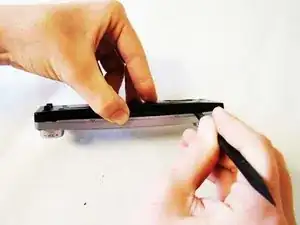
Use two fingers to create a small gap in the top of the faceplate, as indicated in the picture.
-
-
-
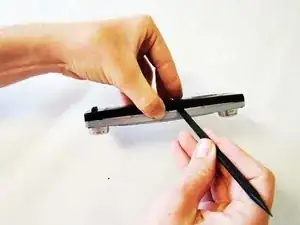
Insert the flat end of the Heavy-duty Spudger into the opening you created.
-
Slide it to the right carefully, until you feel the screen pop off.
-
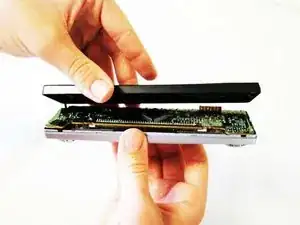
Make sure you keep the face of the screen pointed down as you carefully lift off the freed black portion of the screen - as shown in the picture.
-
-
-
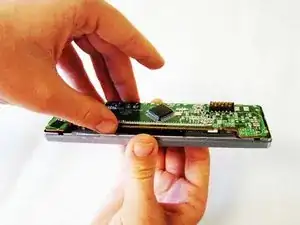
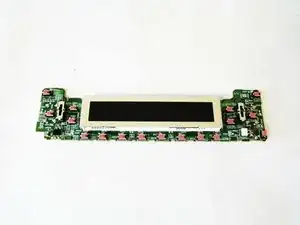
Gently grab the Front Motherboard - as indicated in the picture - and lift it from the rest of the screen.
-
-
-
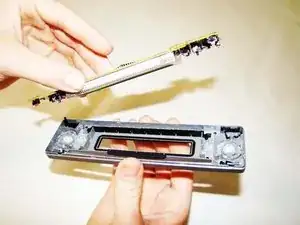
To remove the LCD, please refer to the iFixit soldering guide.
-
Once the LCD screen is removed, you have unrestricted access to the front screen motherboard.
-


To reassemble your device, follow these instructions in reverse order.