Introduction

  1. QYKsWHUiRB4jtZxE
    • Disconnect the battery and power cord from the computer.

  2. HE1rukjq4PN2WtEl
    • Remove the two 5mm screws near the front of the computer

  3. 6X2loxymoWScFAid
    • Slide the panel towards the front of the computer; it will come off easily.

  4. 6QJDJCgDY4QEA6Qj
    6QJDJCgDY4QEA6Qj
    kLqrSRMv2EmPJlu1
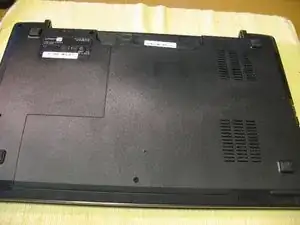
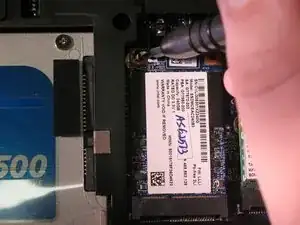
    • If you have not already, be sure to ground yourself before touching any internal parts.

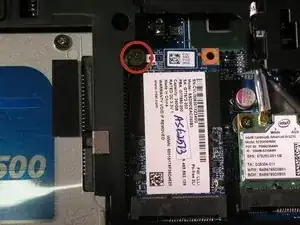
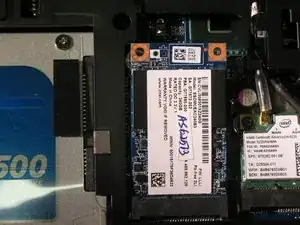
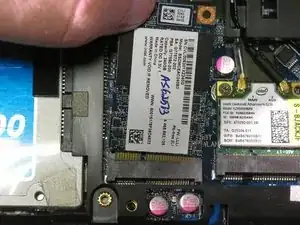
    • Remove the single 3mm screw holding down the SSD.

  5. WuytLEiKEWauUcUv
    WuytLEiKEWauUcUv
    2P6QwAnChHKfIDCr
    • The drive will stick up slightly; gently remove it.

Conclusion

To reassemble your device, follow these instructions in reverse order.

James Dearing

Member since: 31/05/12

164 Reputation

0 comments