
Introduction
To my understanding teddy bears aren’t recyclable. With the millions of stuffed toys being produced each holiday, let alone each year, repairing specific parts of the teddy bear would save them from going to the landfill. Also, it would be nice to repair something sentimental instead of tossing it and replacing it completely.
This guide does require the use of scissors and a needle, which can both be hazardous should they not be regarded with care.
Tools
-
-
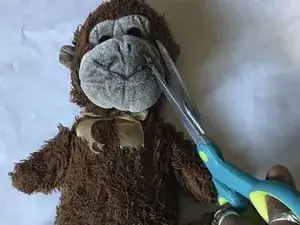
Using a water-soluble marker, test a small patch on the teddy bear in the area you will be replacing the smile.
-
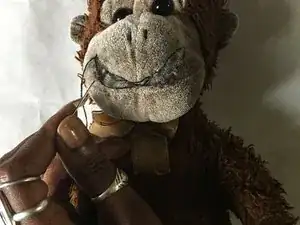
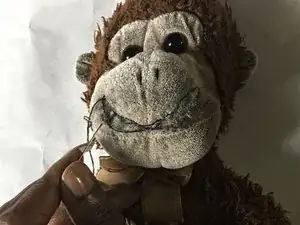
Once you have tested the patch and made sure the marker washes off the fabric, sketch the smile in the area you desire.
-
-
-
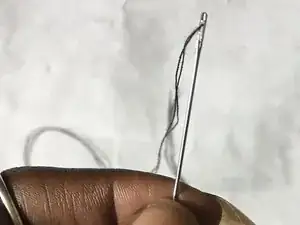
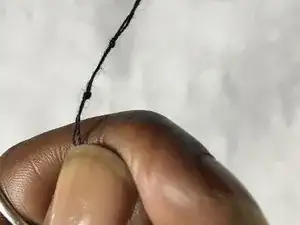
Take one end of the thread and slide it through the thin hole, or eye, at the top of the needle.
-
Once the needle is threaded with your desired length of string (the length of the smile plus a bit more), tie both ends of the string together in a knot.
-
-
-
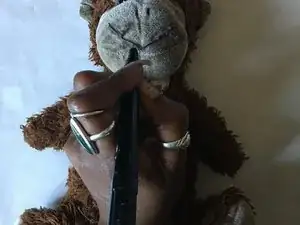
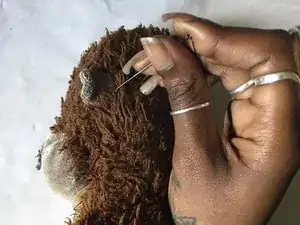
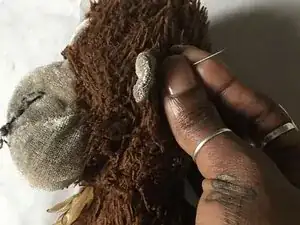
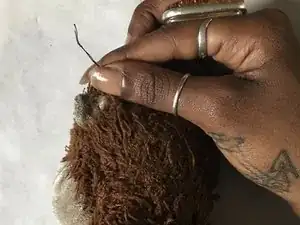
At an angle, stick the needle through the back of the ear.
-
Pull the needle through a stitch-length away from the corner of your drawn on mouth.
-
Keep pulling until you feel the tug of the knot on the inside of the smile.
-
-
-
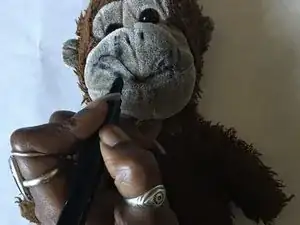
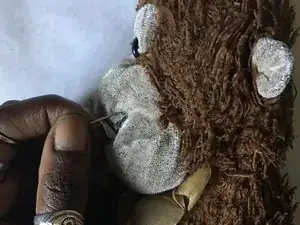
Stick the needle back through the hole you just made and pull it out a stitch-length away; this starts the backstitch.
-
-
-
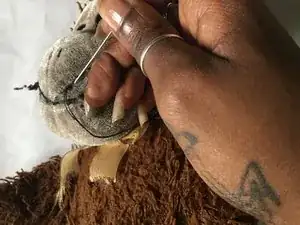
Stick the needle through the second-to-last stitch.
-
Pull the needle through, diagonally, and pull it out behind the ear that you started with. This will leave a “tail” hanging from behind the ear.
-
-
-
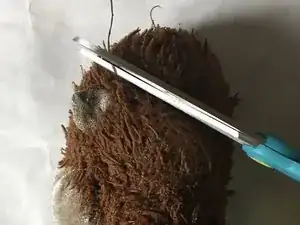
At the longest part of the thread, cut the needle away.
-
Tie the two pieces of thread together into a knot against the back of the ear.
-
Cut away the remaining thread.
-


And now you’re all set! You get to enjoy more moments with your sentimental piece!
One comment
Please are you able to tell me the brand of this monkey? I’ve been searching for months for this as a replacement for my daughters lost monkey