Introduction
Is your Toshiba Satellite P55W-C5200X making weird noises or getting to very high temperatures? If so a problem may be occurring with your fan. One cause may be something may be caught or blocking the fan, or dust could be collecting on your fan. It could be a more severe reason as well being a defective fan that should be replaced immediately.
The recommendation would be to check and see, and see if a replacement is in order. There is not much risk involved in doing so but it is advised to make sure the device is turned off and the battery is removed when working on its components.
All tools needed to check and /or replace the fan unit are listed below.
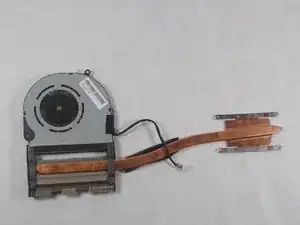
This guide will show Toshiba Satellite P55W-C5200X users how to replace a defective fan.
-
-
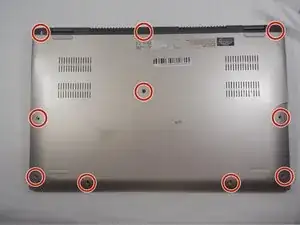
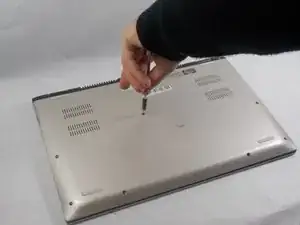
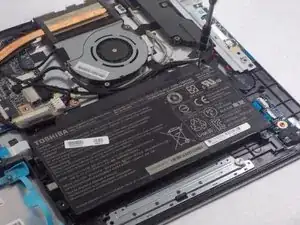
Use the Phillips #00 screwdriver to remove the ten 4.0 mm screws located at the bottom of the laptop.
-
-
-
Use the black nylon spudger to pry the back casing along the edges.
-
Continue to pry along the edge of the back case until the back is ready to be removed.
-
-
-
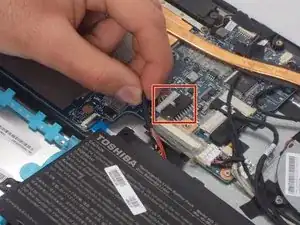
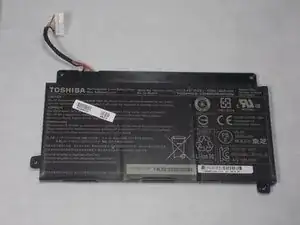
Disconnect the battery cable from the motherboard by carefully pulling on the black wire at the point closest to the white tab.
-
-
-
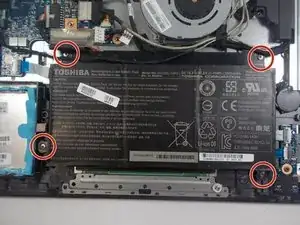
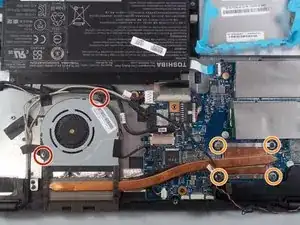
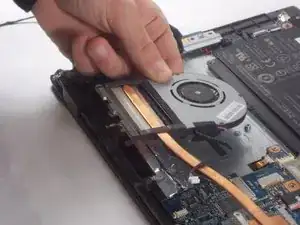
Remove the two 4.0 mm screws using the Phillips #00 screwdriver.
-
Remove the four 2.0 mm screws using the Phillips #0 screwdriver.
-
-
-
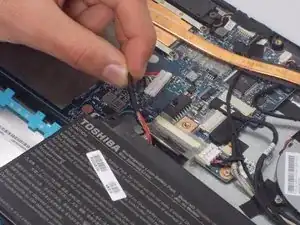
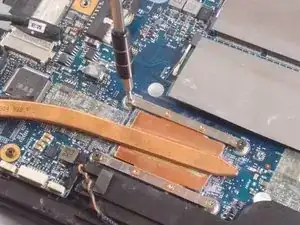
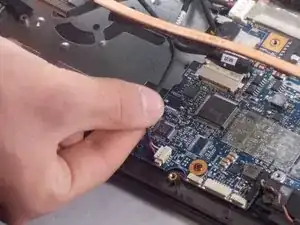
Disconnect the fan cable from the motherboard by carefully pulling on the black wire at the point closest to the white tab.
-


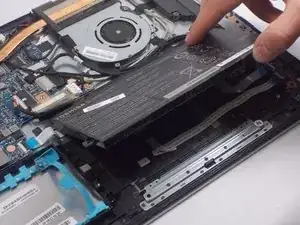
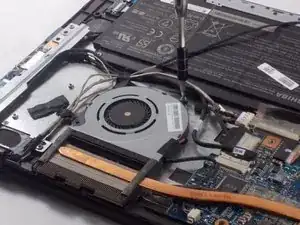


To reassemble your device, follow these instructions in reverse order.