Introduction
Parts
-
-
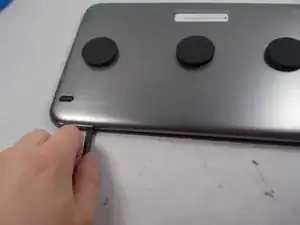
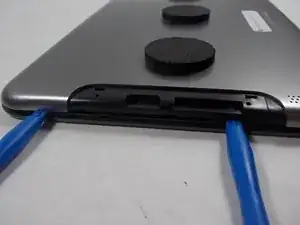
Pry around the outside carefully using the black spudger to get in. Putting many opening tools around the edge helps keep it from sealing shut again.
-
-
-
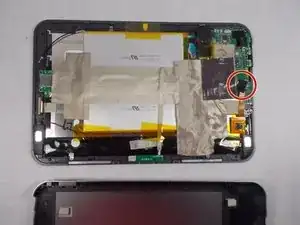
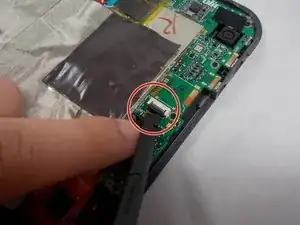
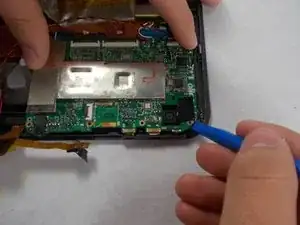
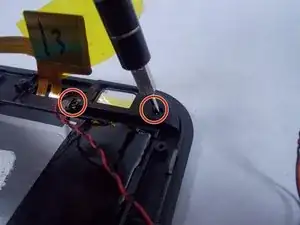
Remove the ribbon cable by using the black spudger to release the tab and carefully pull out the ribbon cable.
-
-
-
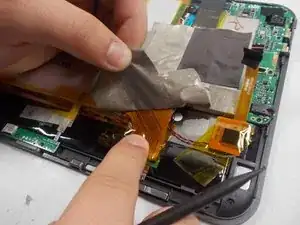
Peel up the grey tape so that you can get to the board and untape the ribbon cable that was removed from the motherboard in the previous step.
-
-
-
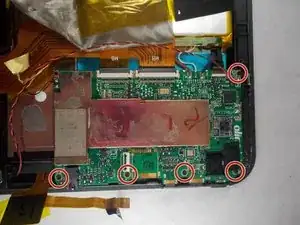
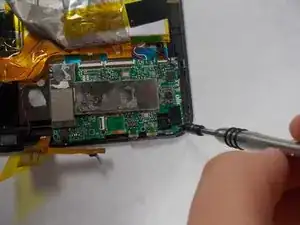
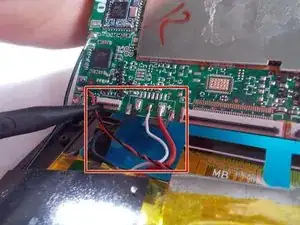
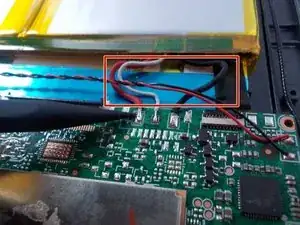
Detach the three ribbon cables using spudger in the first picture. Then cut the black, white, and red wires shown in picture two.
-
-
-
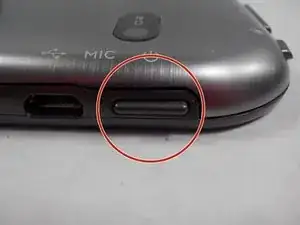
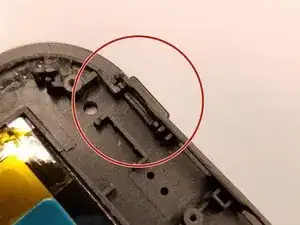
Check to see if plastic power button is broken. If broken, replace with new plastic power button. Rebuild device by doing steps 1-8 in reverse order and see if your power button is working. If the device still does not turn on, follow steps 1-8 and skip this step.
-
-
-
Remove old motherboard from tablet. Take the new motherboard and splice the black wire of the board to the black wire of the battery. Do the same for the white and red wires.
-


To reassemble your device, follow steps 1-8 and 10-11 in reverse order.
One comment
Hello,
Do you have a part for the power button or know of a place that would sell them?
Thanks!
John -