Introduction

Do any of the lights on your device appear to be dimly lit or not come on at all? Replacing the LEDs may solve your problem.

  1. lyOCxumVqgpV43N1
    • To remove the battery door, loosen the screw shown using a Phillips #2 screwdriver.

    • A coin can also be used to loosen the screw.

  2. vQZDqVx4XiyaCcYg
    • Remove the battery door.

    • Take out the batteries.

  3. IXHZ2LSUNxuOteOQ
    IXHZ2LSUNxuOteOQ
    N2FkC1lPlVrMOKup
    • Using a Phillips #0 screwdriver, unscrew the six 7.3mm screws holding the screen together.

  4. ZmWEIIieMdmp4pQX
    ZmWEIIieMdmp4pQX
    OP4nJHUhvH1W1XKn
    cRtWiJvUIxKJScRM
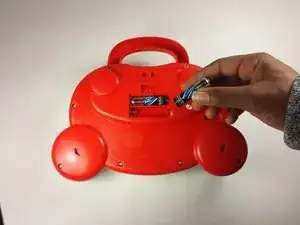
    • With the lid closed, position the device such that the handle is pointing towards you.

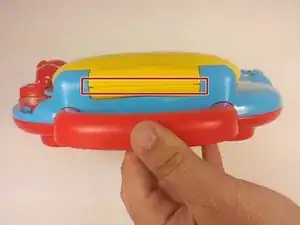
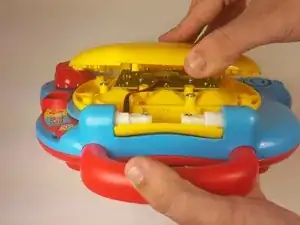
    • Using your fingers, gently pry open the cover from the hinge.

    • Attempting to remove the cover while the lid is still open may cause unwanted damage to the device.

  5. hjbtqkuAZjrPPxof
    • Remove two 6.0mm screws from the LED array using a Phillips #0 screwdriver.

  6. y6IQxjw6THX1nooW
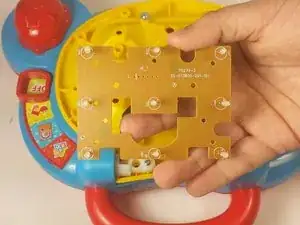
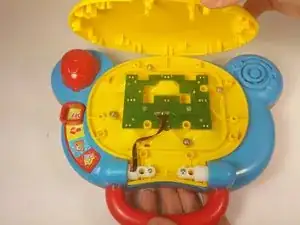
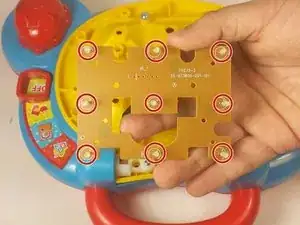
    • Pickup the array by the opening in the center of the board.

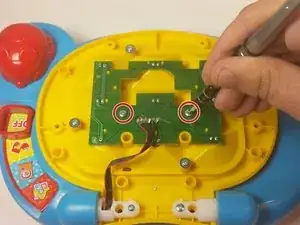
    • Remove the faulty LEDs by desoldering each from the board. You may refer to this soldering guide if necessary.

    • Movement of the array will be limited as it is still attached to the main device board.

Conclusion

To reassemble your device, follow these instructions in reverse order.

Christopher Kourmoulakis

Member since: 03/09/15

373 Reputation

0 comments