Introduction

Replacing the water pump is a complex problem as it requires the use of several different tools, the removal and replacement of different parts, the tuning of different components, and working in tight spaces. This problem is safe, and can be fixed on a tabletop. While working on the pump, the pump will be unplugged, preventing any shock from occurring.


  1. bt6PXcKtl4HdvWDT
    bt6PXcKtl4HdvWDT
    Z4FFbKvGAnHCB6Om
    T2J6LfRrGh2vRIPK
    • Remove four screws on exterior of cage.

    • Note: There are two screws on each side.

    • Remove cage to reach the inside of the pump.

  2. Q3BEM1hMqpSrUEE5
    Q3BEM1hMqpSrUEE5
    254Q2ltg4ZOQodAN
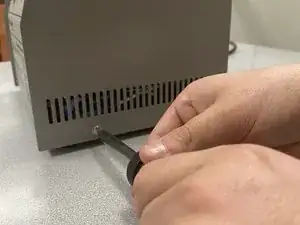
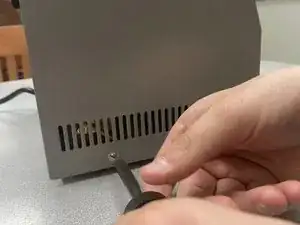
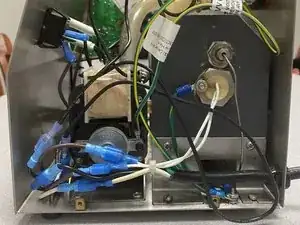
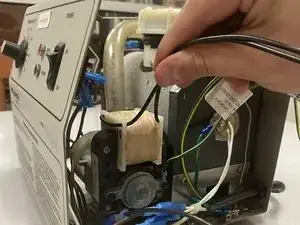
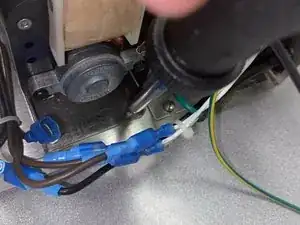
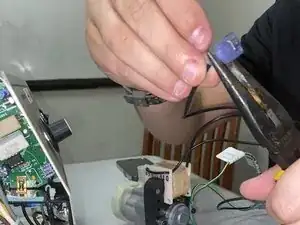
    • Remove the side panel and locate the 2 black wires coming off of the pump.

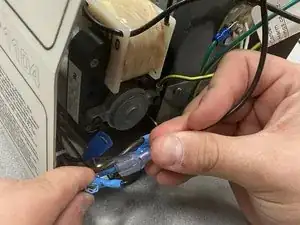
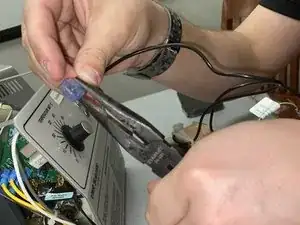
    • Disconnect both wires.

  3. 1TwjSITQMdbrmi2I
    1TwjSITQMdbrmi2I
    BZYpMpXqonPWT2PJ
    iRbFNlekP1qp1oXX
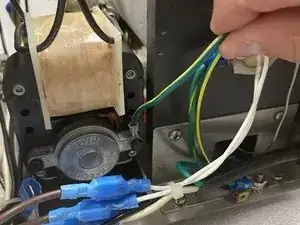
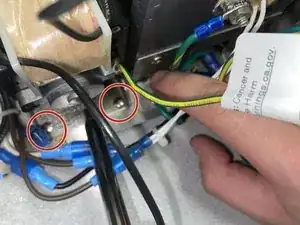
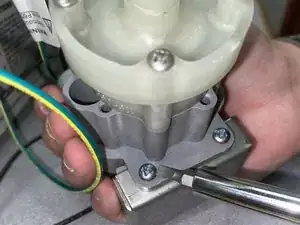
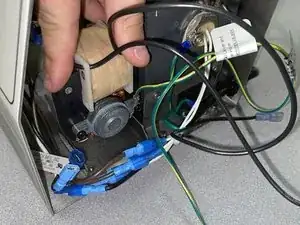
    • Locate the green & yellow wire coming off of the pump.

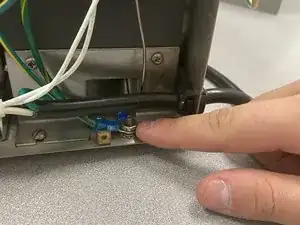
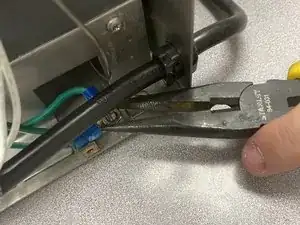
    • Loosen the nut using pliers.

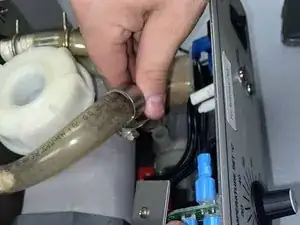
    • Disconnect the green & yellow wire.

  4. fxWphcQqrDNQRsui
    fxWphcQqrDNQRsui
    w5IsnIFhdwtxjlfJ
    • Loosen the screws connecting the device to the base plate.

  5. aoWEKmUULlhCSJlQ
    • Locate the connecting hoses.

    • Loosen the hose clamps.

    • Remove the hoses from the pump.

  6. jGom2ViDwOJflqdW
    jGom2ViDwOJflqdW
    YE4gO2OfcqDYvSQZ
    PZYgXNQL5AHTMGED
    • Remove screws from the base pump.

    • Attach the base plate to the new pump.

  7. jOqyqC3HMPAHSpcW
    • Using the pliers, attach the circle wire connector to the green/yellow wires.

    • Note: All wire connections may not be used depending on the model of the pump

  8. 5oXhjXKygfMkcXxx
    5oXhjXKygfMkcXxx
    rWnA21PBHaYagruD
    qPPPLHWwPxfDYvjp
    • Attach the female wire connector to the black wire on the right. Attach the male wire connector to the black wire on the left.

Conclusion

To reassemble your device, follow these instructions in reverse order.

Water Pump Group

Member since: 06/04/23

157 Reputation

0 comments