Introduction
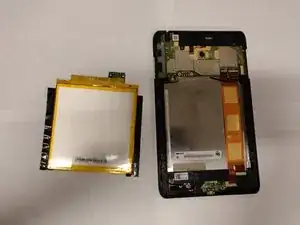
This repair guide is designed to allow the user to disassemble your Verizon Ellipsis 8 in order to replace a faulty battery. This task should take only about 5 minutes and will require the use of a plastic opening tool as well as a screwdriver. The task has been ranked as an easy repair and the following steps and photos outline how to successfully replace your faulty battery.
-
-
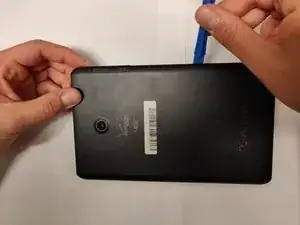
Using a plastic opening tool, slowly pry along the seam running along the edge of the device until the back case snaps free.
-
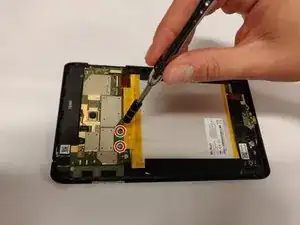
Remove the back case.
-
-
-
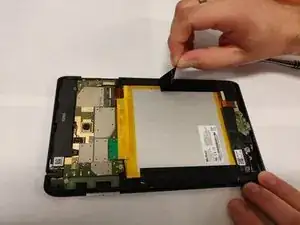
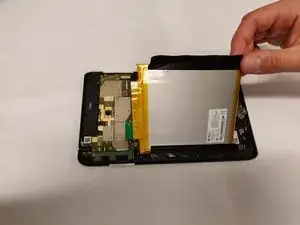
Once you remove the backing of the Verizon Ellipsis 8, gently use the spudger to lift one side of the tape. Once you have lifted the tape, slowly remove it until it is completely off the battery.
-
To reassemble your device, follow these instructions in reverse order.
2 comments
Thanks! Easy to follow because of the pictures.
These instructions do not apply to the Verizon Ellipsis 8, QTASUN1. The G3 LTE unit requires that you remove the top end that covers the camera lens by popping the edge fasteners along the seam across the back with the spudger, carefully and then sliding the end (that covers the camera lens) off the top of the tablet. At that point three tiny Allen screws will become exposed. Remove the tiny screws and put them on a piece of tape! Make sure the micro memory card and sim card are removed! Using the spudger ( or a very thin knife edge) pop the bottom covering snaps backwards until you can slide the back downward to expose the battery. At that point it is the same as the description for battery replacement. Be very careful about loosing the three tiny, tiny, tainy flat head allen screws that hold the back on the tablet. Take your time and be methodical. If an 80 year old can do it, so can you!
Add caution or some other bullets and say “you need to pull hard on the lid“.
Jack -