Introduction
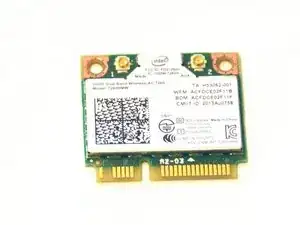
Replacing the Intel Centrino Wireless Chipset with a component that meets the same standard.
Tools
Parts
-
-
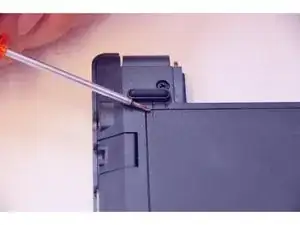
Unlock the battery latch on the right.
-
Unlock the battery lock on the left.
-
Remove the battery pack from its slot.
-
-
-
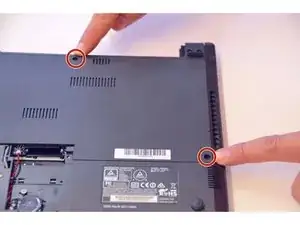
Using the Philips # 0 screwdriver, unscrew the 2 screws of the top cover
-
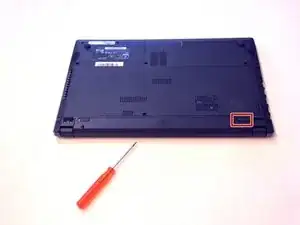
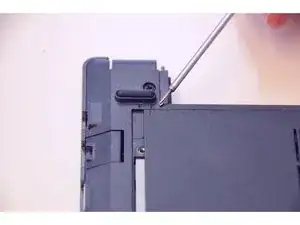
Check the marks indicating the direction in which the cover must be removed.
-
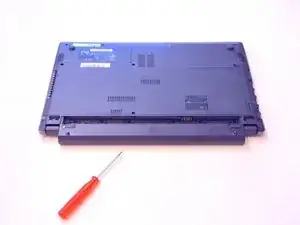
Remove the bottom cover by removing it in the direction of the markers.
-
-
-
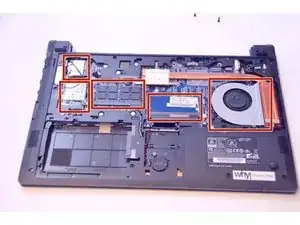
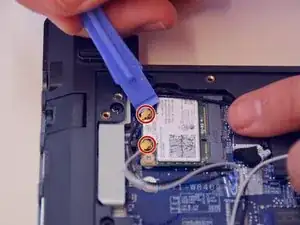
Here is the WLAN Chipset / Bluetooth
-
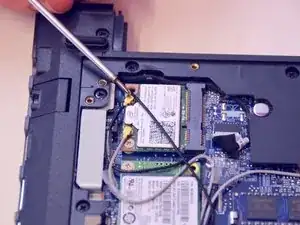
Gently unplug the MAIN and AUX antennas.
-
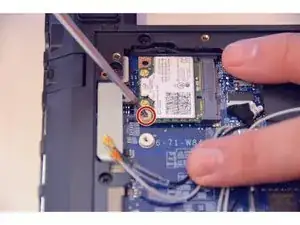
Unscrew the fixing screw with Philips # 0 screwdriver.
-
-
-
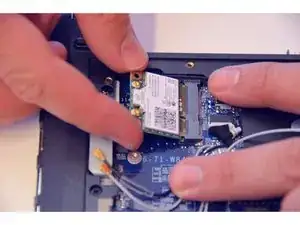
Slightly lift the chipset and remove it from the mSATA connector.
-
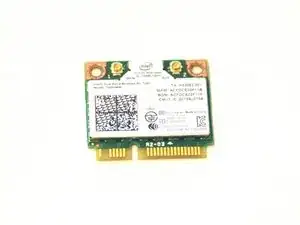
Here is the chipset outside of its location.
-

Conclusion
To reassemble your device follow the following instructions in reverse order