Introduction

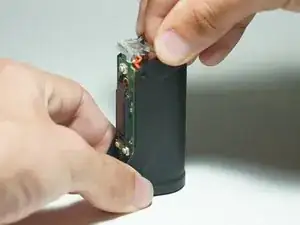
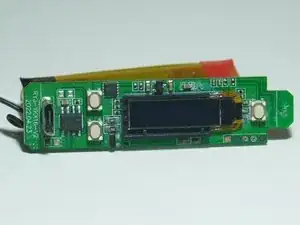
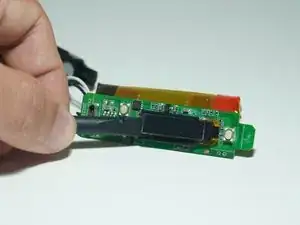
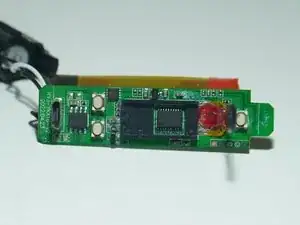
My device was water damaged so I decided to take it apart! You will see signs of corrosion on the motherboard and electronics closeup images.

  1. mfBFPKoIvxZA4L2v
    mfBFPKoIvxZA4L2v
    FlDLYGFRubvafuPS
    IQV6yA1Rh6t5wbNg
    • Remove 2 Phillips head screws. There is one on each side of the device

  2. VSRq6YvK2KsvmMql
    VSRq6YvK2KsvmMql
    3fJxCGQSvkTl4cUE
    1I3eqOWhZKVwvjNc
    • Flip the device over and pull the cover upwards

  3. 6SaZQXwOgOXgkLvU
    6SaZQXwOgOXgkLvU
    fSfRqcSmKtONuEL5
    gvlyNr5ltclgQJ6o
    • Remove the aperture adjustment holder

  4. SBLDBjlALjRKNFaH
    SBLDBjlALjRKNFaH
    B1LHQ6lIkbTBckRv
    • Remove O-Ring

  5. STMZCOyTuLqXQmKP
    STMZCOyTuLqXQmKP
    6DYNEHaxgvif2AMD
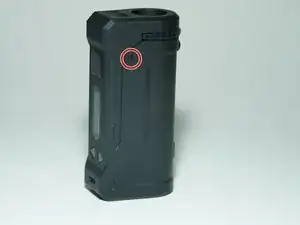
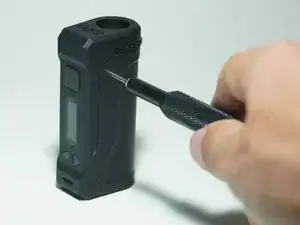
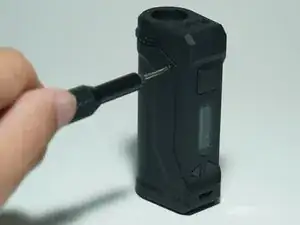
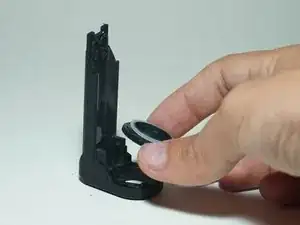
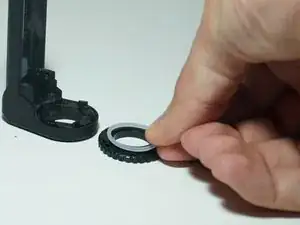
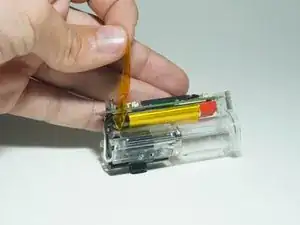
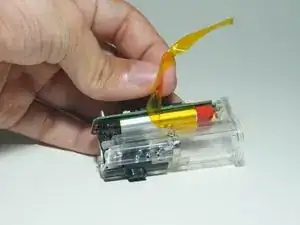
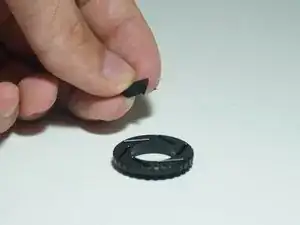
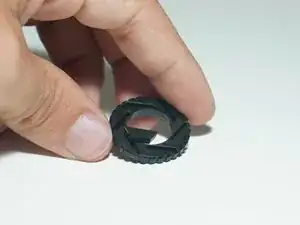
    • Remove buttons and aperture/shutter pieces

    • They should just fall out. If not, they can be removed with your fingers

  6. VfouYxGoJNKFXuJM
    VfouYxGoJNKFXuJM
    N6UyxmHKEa4UGe1V
    • Grip the bottom and top of the device and pull up slightly

    • The next step will fully remove it

  7. EhsQrkVJdJaNZMTM
    EhsQrkVJdJaNZMTM
    VpmJcnNiLnQ1Cmax
    PPXY4N2tIVmA2blp
    • Pull the clear plastic out and away to the left

    • Pull up at an angle

  8. oeHwsoIDbl2wGQMB
    oeHwsoIDbl2wGQMB
    41ElLBkAsCOxhll4
    JcjcZioeTY5VNIVO
    • Peel the Kapton Tape off of the battery and clear plastic

  9. dRfDNoFGrEYSCfNd
    dRfDNoFGrEYSCfNd
    6EBB1vKPrH5UPpfN
    • Slide the circuit board back so that it is not under the plastic lip

  10. nJYg6C6VMN5pMOVP
    nJYg6C6VMN5pMOVP
    SZn2JwVOCIfcxMsR
    HjYUtmAxdDIttrON
    • Slowly peel the battery and circuit board away from the plastic housing

    • There is some adhesive under the battery so be careful

  11. mRx6RSyBRFjp3Bua
    mRx6RSyBRFjp3Bua
    oxNVA4kX3rWMJsmG
    knG23dDF3iYlnBnP
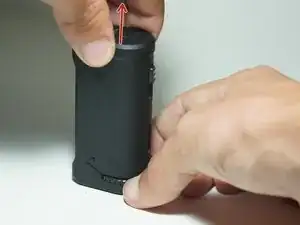
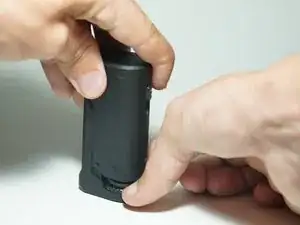
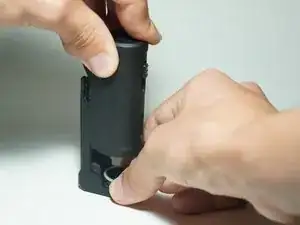
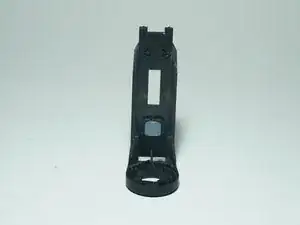
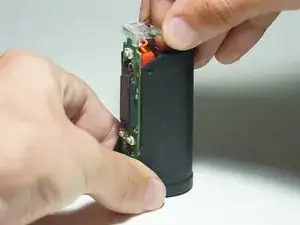
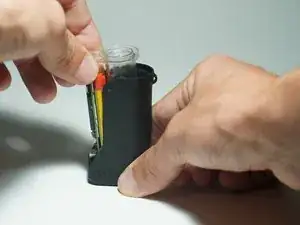
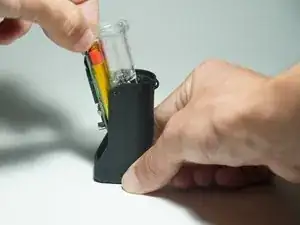
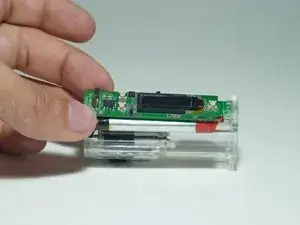
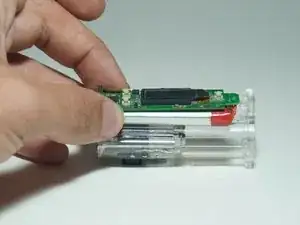
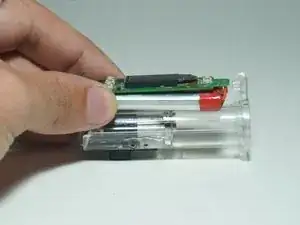
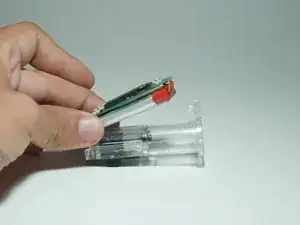
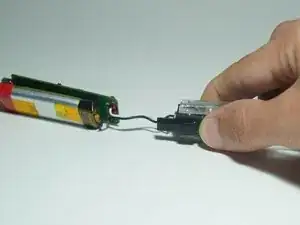
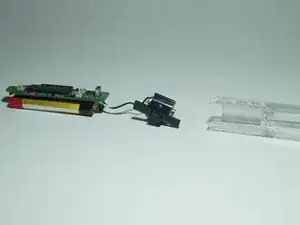
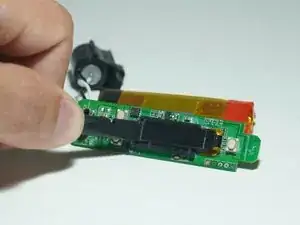
    • Grip the plastic case and use your thumb to remove the height adjustment module

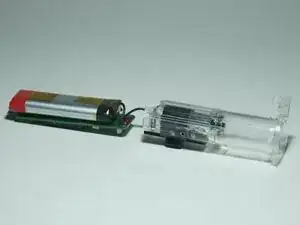
    • It should slide out all the way

    • The ball bearings in the next step might fall out right away so be careful that they don't roll away!

  12. EIGMWUx1eF61xd4E
    EIGMWUx1eF61xd4E
    aSLLxLrnenpXNCHa
    GUSrFJjkv4UJMvor
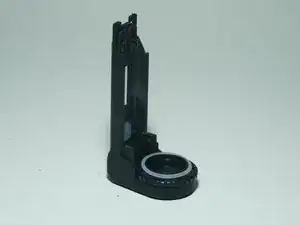
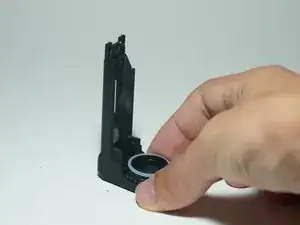
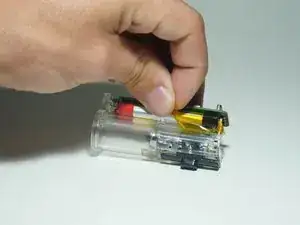
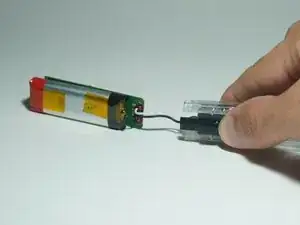
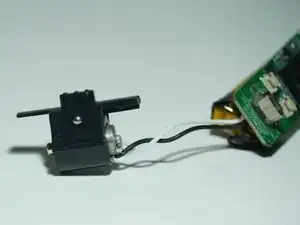
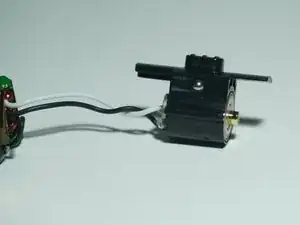
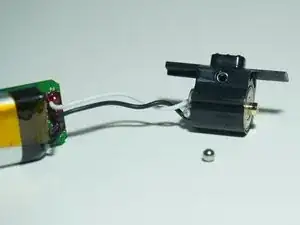
    • There are two ball bearings that make the height adjustment module work and lock into position.

    • There is one on each side and they easily fall out so be careful

  13. jSmAPvLinq5ZebJa
    jSmAPvLinq5ZebJa
    J3CHWHfTNshurBAX
    • Just some pretty pictures

  14. wu3XLoCREssuYasM
    wu3XLoCREssuYasM
    CnvoSLlb1oRK3Udo
    YdpHcZYCdF2KMRuw
    • Use a spudger to carefully remove the screen

    • It is held down with adhesive

    • There is no way to remove the screen completely unless you get rid of the red strain relief material and desolder it from the board

  15. RrwZJ3WIMfYFHN4L
    RrwZJ3WIMfYFHN4L
    Xd1r3NBxSsQfDPIC
    6EqQn3TpyCYyOceO
    • For reassembly, place the slots on the small shutter pieces into the circular holder

Conclusion

To reassemble your device, follow these instructions in reverse order.

ShellingRook27

Member since: 21/08/19

1223 Reputation

0 comments