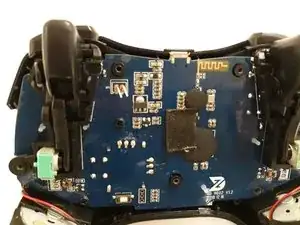
Introduction

  1. PcWemsiVJLRBByES
    • Remove the seven 12mm JIS #00 screws that hold the back panel in place.

  2. PIJjk6I6btCyYbcj
    PIJjk6I6btCyYbcj
    i6sCUV2BYE2sUUYE
    • Lift up on the back panel of the ZD-N Plus to remove it from the rest of the controller.

  3. aDlpUFMODc2NGDy6
    • Use an opening tool to pry the battery from its original position.

    • The battery is glued on, so this may take some effort.

  4. NlCqEGTjVJJp5BPx
    NlCqEGTjVJJp5BPx
    sIFKKiBveCHMfnZV
    • Use an opening tool to pry the connector away from the two metallic prongs.

    • The parts are built to stay together, so this may take some effort.

    • Be careful to not warp the prongs in the process.

  5. tPydjZrm5bfx4agP
    tPydjZrm5bfx4agP
    5JJrTAoxUYXQXRib
    • Remove the battery from the controller.

  6. nJdXqTMAMASsvwn6
    nJdXqTMAMASsvwn6
    ihPemglJqy2wrYxQ
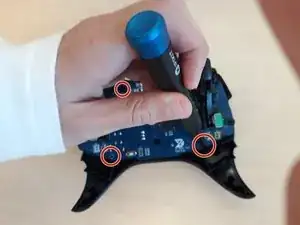
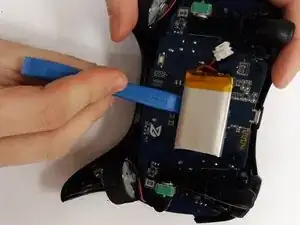
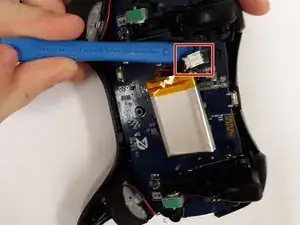
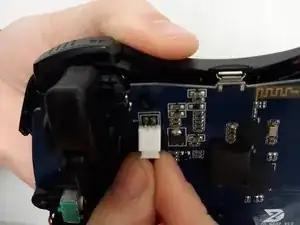
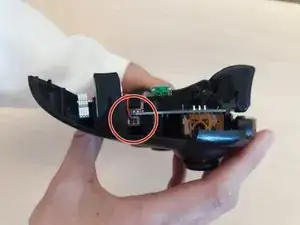
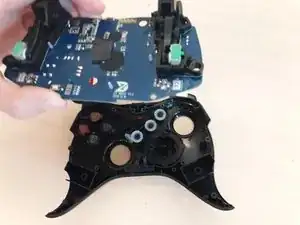
    • Remove the electrical connector attaching each rumble motor to the controller.

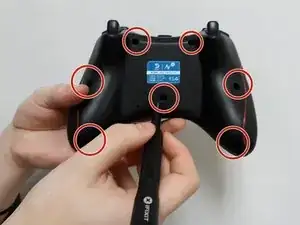
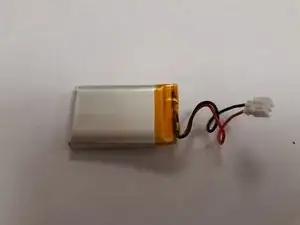
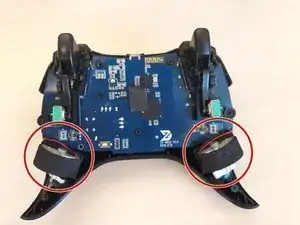
    • Lift up on the circular section of the rumble to remove it from the controller.

  7. QT4cUjIAcACTyYJV
    QT4cUjIAcACTyYJV
    JROV1DlME2DWYeQa
    • Remove the three 1.2mm JIS #00 screws that hold the motherboard in place.

  8. 5EuKG3OySRHkA2Gn
    • Lift the motherboard out of the controller.

Conclusion

To reassemble your device, follow these instructions in reverse order.

Stacie Schmidt

Member since: 15/10/19

433 Reputation

0 comments