Introduction

If your ZTE Axon 7 phone isn't charging and you've tested the battery and the AC adapter, the charging port may need to be replaced.

Axon ZTE 7 is a reliable budget option for a quick and simple phone that needs minimal upkeep. But like most things, they need some tender love and care every now and then. Charger port restoration is a quick and simple repair. To keep the device in peak condition it is recommended that the phone be completely shut off and all accessories unplugged before beginning.

Ensure that you use light pressure whenever removing parts of the device and keep the screws/extra pieces in a neat orderly fashion to make the restoration process easier.

  1. EiqPNZD33ay3hNRU
    EiqPNZD33ay3hNRU
    DDtZMlg1dwnVhprF
    • Make sure the device is powered off.

    • Using the SIM Tray Removal Tool, press the pin into the hole on the SIM Tray (located on the top left of the device) to eject the tray.

  2. 5SQvArPUQIID5IlC
    5SQvArPUQIID5IlC
    RyRTkhuS2uP33pxP
    • Heat the iOpener in the microwave for 15-30 seconds.

    • iOpener will be HOT! Use oven mitts if necessary.

    • Place the iOpener on top of the top and bottom speaker grills to loosen up the adhesive underneath.

  3. wHFKn3NIoxOSMIm6
    wHFKn3NIoxOSMIm6
    FHKsJRVGULOInpsb
    QwAcPs3WED6lluSq
    • Use a Jimmy to pry off the top and bottom speaker grills.

    • Remove the speaker grills gently so they don't crack or break off.

  4. QmSMFVK3esrMdgGn
    QmSMFVK3esrMdgGn
    jAughZ3fgZjVjREX
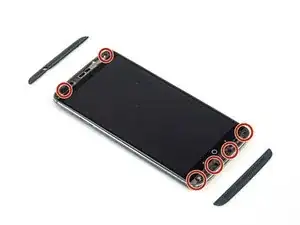
    • Use a Phillips #00 screwdriver to remove the six 3 mm screws located under the speaker grills.

    • There may be remaining adhesive covering some screws. Take time to gently scrape away the adhesive using a spudger or opening tool.

  5. xAaQ5SXeTle5Q5At
    xAaQ5SXeTle5Q5At
    OUVO5OFbMjHmd2UE
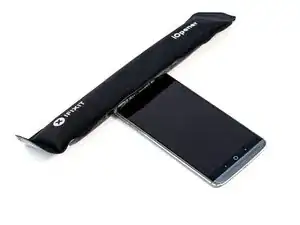
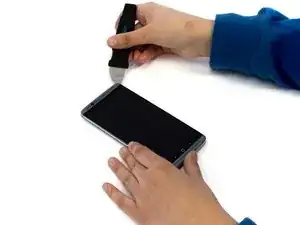
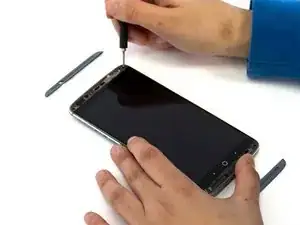
    • Carefully wedge the Jimmy between the screen and aluminum back plate of the device.

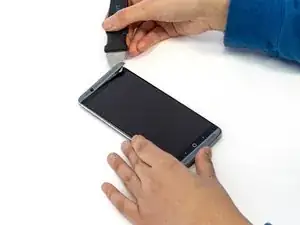
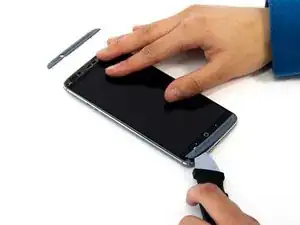
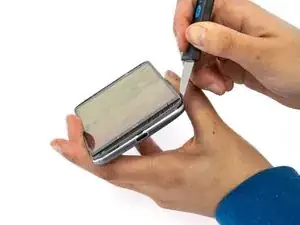
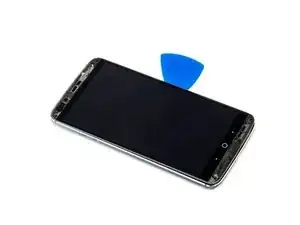
    • Begin near the bottom right of the device and carefully work under the screen and slide the Jimmy up the edge of the device to remove the back case.

    • Use plastic picks to keep the display and back aluminum casing from closing as you pry along the perimeter of the phone with the Jimmy.

  6. gVhD1xrMGM3lMWhN
    gVhD1xrMGM3lMWhN
    RvjMvbpo31cahQGQ
    ErJGtIXqbXfoXQQ2
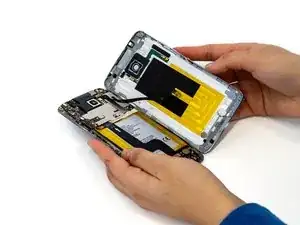
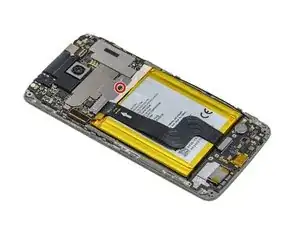
    • Separate the front and back of the phone, (like a book) to open and gain access to the internal components.

    • Careful to not damage the fingerprint sensor cable attached to the motherboard from the back casing.

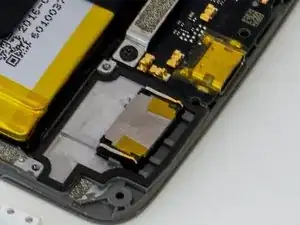
    • Place the tip of your opening tool under the edge of the connector, and pry the connector straight up from its socket.

    • Be very careful to pry only under the edge of the connector, and not under the socket itself. If you pry under the socket, you will separate it from the circuit board, which requires specialized microsoldering skills and equipment to repair.

    • To reconnect, align the connector carefully over its socket and press down with your fingertip—first at one side, then the other—until it clicks into place. Don't press down on the middle of the connector until it's fully aligned and seated. If misaligned the connector can be permanently damaged.

  7. yEXYyKyA46XCvsjJ
    • The back is now completely removed.

  8. UMDWleugUd1saqpO
    UMDWleugUd1saqpO
    HTtXqpiEAA5PLyq3
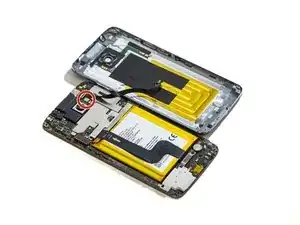
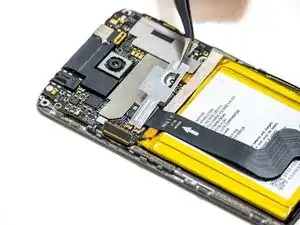
    • Use a Phillips #00 screwdriver to remove the 2.0 mm screw securing the bracket at the top of the battery.

    • Use the angled tweezers to slide the top bracket up and off the phone.

  9. iExuWmOPeP1vSmog
    iExuWmOPeP1vSmog
    34oTVoRKJpDwrtYF
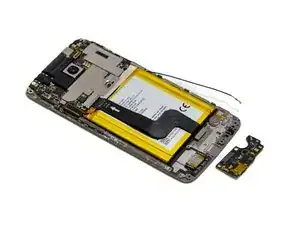
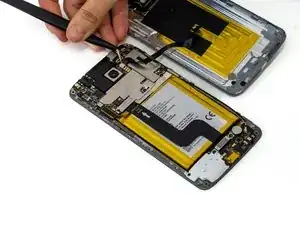
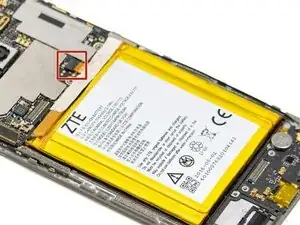
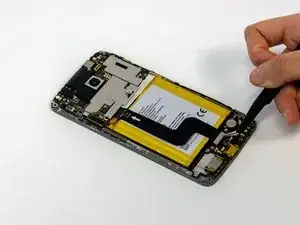
    • Place the tip of your opening tool or spudger under the edge of the battery connector, and pry the connector straight up from its socket to disconnect from the motherboard.

  10. LhOqWhRdjcVdFcJF
    LhOqWhRdjcVdFcJF
    asnd6VAPNLaNu4sd
    • Use a Phillips #00 screwdriver to remove two 2.0 mm screws from the white speaker cover.

  11. VFJYJU1Ax5ZvLkAU
    VFJYJU1Ax5ZvLkAU
    aTR3OXiJLQZIkbXX
    A1lJ6o3crUSqNXPT
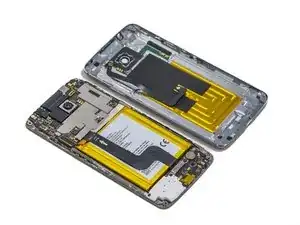
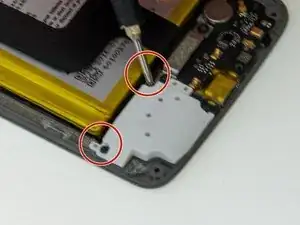
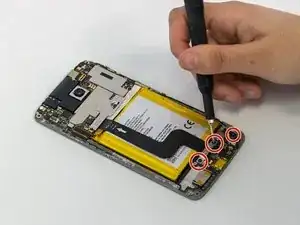
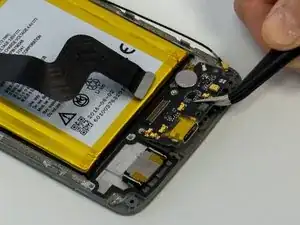
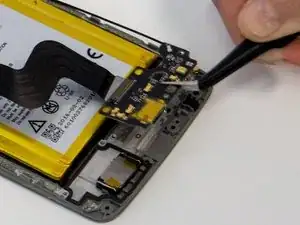
    • Use a Phillips #00 screwdriver to remove two 2.0 mm screws securing the bracket near the bottom of the battery, and a single 2.0 mm screw near the vibrator motor.

    • Use angled tweezers to remove the bottom bracket covering the main cable connector.

  12. nGXj3FCqTrCO1Ktv
    nGXj3FCqTrCO1Ktv
    uHPe6H4YfOQFxZmL
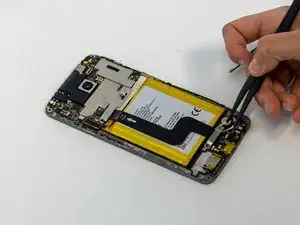
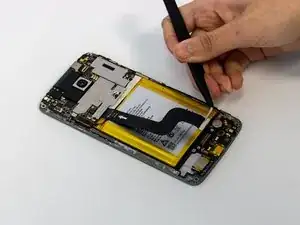
    • Pop the connector up at the bottom of the battery by placing the tip of your opening tool or spudger under the edge of the connector and prying the connector straight up from its socket.

    • Be very careful to pry only under the edge of the connector, and not under the socket itself. If you pry under the socket, you will separate it from the circuit board, which requires specialized microsoldering skills and equipment to repair.

    • To reconnect, align the connector carefully over its socket and press down with your fingertip—first at one side, then the other—until it clicks into place. If the connector isn't aligned, it might damage the connector or pins underneath.

  13. B534Nc1Nc4LHZZCZ
    B534Nc1Nc4LHZZCZ
    YYmIYOMJhbeQNnZp
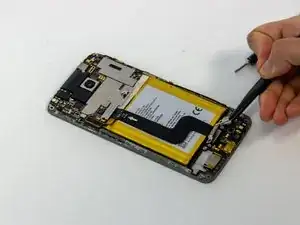
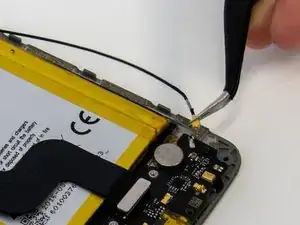
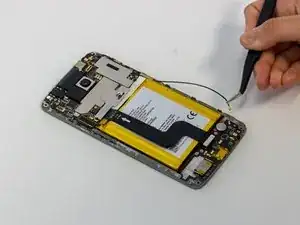
    • Slide a thin, ESD-safe pry tool or tweezers under the wire until it's snug against the connector, and pry straight up from the board to disconnect the coaxial antenna cable.

    • To reinstall, hold the connector in place and gently press it straight down. This connector should “snap” into the socket much like the metal snaps on a jacket.

  14. I4sDJiZyEOWCC3vu
    I4sDJiZyEOWCC3vu
    giyE5bnKuhyYTPxt
    BJH1vm1LOKRJVPsA
    • Use a spudger to pry under the USB-C board to lift it from the chassis.

    • This piece is strongly connected to the chassis so work the spudger around the perimeter of the USB-C board to ease it out before trying to remove it fully.

Conclusion

To reassemble your device, follow these instructions in reverse order.

IIKylieMartinII

Member since: 23/01/23

175 Reputation

0 comments