
Introduction
This guide will go over how to remove and replace a faulty speaker of a Zoomer Meowzies.
-
-
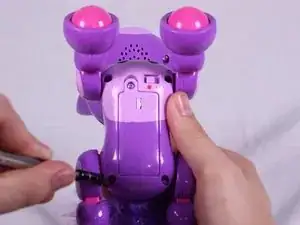
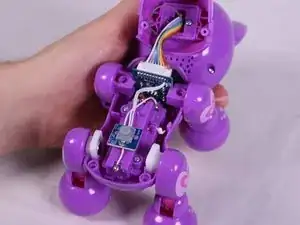
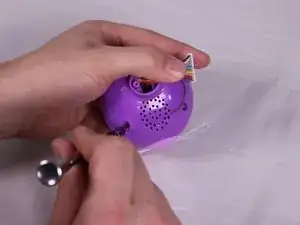
Turn the device so that the the device is on its side.
-
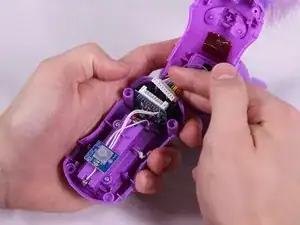
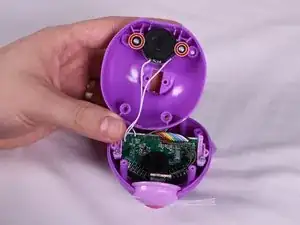
Hold the back and belly on the device and gently pull apart.
-
-
-
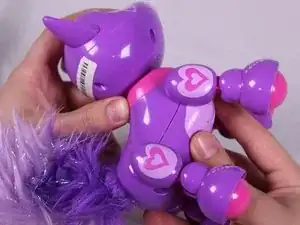
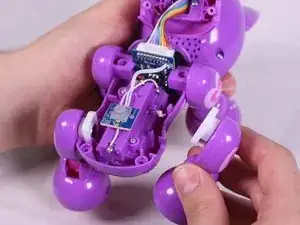
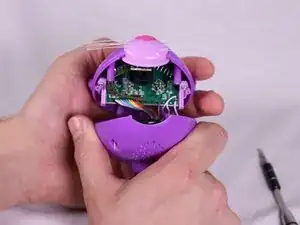
With insides exposed, grab leg and gently pull up and away from the body to detach them. Repeat for all legs needed.
-
-
-
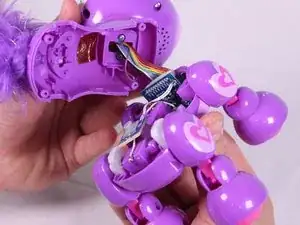
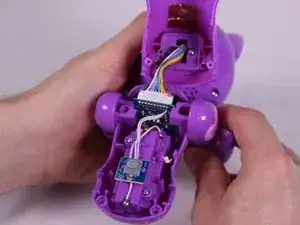
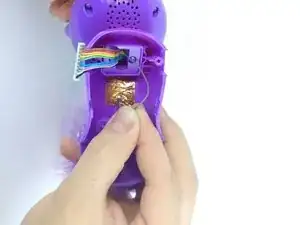
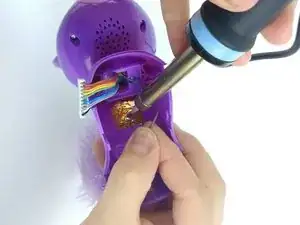
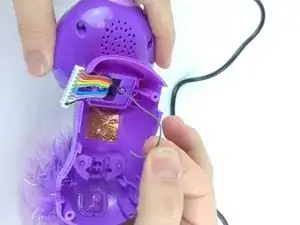
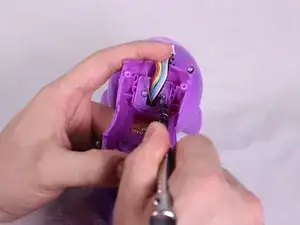
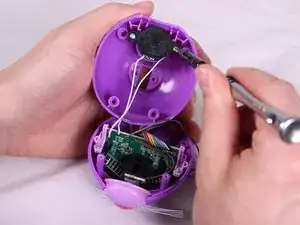
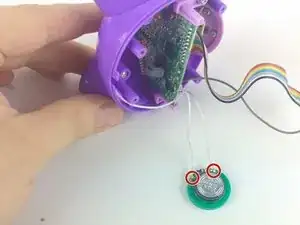
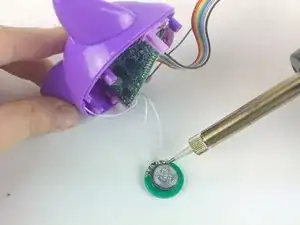
Using a soldering Iron, carefully heat the solder point around the silver wire and pull gently until the wire lifts free.
-
-
-
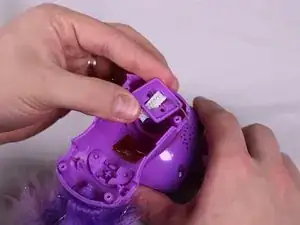
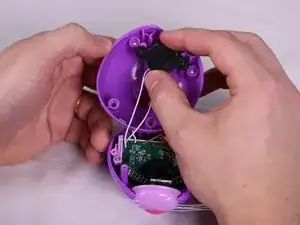
Take the upper half of the device in hand.
-
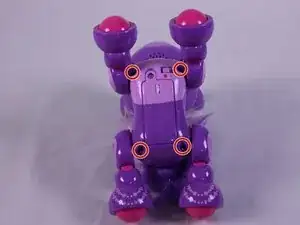
Using the Philips #1 driver remove the two 9.5mm screws.
-
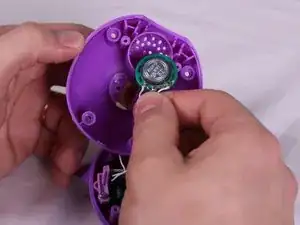
Remove the purple square collar around the neck of the device.
-
-
-
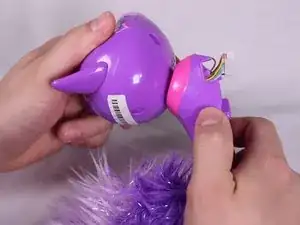
Turn the device so that it is on its side.
-
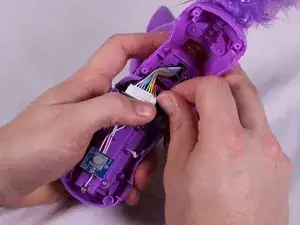
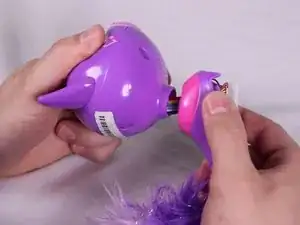
Holding the device's head and back in each hand, pull apart to separate the head from the body.
-
Pull the wires through and manipulate carefully as needed to get them through and completely detach head.
-
-
-
Turn the head upside-down so that ears are facing down, and locate the four screws around the underside of the device's head.
-
Use the Triangle screwdriver to remove the four 7.5mm screws.
-
-
-
Hold the top and bottom halves of the head in each hand separately and gently pull away from each other to separate both halves.
-
-
-
On the bottom half of the device's head, locate the two screws on each side of the speaker. Using the Phillips #1 driver remove the two 7mm screws.
-
Remove the black brace holding the speaker by gently pulling on it. The speaker will likely fall out after lifting the black brace.
-
-
-
Remove the speaker and place down on a flat surface. The speaker will remain attached by two white wires.
-
Using the soldering iron, heat the soldering points and carefully pull the two wires away from the speaker to completely detach.
-


To reassemble your device, follow these instructions in reverse order.
One comment
Thank you very much for these instructions, Lucky now has a voice again!
Tony -