Introduction
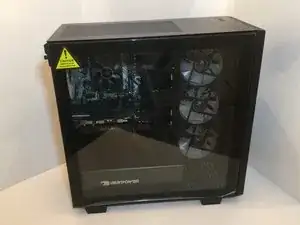
This guide will show you the steps on how to replace your M.2 NVMe Drive in your iBUYPOWER Trace 4 9310 desktop. The iBUYPOWER Trace 4 9310 comes with 2 SATA ports and 1 M.2 NVMe Drive port.
This guide can be completed within a few minutes, and you only need a small Phillips head screwdriver.
As a precaution, unplug and turn off your computer before working on it.
Parts
-
-
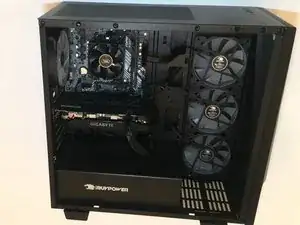
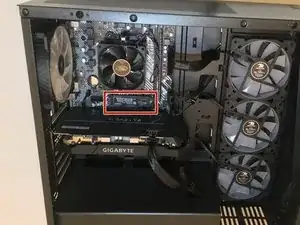
Remove the glass side by pivoting it up with the bottom side still seated in the notches.
-
Lift the glass side out of the notches and set it to the side.
-
-
-
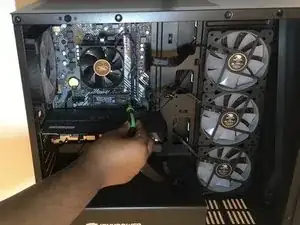
The drive should lift up on the edge where the screw was.
-
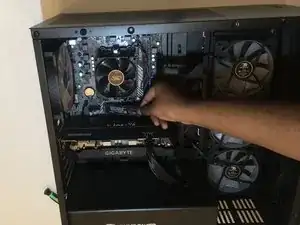
Pull the drive out at an angle from the motherboard.
-
-
-
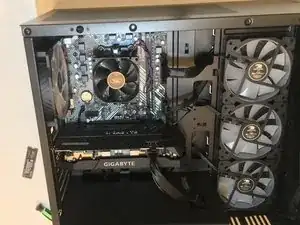
Line the new drive up with the slot and gently slide it in.
-
Use one finger to hold the drive down while you screw it back in.
-


To reassemble your device, follow these instructions in reverse order.
One comment
Thank you, Kilie, for the clear step-by-step instructions, together with pictures, for NVMe SSD installation.
George