Introduction

This guide is an internal private guide that serves as a prereq.

  1. xaDWxQLfJZxjCeFy
    • Remove the large piece of tape near the lower right corner of the display.

  2. qkCXWC5j2RDT24Bv
    qkCXWC5j2RDT24Bv
    1YlCkb2UBa1fykNX
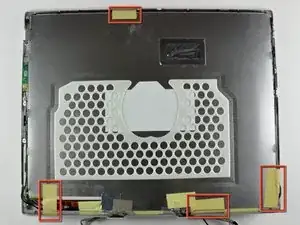
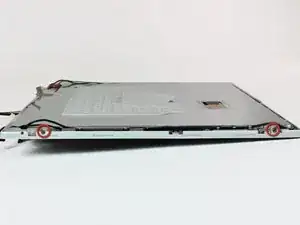
    • Remove the single screw inserted through the piece of EMI tape near the bottom edge of the display (it's the first of the two clutch cover screws).

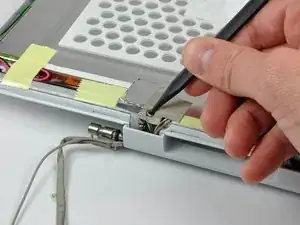
    • Use the tip of a spudger to remove the small washer under the screw you just removed.

  3. CjSWJwUpKHKQyMv3
    • Peel the aluminum/EMI tape as one piece off the cast aluminum frame of the clutch hinges.

    • It is not necessary to peel the tape off the thin steel LCD cover.

  4. ItWSqslpxwcKZnTZ
    • Remove the pieces of readily removable tape from around the perimeter of the display.

  5. KkSMNfVsXFxoqGaS
    KkSMNfVsXFxoqGaS
    jYDvZylckLIfrCwR
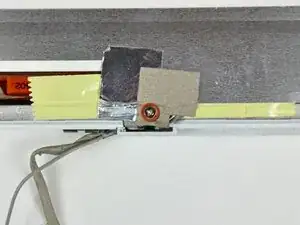
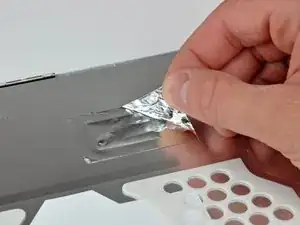
    • Remove the piece of aluminum tape near the center of the LCD cover.

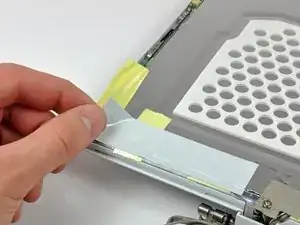
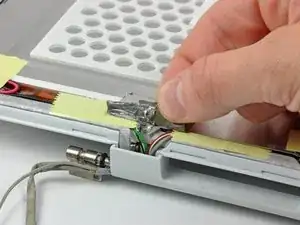
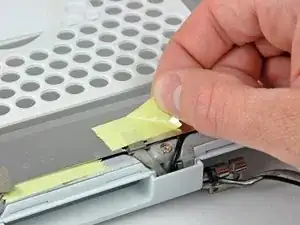
    • Peel back the piece of tape securing the display data cable ground loop to the thin steel LCD cover.

  6. sfqBEUedXQyWEDwX
    sfqBEUedXQyWEDwX
    w1nhiq5pTca2A52t
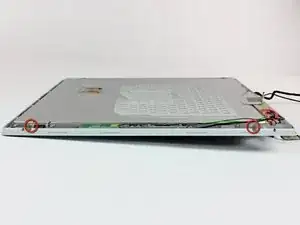
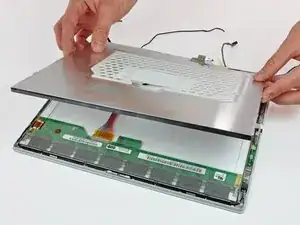
    • Remove the two Phillips screws securing each side of the LCD to the clutch hinge frame (four screws total).

  7. UdPNAwcpvfZYVM4L
    • Lift the thin steel LCD cover off the LCD.

    All the RF shields are aluminum, and the frame is cast magnesium, fwiw.

    Theron Ninth -

Conclusion

To reassemble your device, follow these instructions in reverse order.

Andrew Bookholt

580376 Reputation

0 comments