Introduction
Use this guide to replace or upgrade your optical drive...or both!
Parts
-
-
Lay the iMac display-side down on a flat surface.
-
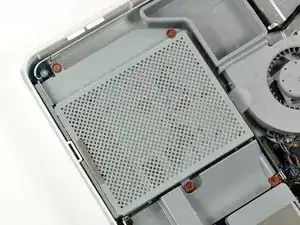
Loosen the three Phillips screws securing the rear panel to the iMac.
-
-
-
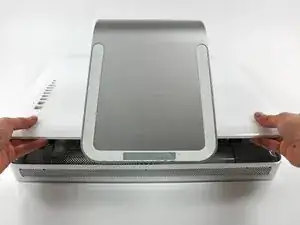
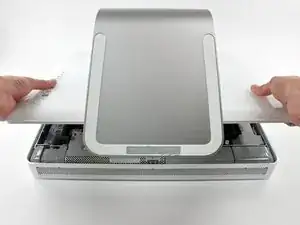
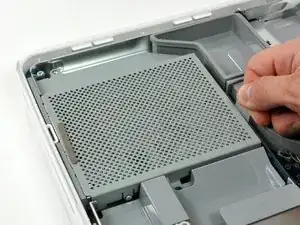
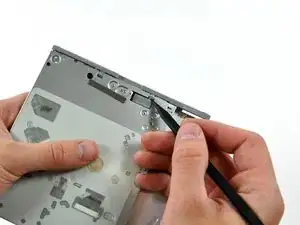
Lift the rear panel slightly near the bottom of the iMac.
-
Pull the rear panel toward yourself and remove it from the iMac.
-
-
-
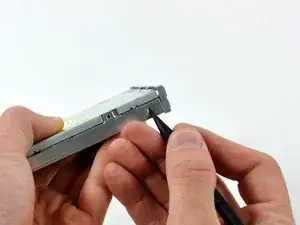
Pull the optical drive up by its white pull tab to disconnect it from the logic board.
-
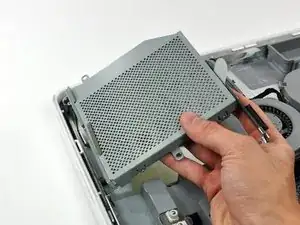
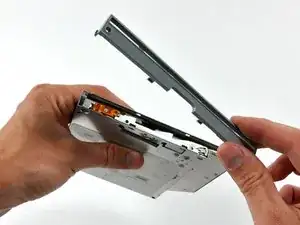
Lift the free end of the optical drive slightly, then pull it away from the edge of the rear case to clear the two plastic positioning pins.
-
Lift the optical drive out of your iMac.
-
-
-
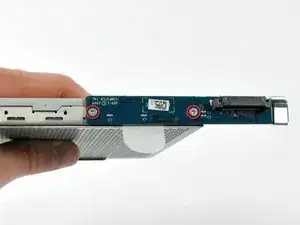
Remove the two 3.7 mm T6 Torx screws securing the optical drive connector board to the optical drive.
-
-
-
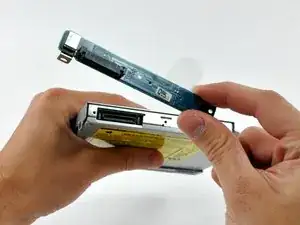
Use a spudger to pry the optical drive connector board away from the optical drive.
-
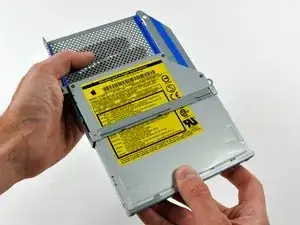
Remove the optical drive connector board.
-
-
-
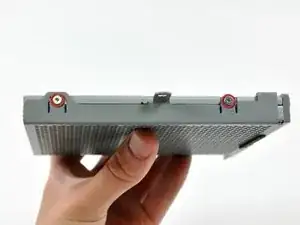
Remove the two 4.5 mm shouldered T6 Torx screws from each side of the optical drive (four screws total).
-
-
-
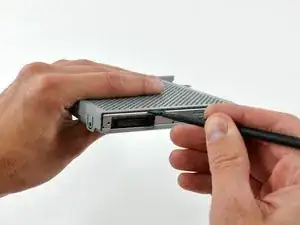
Insert a spudger into the gap between the optical drive and its cage near the optical drive connector.
-
Pry the optical drive away from the vibration isolating material along the inside of the cage.
-
-
-
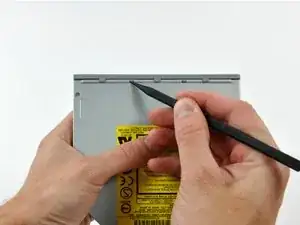
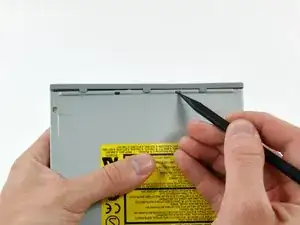
Use the tip of a spudger to push the two plastic bezel tabs away from their retaining slots on the top of the optical drive.
-
-
-
Use the tip of a spudger to depress and release the bezel retaining tab on the side of the optical drive.
-
-
-
If necessary, use the tip of a spudger to release the two plastic bezel tabs from their slots on the bottom of the optical drive.
-


To reassemble your device, follow these instructions in reverse order.

Some models (with light sensor) have only the two outboard screws.
Robert Huber -