Introduction
Is your iMac always mute? Replace your speakers and crank those tunes!
-
-
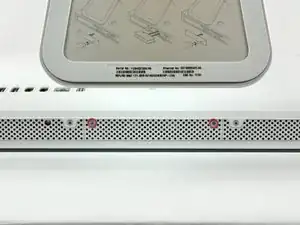
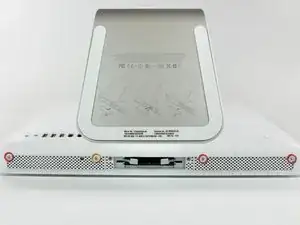
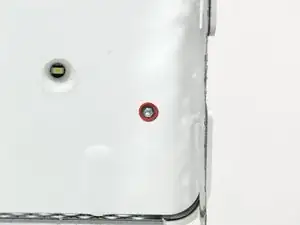
Loosen the two captive Phillips screws securing the access door to the iMac.
-
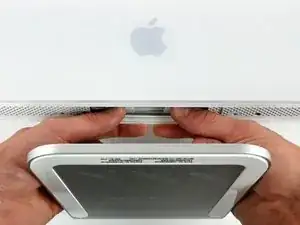
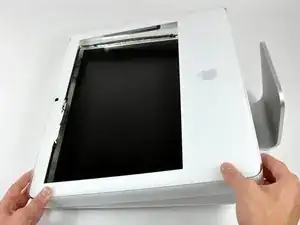
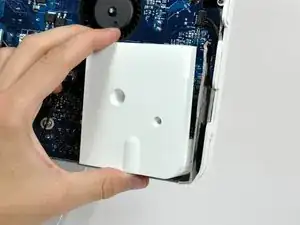
Remove the access door from the iMac.
-
-
-
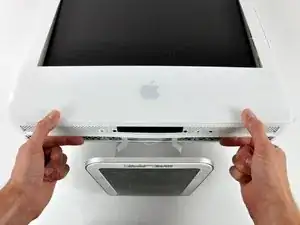
Flip your iMac over and lay it stand-side down on a flat surface.
-
To lift the front bezel off the iMac, simultaneously:
-
Use your thumbs to press in the RAM arms and hold the iMac down.
-
Use your index fingers to pull the small bridge of material on the front bezel toward yourself.
-
Pull the Front bezel up with your index fingers.
-
Once the small bridge of material has cleared the RAM arms, lift the front bezel by its lower edge just enough to clear the bottom edge of the rear case.
-
-
-
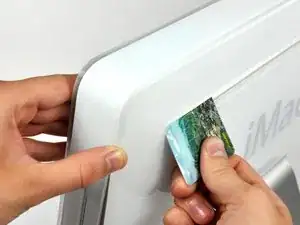
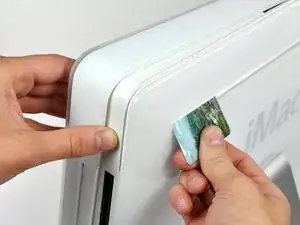
Insert a plastic card up into the corner of the air vent slot near the top of the rear case.
-
Push the card toward the top of the iMac to release the front bezel latch.
-
Pull the front bezel away from the rear case.
-
Repeat this process for the other side of the front bezel.
-
If the bezel refuses to release, try pressing the lower edge back onto the rear case and repeat this opening process.
-
-
-
Lay your iMac stand-side down on a table.
-
Lift the front bezel from its lower edge and rotate it away from the rest of your iMac, minding the RAM arms that may get caught.
-
Lay the front bezel above the rest of the iMac.
-
-
-
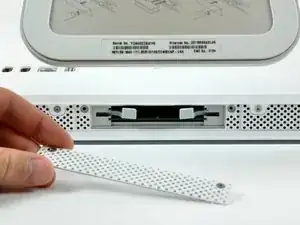
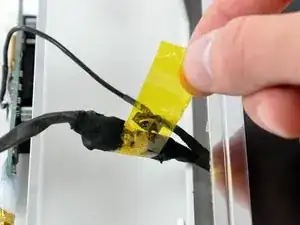
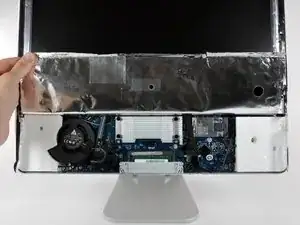
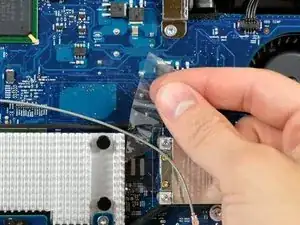
If necessary, remove the piece of kapton tape(it is ok to toss this) wrapped around the microphone and camera cables.
-
-
-
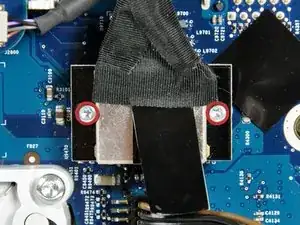
Remove the two 4.8 mm T6 Torx screws securing the display data cable to the logic board.
-
Grab the display data cable connector by its black tab and pull it straight up off the logic board.
-
-
-
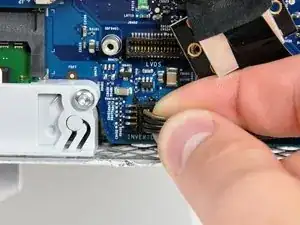
Inverter cable on 24inch iMac pulls off to the left.
-
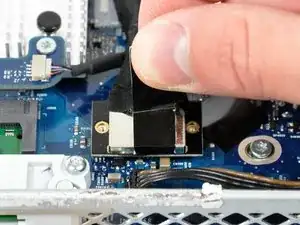
Pull the inverter cable connector straight up off its socket on the logic board.
-
-
-
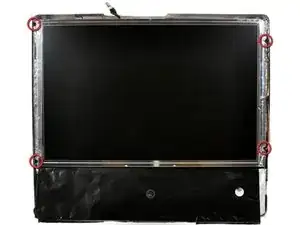
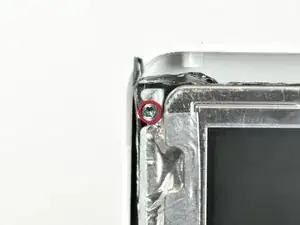
Remove the four 8 mm with 2 mm thick head coarse-thread T10 Torx screws securing the display to the rear case.
-
-
-
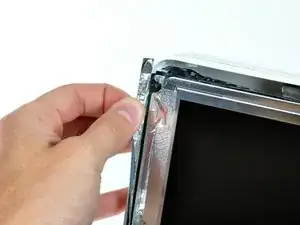
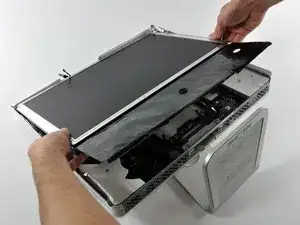
Lift the display from its lower edge and pull it toward yourself to peel off the EMI shield attached to its top edge.
-
-
-
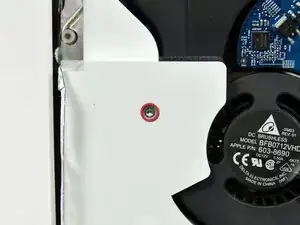
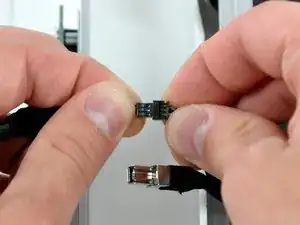
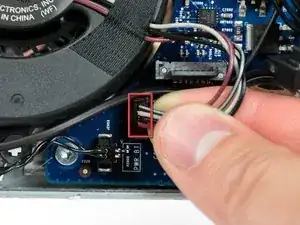
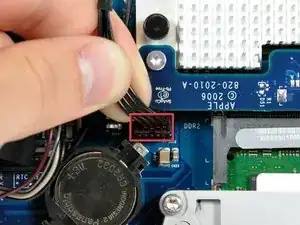
Use the flat end of a spudger to pry the AirPort Extreme antenna connector up off the AirPort Extreme card.
-
-
-
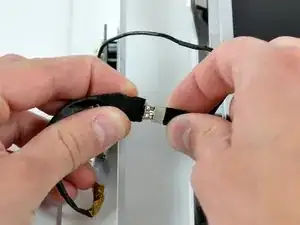
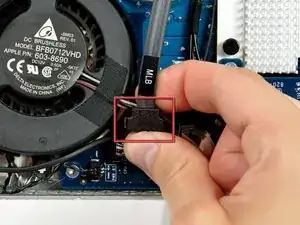
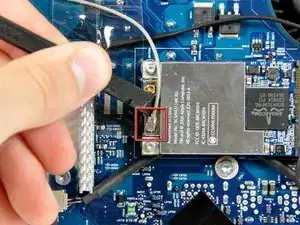
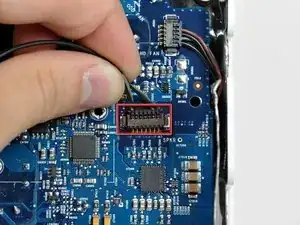
Disconnect the speaker cable connector by pulling its connector away from the socket on the logic board.
-
To reassemble your device, follow these instructions in reverse order.

That is a really, really unnecessarily complex way of fitting a new hard drive. Thanks, but no thanks...
annax -
annax, if you can suggest a simpler way we're all ears!
Jake Simmonds -
I found this guide to be very useful. The installation was super easy, especially since I've never opened my iMac before. I was able to skip steps 6, 7, 9, 10 and 14. Wish I had one of those long skinny magnetic torx screwdriver's though. I had to use duct tape to hold the screws on the end of the bit for step 12.
I used this opportunity to vacuum out the dust with mini attachments. Much needed after 3 years ;0)
Awesome site!!! Thanks for sharing your knowledge and saving me time and $$$!
Eric Patten -
Yes I did it! thanks for this very good manual
Philippe d Anfray -