Introduction
Tools
Parts
-
-
Slide the latch on the right to the unlocked position.
-
Slide the latch on the left to the unlocked position.
-
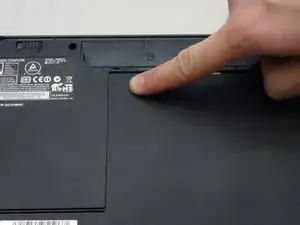
Remove the battery pack from the slot.
-
-
-
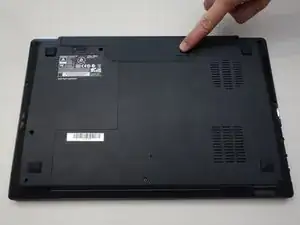
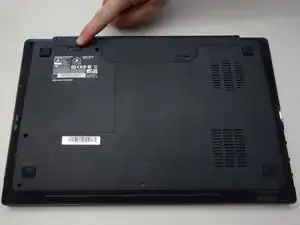
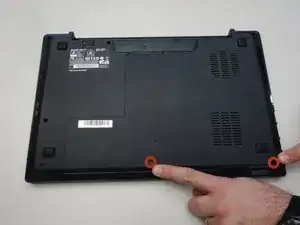
With your #0 Philips screwdriver remove the 2 screws from the bottom panel.
-
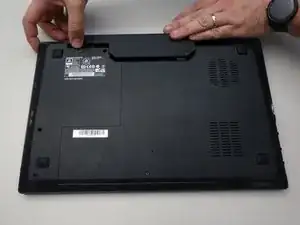
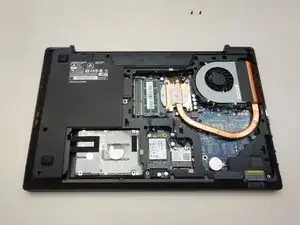
Now you can remove the bottom cover.
-
-
-
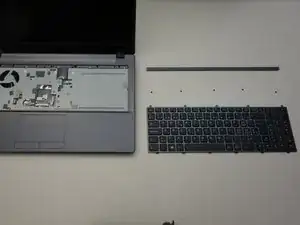
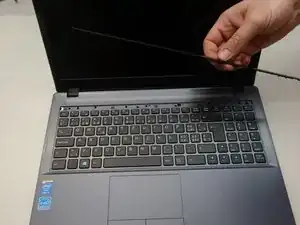
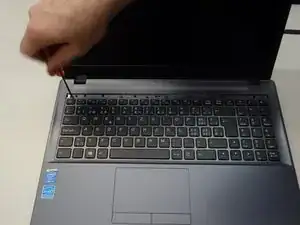
Press gently at the points indicated to release the LED cover strip.
-
Turn the laptop over, then lift the LED cover.
-
Remove the LED cover.
-
-
-
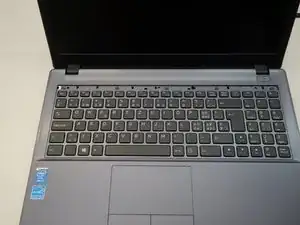
The five screws that anchor the keyboard are now visible.
-
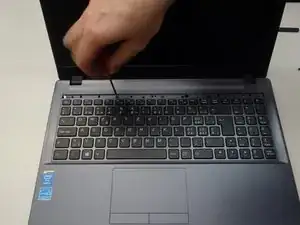
Start by removing the first screw.
-
Remove the remaining screws (2-5).
-
-
-
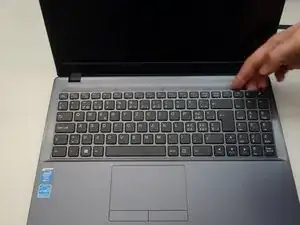
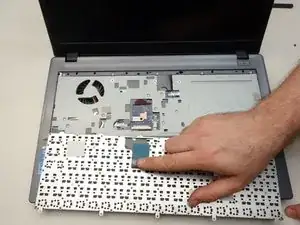
Dismount the keyboard from the chassis.
-
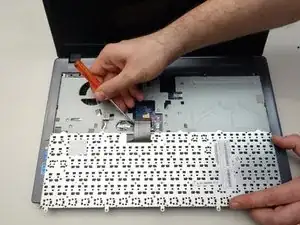
Flip the keyboard forward, taking care as it is still connected by a cable to the motherboard.
-
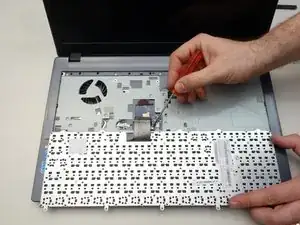
Release the cable latch on the right side of the motherboard connector with a small flat blade screwdriver.
-
-
-
Release the cable latch on the left side of the motherboard connector.
-
Slide the cable straight out from its connector.
-
Remove the keyboard.
-


To reassemble your device, follow these instructions in reverse order.