Introduction
Parts
-
-
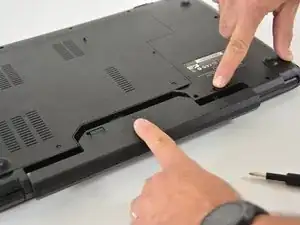
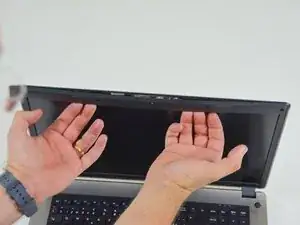
Unlock the lock latch on the left.
-
Unlock the lock latch on the right.
-
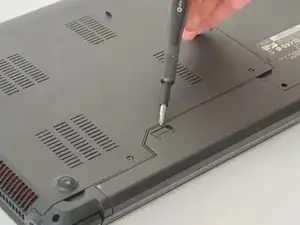
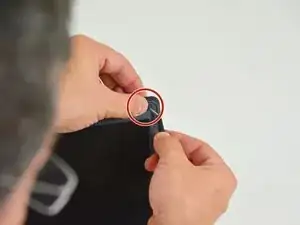
Remove the battery while holding the lock latch unlocked.
-
-
-
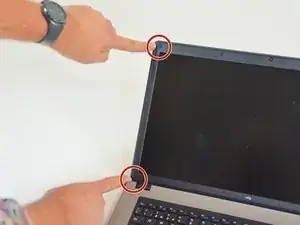
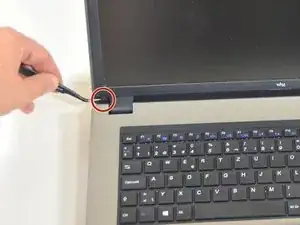
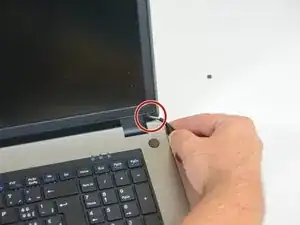
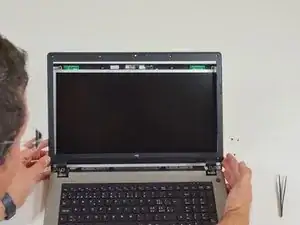
Start by locating the two screw caps on the left side of the screen.
-
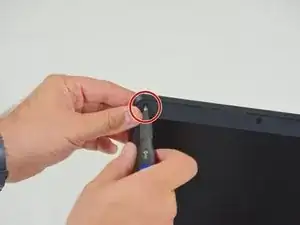
Remove the lower screw cover.
-
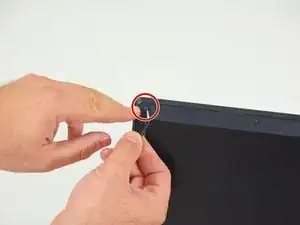
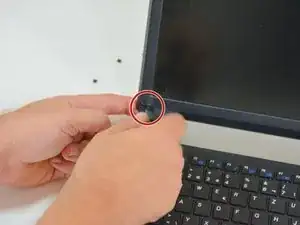
Then the top screw cover.
-
-
-
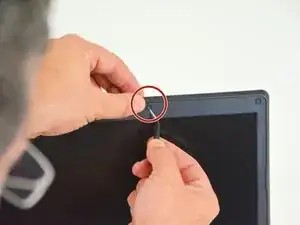
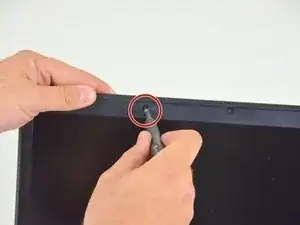
Locate and then remove the first center screw on the top of the screen frame.
-
Then the second central cap on the top of the screen frame.
-
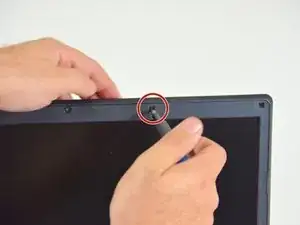
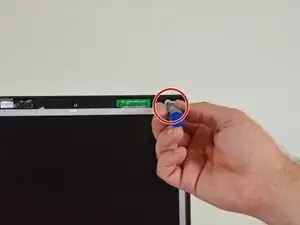
Then locate and remove the screw cap on the upper right side of the screen frame.
-
-
-
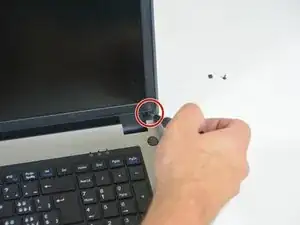
Then finally the bottom right screw cap of the screen frame.
-
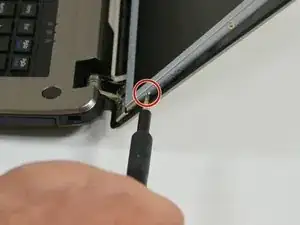
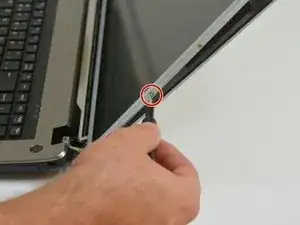
Then unscrew the screws behind the screw caps, starting with the one at the bottom left of the frame.
-
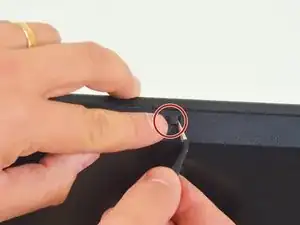
Then at the top left.
-
-
-
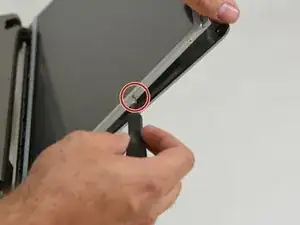
Then the first central screw on the top edge of the frame.
-
Then the second central screw on the top edge of the frame.
-
Then the one in the upper right corner of the frame.
-
-
-
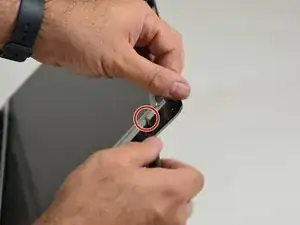
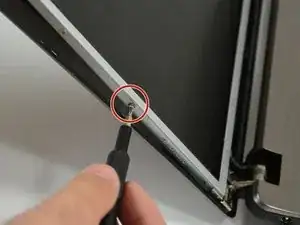
And finally the one on the lower right side of the frame.
-
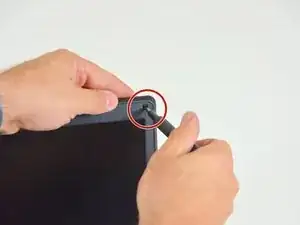
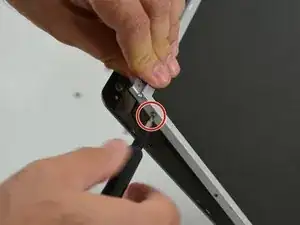
Then gently use your nails.
-
To remove the frame from the LCD screen.
-
-
-
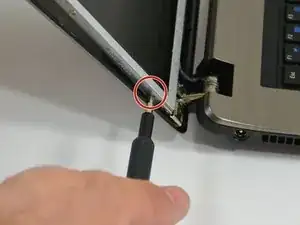
Unscrew the screws on the front of the LCD screen.
-
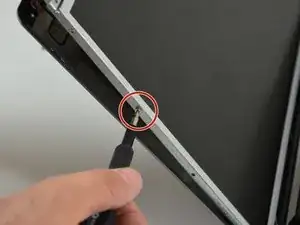
Next, unscrew the screws on the right side of the LCD screen, starting with the first one.
-
Then the second.
-
-
-
Then the third.
-
And finally the fourth.
-
Repeat these operations then on the left side of the screen starting with the first screw.
-
-
-
Then flip the LCD screen.
-
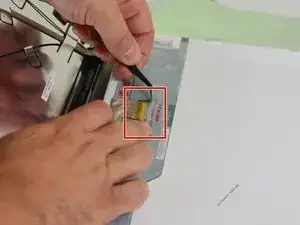
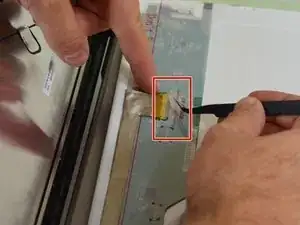
Then appears the connector to which is attached the connection cable of the LCD.
-
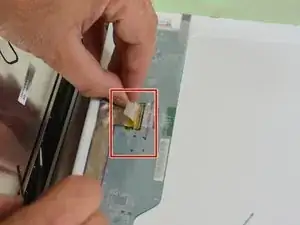
Then peel off the tape covering the connector.
-
-
-
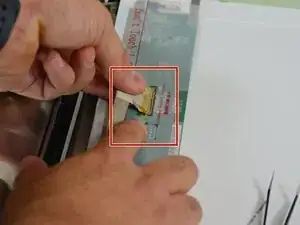
then remove the cable from its connector.
-
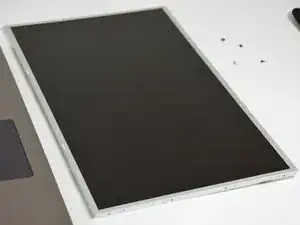
Once the cable is disconnected you can release the LCD screen.
-


to reassemble your device follow these instructions in reverse order.