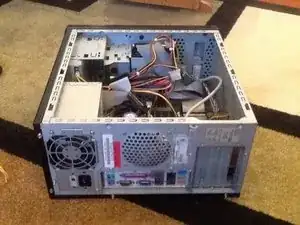
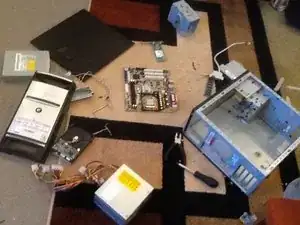
Introduction

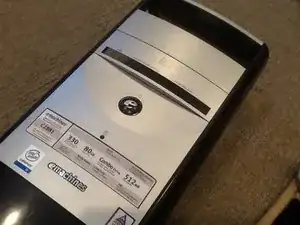
We are going to tear down the emachine model C2881. You will only need a philips head screwdriver for this teardown.

  1. bnIl2TtxCJnis44O
    bnIl2TtxCJnis44O
    eUhf1XXRT5jOFWcH
    • Before you begin: Please unplug the unit from the wall along with any other cables and hold the power button down for 30 seconds to discharge any static energy. Also please do not work on carpet and wear a wrist strap.

    • First, loosen but do not remove the two thumb screws at the back on the left side.

  2. cLLLGxGtmEhQC1qF
    cLLLGxGtmEhQC1qF
    NBL2gZarTwgTdoJR
    • Next, slide the back panel towards the back of the unit.

    • Then set the panel aside.

  3. aGWHiLUY4ZwGdv66
    aGWHiLUY4ZwGdv66
    BGG2rltYSn5dVBkb
    IsvWgY6rHiNHaj4p
    • Turn the unit on its side

    • Then remove the screw securing the hard drive bay in place.

  4. YF5pE5XcEmLcbaSb
    YF5pE5XcEmLcbaSb
    RDJLyuPeKw36FBEL
    iTDE3ORYJ1nrxJqn
    • Disconnect the hard drive power cable, and data cable.

    • And remove the hard drive bay

  5. HRU22GuTOGGDCrP5
    HRU22GuTOGGDCrP5
    IRFFUCORiaKvbs1W
    Zw6IY5t5JjH1X3RW
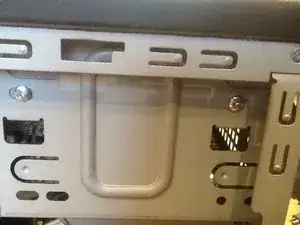
    • Remove the 2 phillips head screws on the hard drive bay.

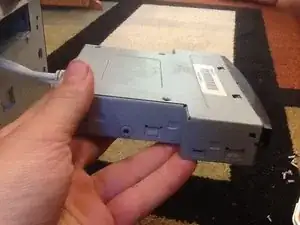
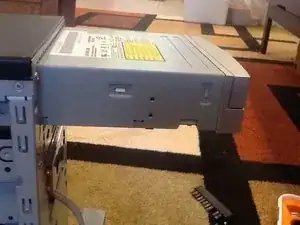
    • Then push the hard drive up and then pull it out

  6. uVLg4NSINYInFYhM
    uVLg4NSINYInFYhM
    lJTnmIZfTbXQlQws
    vRXWcsUByHyvC11B
    • To remove the front panel, Grasp the top, and pull it outward and upward.

    • Don't pull it out too hard, as there are three cables still connected to the panel.

  7. mYNSdTWTvY2Pvxmi
    mYNSdTWTvY2Pvxmi
    wTZGBoJ5Y3HmpuLp
    obJANDbqWA6Va54q
    • Push the clips back on the 2 LED´S and the power switch to remove each.

    • And then remove the front panel.

  8. vMwNNGDxRIjFhbxc
    vMwNNGDxRIjFhbxc
    qbnDbjurRoITTMNf
    RlH6TcSiXG6gqqJL
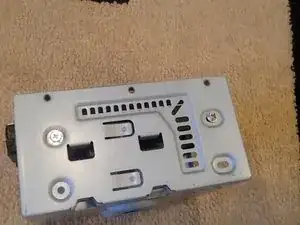
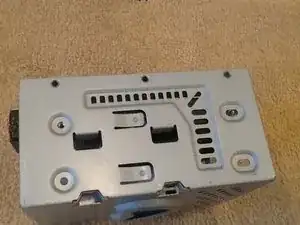
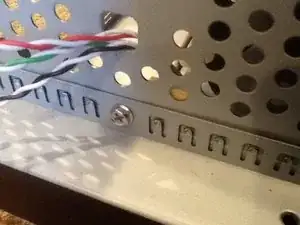
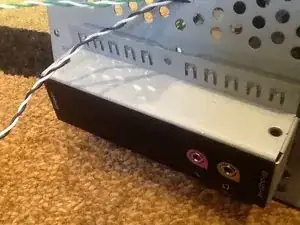
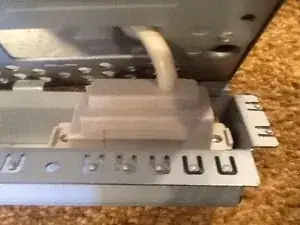
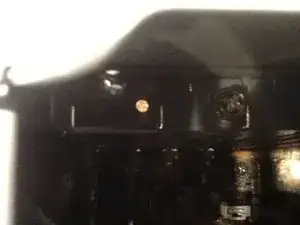
    • Remove the single screw securing the audio box.

    • Then rotate it 90 degrees down and pull it forward

  9. LgtmWeNGqpbxLvZt
    LgtmWeNGqpbxLvZt
    WNZ3rQFYaCyNCFaO
    nEJlCrt66NwSkCHj
    • Remove the two screws on the audio box. Then pull it out and set the case aside.

  10. DPYAMUdhEHnSgUJc
    DPYAMUdhEHnSgUJc
    NkLFmbrYUvKfYZQy
    3WZgQJxxYv6IHLZA
    • Remove the single screw from the SD card reader.

    • Then remove it

  11. sfnUDWXBsrFIUwbf
    sfnUDWXBsrFIUwbf
    RjKrCLVYwV2osNlh
    lCRDgCvnIPOiQHch
    • Now remove the 2 screws from the DVD player. Disconnect the cables and remove it.

  12. TNpLIBMsr4qYgpwE
    TNpLIBMsr4qYgpwE
    avXGTfDtuTxX5Z6K
    6HtvKRDfSZyjAyo6
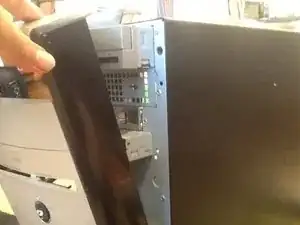
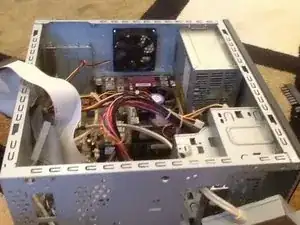
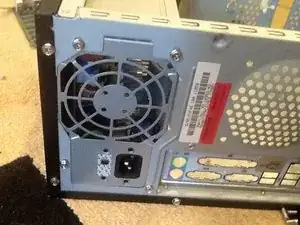
    • Turn the computer back on its side

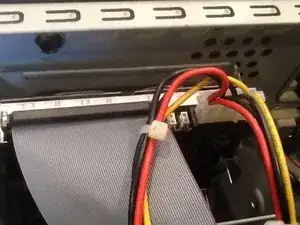
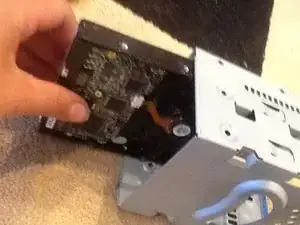
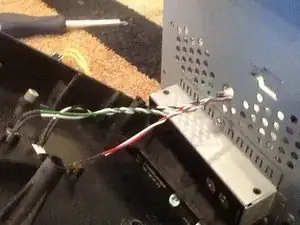
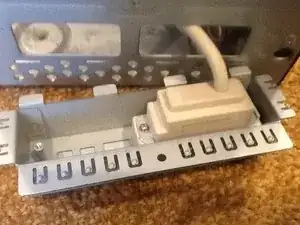
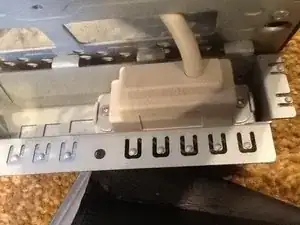
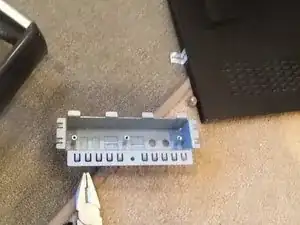
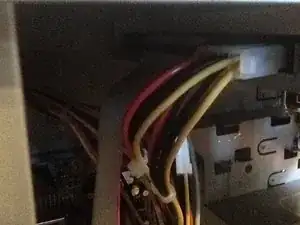
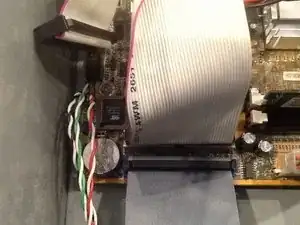
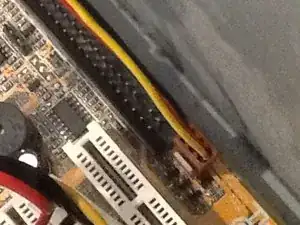
    • Remove the cables for the card reader, and the audio box and remove all of the above.

  13. sOAQIVPnWJ6JXOke
    sOAQIVPnWJ6JXOke
    5cdMfpHvyPLAUkM2
    lEoGJGZ4MsYYBPlW
    • Disconnect the DVD drive cables, and the hard drive cables and set them aside.

  14. qHHK1MgURfiSkZ3D
    qHHK1MgURfiSkZ3D
    MM1V2EMNlmbZcips
    ZHFycWUg2su6kJEA
    • Remove the RAM by pushing down on the two tabs. Then pull up on the RAM

  15. H2EJ1CSRMt4Jft2K
    H2EJ1CSRMt4Jft2K
    2JhmREpYNKXbiUsR
    RYwfS1PVXmPNCBfo
    • Remove the single screw securing the phone card. Then pull it up and out.

  16. ucCnCowCZDb2PaOo
    ucCnCowCZDb2PaOo
    XNaBkALeO4q1TUj2
    IULhkKiM6Mfg6qJo
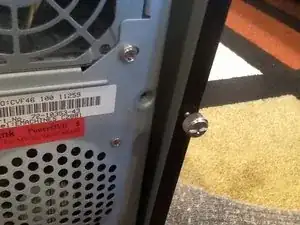
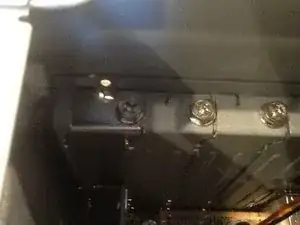
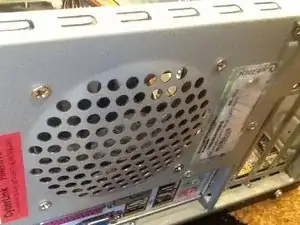
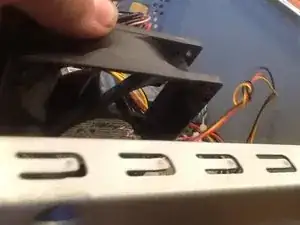
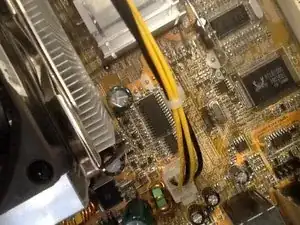
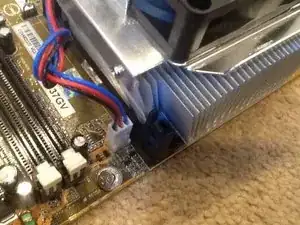
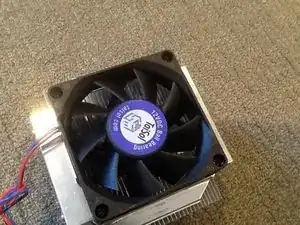
    • Remove the four screws securing the back fan. Disconnect the cable

    • Pull the fan out of the inside of the case

  17. S2S6d1WIkRPw42nk
    S2S6d1WIkRPw42nk
    sFfrUHSBwUCFROMn
    kYY1gaXZVAthhdU6
    • Disconnect the 20 Pin motherboard cable and the four pin cable.

  18. FDAdKNAgDaa6j22W
    FDAdKNAgDaa6j22W
    LYbL2xLmyRrISEPU
    hJtU4tdNZQXgBOsC
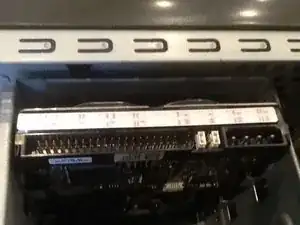
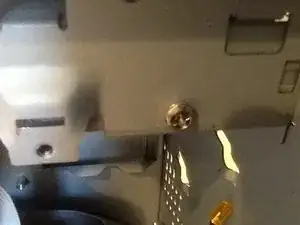
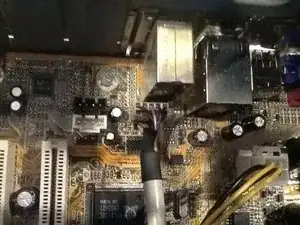
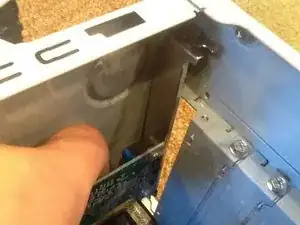
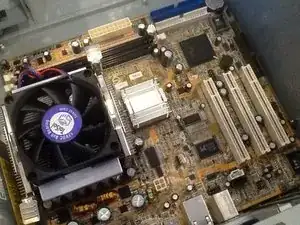
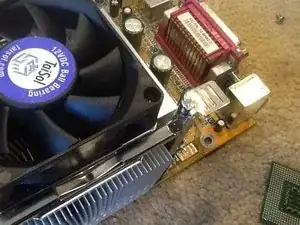
    • Remove the six screws from the motherboard, one in each corner and two in the middle in between these

  19. cDUC1gmLlxeyobc2
    cDUC1gmLlxeyobc2
    v21JDWSdKrC6Wx21
    G52UAlwM4MjKsbxv
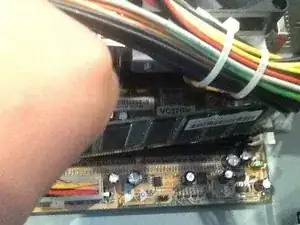
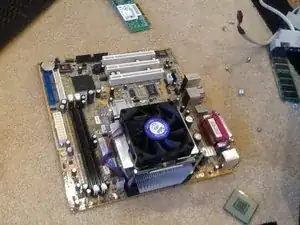
    • Grasp the motherboard by the side that would face the front of the computer, and pull it towards the front, and then up.

  20. wxKMqWKWjAIpvyMC
    wxKMqWKWjAIpvyMC
    yNpPpZWK1aEZOsRx
    RDdhHHNP4ToIJEkU
    • Remove the Heatsink clips by pushing down and out on the clips.

  21. KSuFZ5KBl4CdgQAA
    KSuFZ5KBl4CdgQAA
    JJHHv5Gim3yQDLMO
    • Disconnect the fan cable and lift the heat sink up

  22. 6tImMsB1ZFm3BGZk
    6tImMsB1ZFm3BGZk
    rLMaCxGwravKTJWB
    • Remove the four screws from the heatsink fan and remove the fan.

  23. EOqQ1RGuI6Q6yhZZ
    EOqQ1RGuI6Q6yhZZ
    Wu6T3njeKjnGe56D
    h3SLokm2XCEt1t6i
    • Remove the four screws from the power supply and then pull it back and out

  24. 36GbgqOjPdJBYijP
    • Congradulations you have successfully torn down your emachine model C2881

Duncan Rutherford

Member since: 22/05/14

278 Reputation

2 comments

This workaround is not ESD conform.

You have a high risk of damaging the electronic components.

For more Information see here:

for german: https://de.wikipedia.org/wiki/Elektrosta...

for english: https://en.wikipedia.org/wiki/Electrosta...

42 -

Before Attempting to Do this Please get a ESD are antistatic mat to work on, if not then you will damage components in the system, when in doubt ask someone in the profession the right way of going about it.

Donald Tidwell -