Introduction
-
-
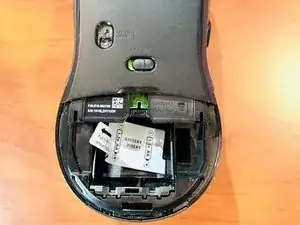
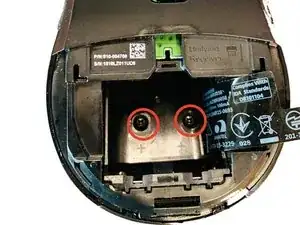
Remove the two screws in the battery bay that hold the top grip to the base of the mouse.
-
Use a flat head screwdriver and wedge the blade in-between the top and bottom part of the mouse. There is a small cut-out to work with.
-
-
-
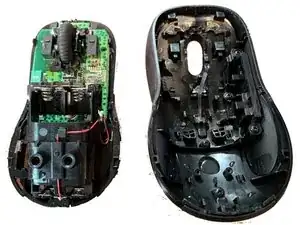
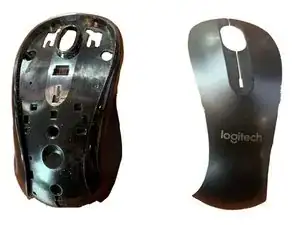
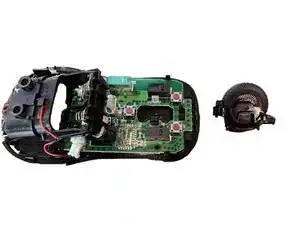
Separate the top and bottom parts of the mouse
-
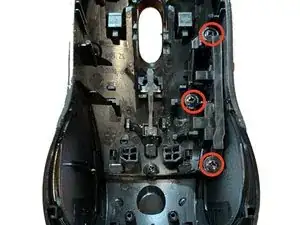
Remove the three Philips head screws holding in the forward/back buttons
-
-
-
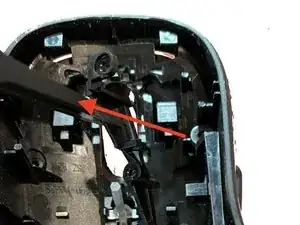
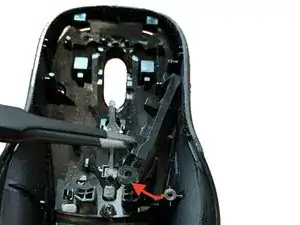
Using tweezers or your hands, carefully remove the plastic buttons by following the direction of movement in each image.
-
You need to make sure not to bend or pull too hard to remove the buttons.
-
-
-
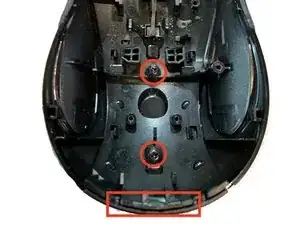
Use a Philips screwdriver to remove the two remaining screws from the grip.
-
Then, gently pry the mouse button cover from the grip using a flat-edge screwdriver. There is just enough space to get a fine driver wedged in place.
-
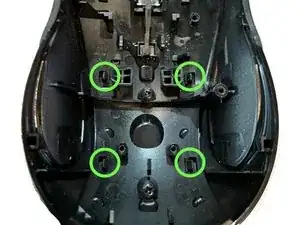
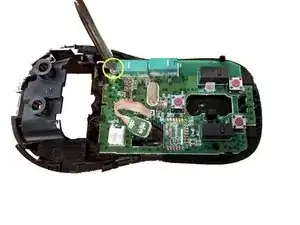
Use your fingernails or a spudger tool to push each plastic tab back (green)
-
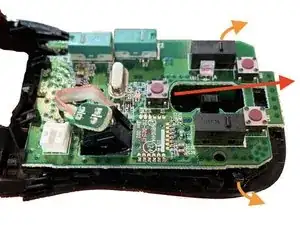
Lastly, slide the button check clips down and then up in the direction indicated by the arrows to remove the button cover from the grip.
-
-
-
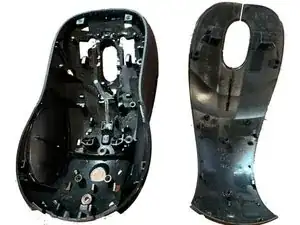
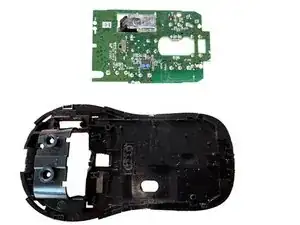
The grip and cover should be completely separated at this point
-
This is a good time to do some cleaning. You can wash all of the plastic components and scrub off any dirt.
-
-
-
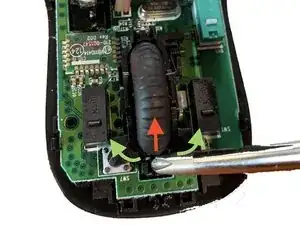
Use a Philips screwdriver to lift the tip of the scrollwheel up and away from the top of base of the mouse
-
The clips holding it in place should click when you remove the wheel and should make a similar noise if you replace them
-
-
-
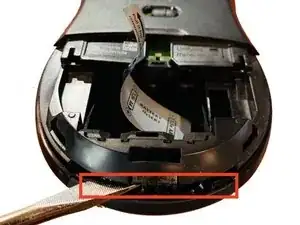
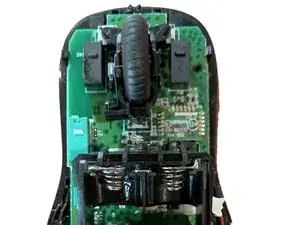
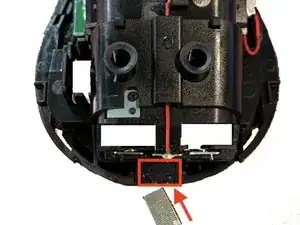
Insert a flathead screwdriver into the narrow gap between the clasp of the battery bay and the base of the mouse
-
Apply a fair amount of upward force to release the battery bay from the base
-
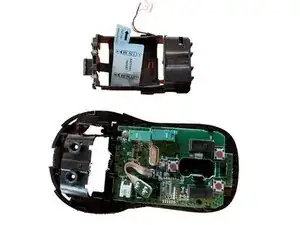
Next, remove the battery cable and slide the whole battery bay from the base of the mouse
-
-
-
Use a Philips screw to remove the only screw securing the board to the base
-
Push the retaining clasps outwards and slide the whole logic board out at a 20 degree angle. It should not require any force and come free
-