Introduction

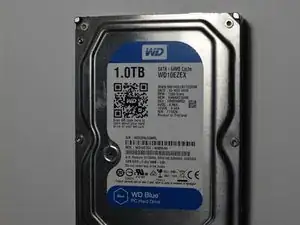
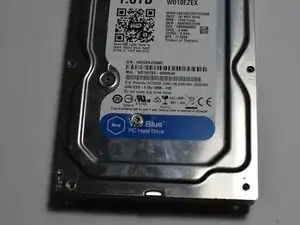
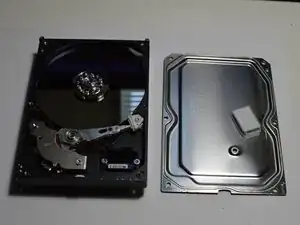
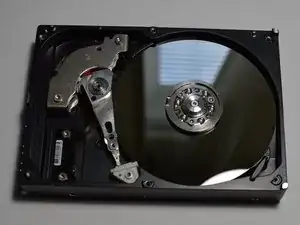
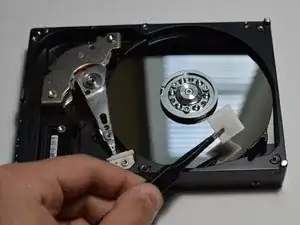
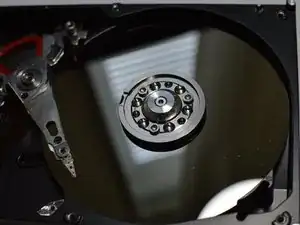
Western digital Hard drive tear down

  1. r4LyGIINZw3pYIwB
    r4LyGIINZw3pYIwB
    xiDhJdKZTOJCeh2A
    WEVBW1btVvtldJag
    • Pre-disassembly

  2. sUsoCyBWVYj1LaCB
    sUsoCyBWVYj1LaCB
    qGllDKtbBl3PsmJ1
    • Remove four screws and circuit board lifts out

    What screwdriver tip fits the screws?

    Jim Fogle -

  3. nhkNxNUOBrxg3tyn
    • Motor contacts

    • Head contacts

    Excellent. Love the highlights. They help a lot.

    Jim Fogle -

  4. gmZCRsvt4PkDwrdh
    gmZCRsvt4PkDwrdh
    YNIjnxRNIHGCbyFF
    JWsVWVMjbaHQqBAU
    • Remove 6 perimeter screws

    • Remove screw from under sticker

    • Lift cover off

    Maybe rotate 1st photo 180 degrees so the orientation matches photo 2. Also in photo 1 highlight the location of the hidden screw.

    Jim Fogle -

  5. xxKFOsu2DsEmAlvX
    xxKFOsu2DsEmAlvX
    DsWYEpv5Bhm5Zeva
    XbqrBA6sCbOb3XYC
    • Inside of hard drive

    • Desiccant packet removed from lower right corner

    • Inside of cover

  6. wXZq2VHOWgZZCrwo
    wXZq2VHOWgZZCrwo
    vYNgDaeI2GMOGiuf
    vfXl1W2jcRT43Jaq
    • Head in dock

    • Head on disk

    • Dock removed

    What size driver tip is used to remove the screw?

    Jim Fogle -

  7. qSGKsdKxMS1HHFGR
    qSGKsdKxMS1HHFGR
    HpLPdeUC3wLnE1cy
    w6UId4KmMBAhUTBo
    • Head before bridge removed

    • Remove two screws

    • Lift bridge away

    Highlight screw location in photo 1. Provide driver tip used to remove screws.

    Jim Fogle -

  8. tq4ak2mXKKhHt52a
    tq4ak2mXKKhHt52a
    SUHnRMSUuOPNZesC
    • Stops to limit head travel

    • Red coil over magnet cause the head to rotate

  9. oYUBWYyhfESWTYcS
    oYUBWYyhfESWTYcS
    ujJuABD51fwwEvNB
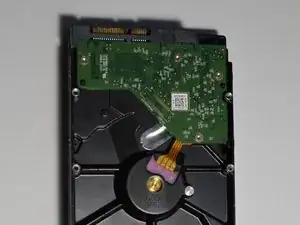
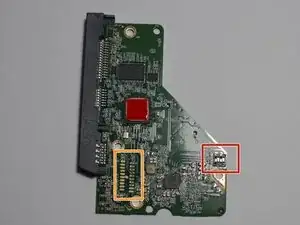
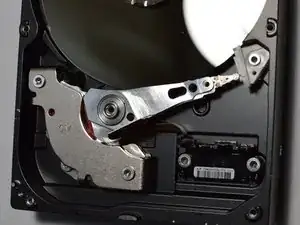
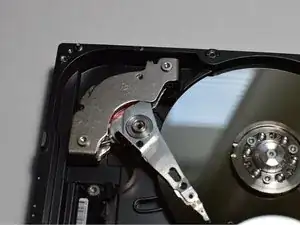
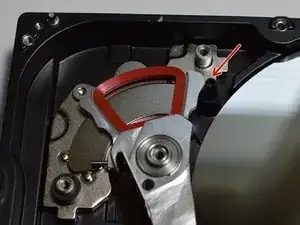
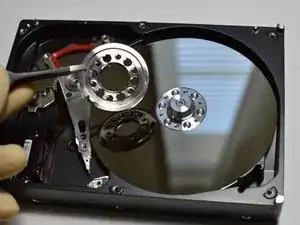
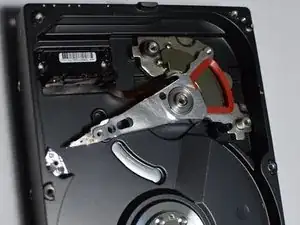
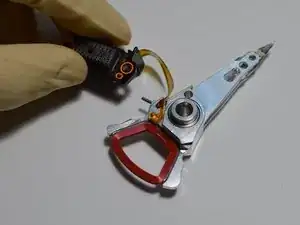
    • Contact block installed

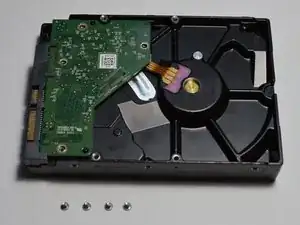
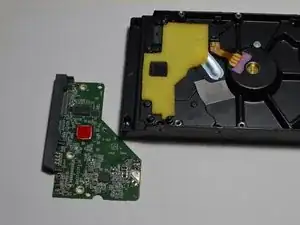
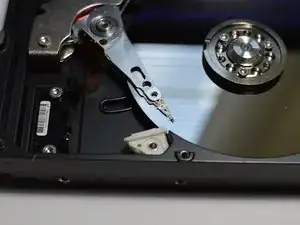
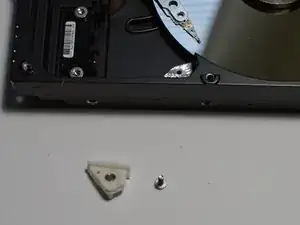
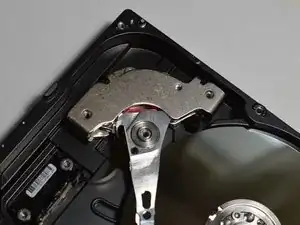
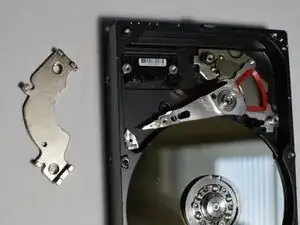
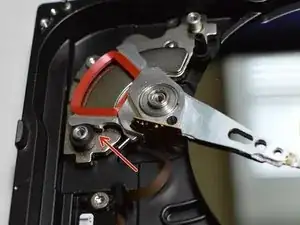
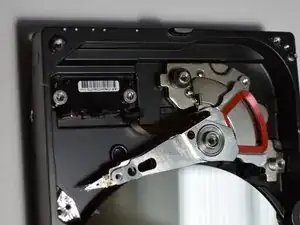
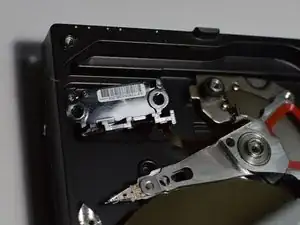
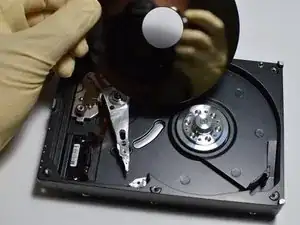
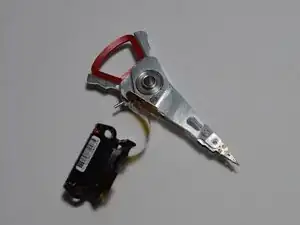
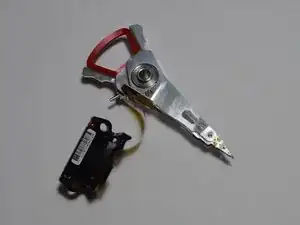
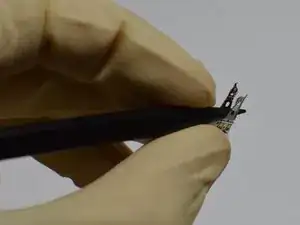
    • Remove two screws, contact block is now loose but connected to head by a ribbon cable

    Add driver tip size. Highlight ribbon cable as it blends in with body.

    Jim Fogle -

  10. rVifmap1yrdkFWvt
    rVifmap1yrdkFWvt
    ty4Ge1jVKrU1uYiP
    BSvscQbfLFPQBlkV
    • Disk installed

    • Remove 3 screws holding down collar

    • Remove collar

    Highlight the screw faces please. The screw faces blend in with the collar.

    Jim Fogle -

  11. OMv2QYOdquvU4FQx
    OMv2QYOdquvU4FQx
    USJZN42KK3EYhJjX
    • Lift disk out of case

    • Collar after removal

  12. NfcUgNenuD2eBtRu
    NfcUgNenuD2eBtRu
    NWoE1GpBdIbdW5QI
    SWPdIKxVXtuiWCLN
    • Head installed, simply lift head out of case

    • Remove head

    • Case without head

    May want to identify the platter motor in photo 3

    Jim Fogle -

  13. 5Dm6QKC2VbkqQhia
    5Dm6QKC2VbkqQhia
    gnJQHvXXKKhfUPMA
    RuicMNTUoAvBw6NH
    • Removed head

    • Contacts for data and head control

    • Head interface to disk

    Photo 3 is a great photo. Well done!

    Jim Fogle -

  14. HVLKat2ofw2yOdOD
    HVLKat2ofw2yOdOD
    hwAbLv1KYaClk5KU
    • Remove magnet

    • Remove stop for head on disk

    • Remove head docked stop

    What is the purpose of the black strip below where the head use to be?

    Jim Fogle -

  15. atXNMexXZjTVvRnM
    atXNMexXZjTVvRnM
    H5hAFTAdKS3QmIe6
    Y6tcIbfsi5VD1gva
    • All components arranged

Wieli

Member since: 09/01/23

1503 Reputation

One comment

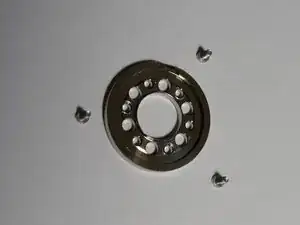
Well done Wieli! Your photographs are very clear and well lighted. Should you decide to edit the guide may I suggest (1) you add what screwdriver tips you used to remove screws and (2) at step 10, highlight the three screws. The screw tips blend in with the collar.

Jim Fogle -