Introduzione
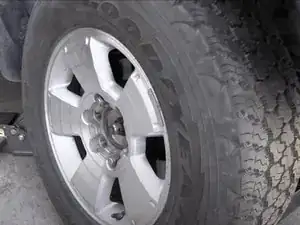
This guide shows you how to replace the front CV axle drive shaft on a 2004 Toyota 4Runner 4WD, but will apply to all 4WD and 2WD 3rd Gen 4runners.
Replacement often is required due to a ripped boot and grease leakage, and you'll feel a rough ride. Replacing the entire axle is more cost-effective than just replacing the rubber boots, and is significantly easier.
-
-
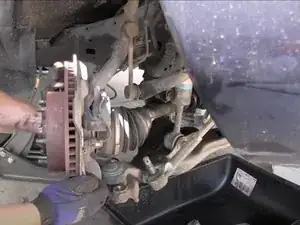
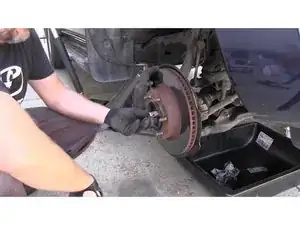
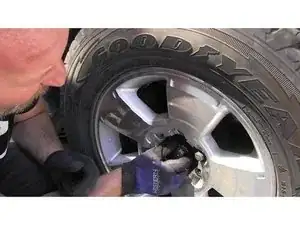
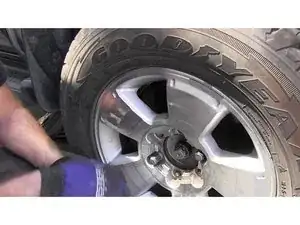
Use a 35mm six-point socket to remove the large nut
-
If your compressor is not working, you can lower the wheel to the ground and use a breaker bar to loosen the nut.
-
-
-
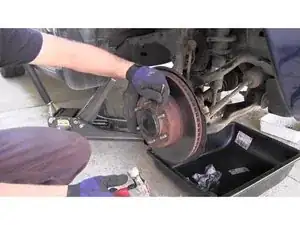
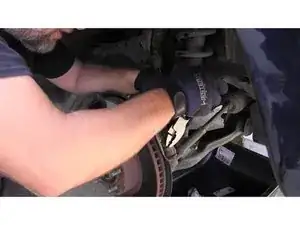
Remove the steering outer tie rod by removing the cotter pin and 19mm nut
-
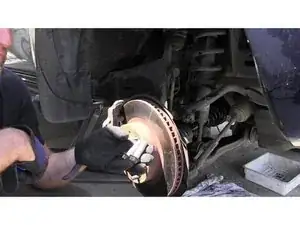
Use a puller to release the ball joint without damaging the boot.
-
-
-
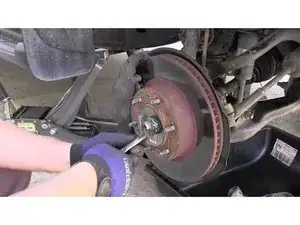
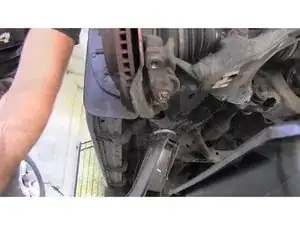
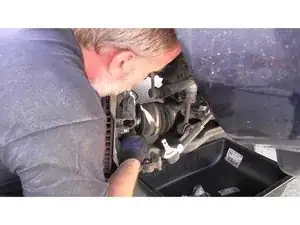
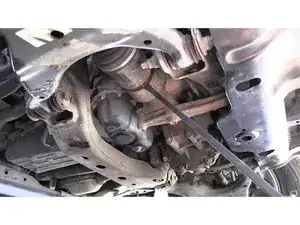
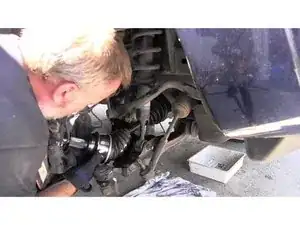
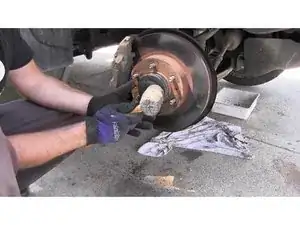
Carefully separate the CV shaft from the front differential using a pry bar, making sure not to damage any seals.
-
-
-
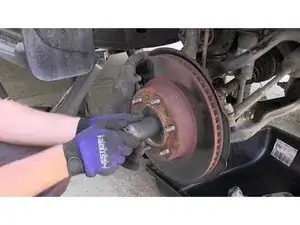
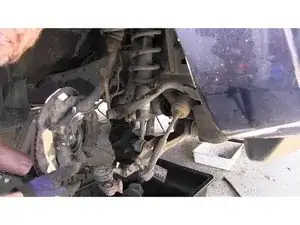
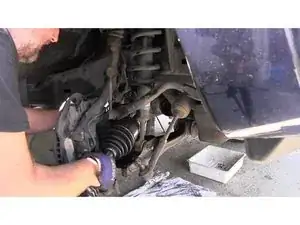
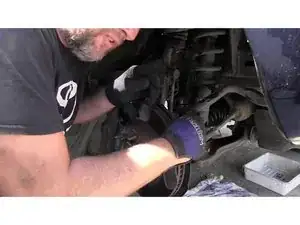
Gently install the new CV shaft into the front differential, making sure not to damage any seals.
-
-
-
Apply blue thread lock to the two large bolts holding the wheel assembly to the lower control arm and tighten them.
-
-
-
Reinstall the wheel and tighten the large nut using a breaker bar
-
Make sure to use the correct position for the locking pin and secure it with a new cotter pin.
-
-
-
Tap the dust cap back into place using a rubber mallet and a small amount of anti-seize. Now that the new CV shaft is installed, you can reinstall any remaining parts and go for a test drive to ensure everything is working correctly.
-


Now that the new CV shaft is installed, you can reinstall any remaining parts and go for a test drive to ensure everything is working correctly.
Additional Information
- The new CV shafts may come with gold nuts that are too shallow for use with a cotter pin. In this case, reuse the original nut.