Introduzione

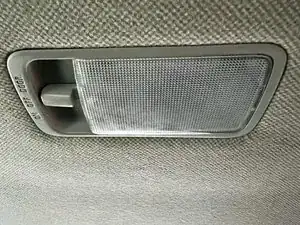
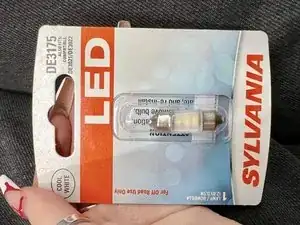
This tutorial will go over how to replace a 2012 Nissan Versa car's interior dome lights. Your prior automotive experience is unimportant because changing the lightbulb within the dome light is a fairly easy procedure. It's crucial to understand how to change these lights, though. For your interior car light, you'll need a DE3175 lightbulb in addition to an opening tool in case something becomes jammed. Since you'll be removing the lightbulb with your hands, one thing to watch out for is its heat. You may quickly have brilliant interior lights if you just follow the instructions.

  1. 1cHQ1JEUlTeVYRAH
    1cHQ1JEUlTeVYRAH
    SoCosfTdiCgbWRNj
    WMueL6UsxS6NccCH
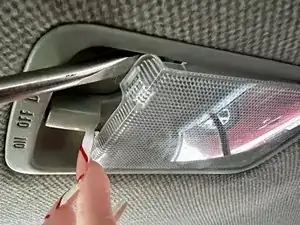
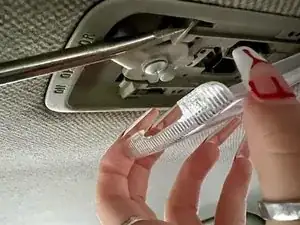
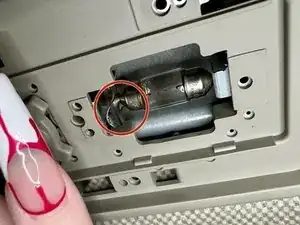
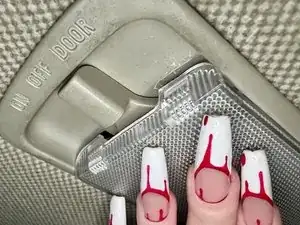
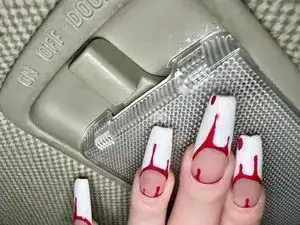
    • Take off the inner dome light's plastic covering. Either with an opening tool or your hands.

    • It is suggested that you use a flathead screwdriver due to the pressure you need to use with your hands; nevertheless, exercise caution when using your hands to avoid breaking the lid and/or clips.

  2. V1bckhFcDEikQLDF
    • Locate the bulb in the middle of the outlet.

    • Should it remain hot, give it a minute or so too cool down before removing the lightbulb.

    • Prior to removing the light bulb, be sure it is not hot.

  3. NejDFMD4EWvbRNGW
    NejDFMD4EWvbRNGW
    ET2CHntVEajQW6TY
    UXQuJLWNMmuXLpJI
    • Push the tab away from the bulb to release the bulb.

  4. g1NOQ5wpUA6wRbGX
    g1NOQ5wpUA6wRbGX
    MY5YvNPO2k4ktgWO
    nwCUNlrDM2ALeIPN
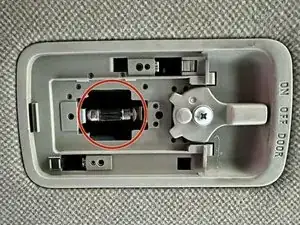
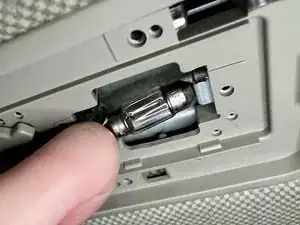
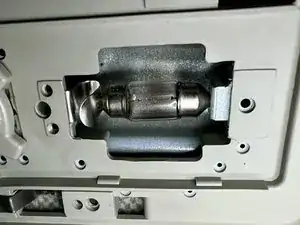
    • Replace the dead or broken bulb with a new bulb by inserting a side in the hole first then pushing it upwards past the tab to seal it inside.

    • The socket for a 2012 Nissan Versa is a DE3175 bulb.

    • In order to prevent burns, turn off the power supply before changing the lightbulb.Because the light bulb is fragile, you should use caution when inserting it into the socket to avoid breaking it.

  5. fwLfdsRM13IuvoaS
    fwLfdsRM13IuvoaS
    toVMWlYATAdAdwqx
    xUkJZlZ2jLWXyl6P
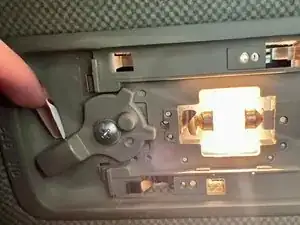
    • Make sure the lightbulb and socket are operational by turning on the light by pushing the switch.

    • (If it is successful, your light ought to shine like the ones in the pictures.)

  6. PGcfvCNZ1SKbSXEK
    PGcfvCNZ1SKbSXEK
    4nqEMI61tqjiQrFS
    1aTWoVFtovc2NGn5
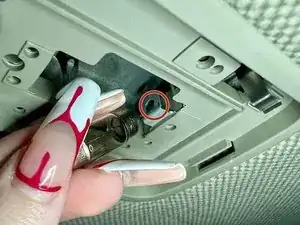
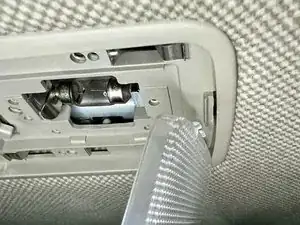
    • To put the clear cover back you insert the side with one large hinge to the open space hinge.

    • The light assembly has a hinge, which clips back in

  7. HpvmLN6ChFXEQWwD
    HpvmLN6ChFXEQWwD
    eJJbNUsIWDM4L2VD
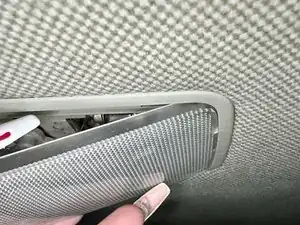
    • Once the lid is pressed into place with your fingertips till you hear a click to indicate you sealed it, your car will be illuminated by a new light.

Conclusione

To reassemble your device, follow these instructions in reverse order.

Pamela Villalon

Membro da: 23/10/23

145 Reputazione

0 commenti