Introduzione

This is a guide to remove an old ignition coil and install a new one. This is standard maintenance for this vehicle and can be preformed with just a socket wrench with a ten millimeter head.

  1. LnaRYRyHhMcvI2HZ
    LnaRYRyHhMcvI2HZ
    pMvq2UkmoAnxE2aw
    OPe6QylWMUYCymSo
    • Pop the hood and remove the black plastic cover over the engine.

    • There is nothing to unscrew, or unlatch, and the cover should lift off. Once removed, the top of the engine will look like the third picture

  2. AMogGbFMIlnCtQfa
    AMogGbFMIlnCtQfa
    ncADqomp3s61iZN4
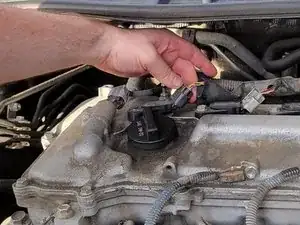
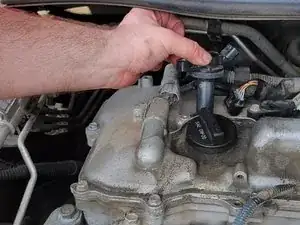
    • Unplug the ignition coil you wish to replace. The coils are numbered one though four, left to right.

    • Do not unscrew the bolt on the ignition coil before this step. It makes the electrical plug more difficult to remove

  3. SPpcOqRJaVAyWcll
    • Unscrew the bolt of the coil that needs to be replaced.

    • Be sure to put the bolt in a place you will not lose it!

  4. akKty2OaS4AL6g4i
    akKty2OaS4AL6g4i
    exOZkq5CevngGidJ
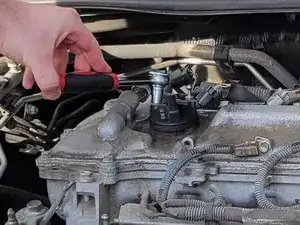
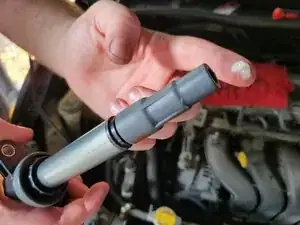
    • Pull the coil straight up and out. It should come off of the spark plug with little resistance.

  5. 2cLSU1c32Byy36gu
    2cLSU1c32Byy36gu
    PmPeWI5ENpjGM534
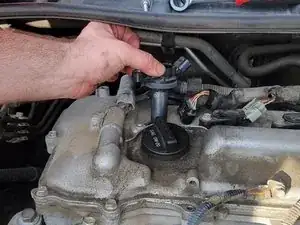
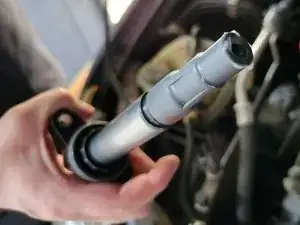
    • Apply a pea-sized amount of grease to the new ignition coil. It should be all around the rubber tip around the bottom.

    • While not required, this step will make any future replacements much easier.

  6. GXj2YP3rPxHFgOLH
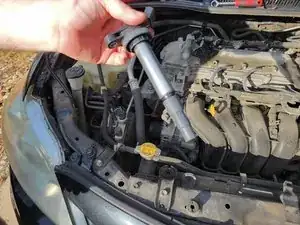
    • When inserting the new ignition coil, press down lightly to ensure it is completely in place.

    • Re-plugging in the ignition coil, and re-screw it in. This can be preformed in either order.

    • Repeat steps three through five as necessary for the other three ignition coils.

Conclusione

To reassemble your device, follow these instructions in reverse order.

Henderson Gillette

Membro da: 24/09/23

133 Reputazione

0 commenti