Introduzione

Is your signal light not working, and in need of replacement?

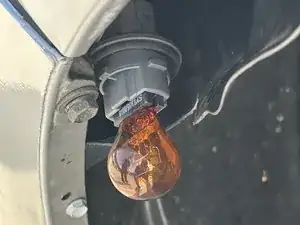
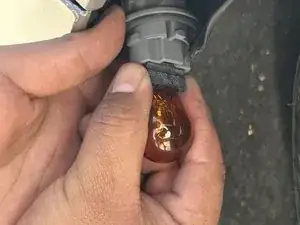
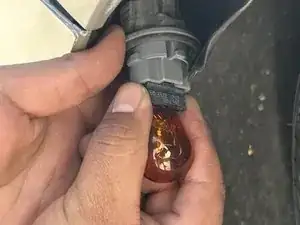
Whether it's due to the weather, A burnt signal light, or a blown fuse.

This guide of 9 easy-to-follow steps will help you locate and replace your signal light.

Please Note: This guide will only work if it's a signal bulb issue and not a wiring issue.

  1. U6shStSGFGRaXhBY
    U6shStSGFGRaXhBY
    qYMheryyi31ushK5
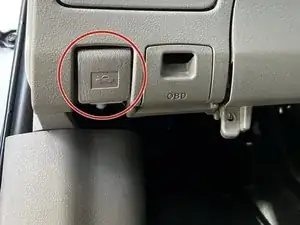
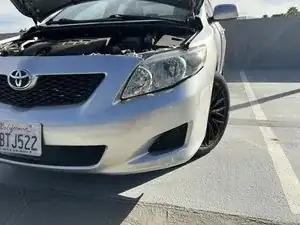
    • Pull the hood release lever towards yourself until the hood pops.

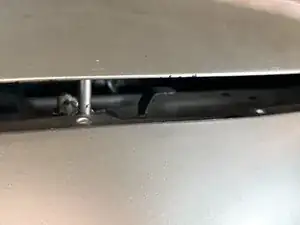
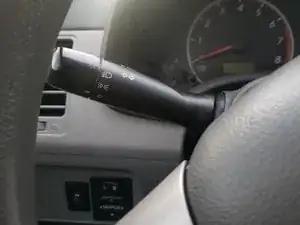
    • Open and move the bonnet lever towards the left to completely release the hood.

  2. P11GlKhQPhUsTRSC
    P11GlKhQPhUsTRSC
    lGY2MAIJBYsAx2Qi
    • Lift the prop and place it inside bonnet hole to keep the hood open.

    • The hood prop will be located towards the front of the engine.

  3. UrLZkwa1OJoLXuh5
    UrLZkwa1OJoLXuh5
    eyEL5IynVjf1vuEp
    • Turn your wheel to the appropriate side to locate the signal light.

    • For the left signal light, you would turn your wheel inwards to the right. While for the right side turn your wheel inwards by turning left.

  4. WelAqgDRZBLk2TWf
    WelAqgDRZBLk2TWf
    RoBDglCBhFHFUcJ3
    kUpqcFKR35NQJUCH
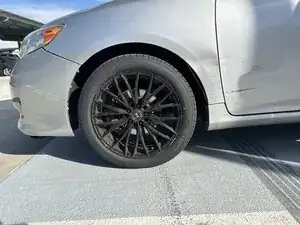
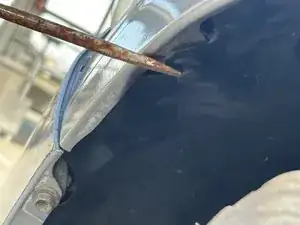
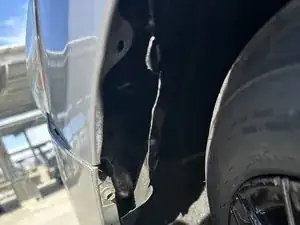
    • Pry off the clip under the wheel well using a flathead screwdriver.

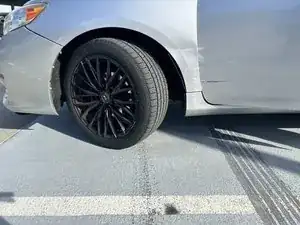
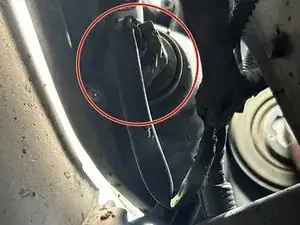
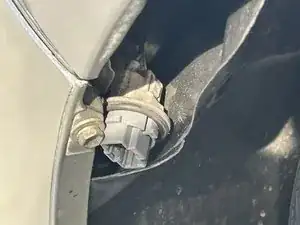
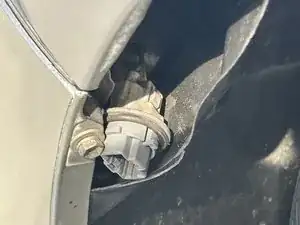
    • Remove the lining by pulling it straight back.

    • Some cars are different and may need different tools. For example, some have nuts holding the liner so you'll need a wrench.

  5. fnZNFu2adTHKKdlZ
    • Twist the signal housing counter-clockwise until it releases.

  6. trKakAiaildYQcNr
    trKakAiaildYQcNr
    ijZ6URJhTRLCIrlj
    JUM2OLyTRTjluuNC
    • With one hand grab the socket and with the other pull the bulb straight out of the socket.

  7. qNuHf4wqDp21P2PI
    qNuHf4wqDp21P2PI
    FGUDy3hO2ddiHPNL
    ApdTvujEFrFn13h3
    • Insert the new bulb into the empty socket place the signal light back into the housing and twist it clockwise to the original position.

  8. nMiPvYOi5UxtywXu
    nMiPvYOi5UxtywXu
    1jsStYmWnOq1rKHS
    s4KCYV1lQtqNNEhE
    • Make sure your signal works properly by turning it on.

Conclusione

To reassemble your device, follow these instructions in reverse order.

Alexander

Membro da: 25/10/23

157 Reputazione

0 commenti