Introduzione
If one or both of the charging ports (also known as USB-C ports) in your second-generation Toyota Tundra (2007-2013) aren't charging the devices, use this guide to replace them.
The charging port allows you to plug a USB-C connector into your car to use for things such as charging your devices. However, over time it can break from use and will eventually need to be replaced.
Before using this guide make sure to clean out the inside of the charging port, typically a buildup of dust can be removed through an ESD-safe brush or small dust blower. Be sure to test the charging port with several different cords to make sure that the charging port is what is actually broken.
Step nine will require you to strip the cover off of some wire. Step 12 will require you to solder two wires together. Additionally, step 13 will require you to utilize heat shrink tubing.
Before beginning, put your car in park, turn on the emergency brake, and turn off your car. For additional safety measures, it's a good idea to disconnect the car battery.
Strumenti
Ricambi
-
-
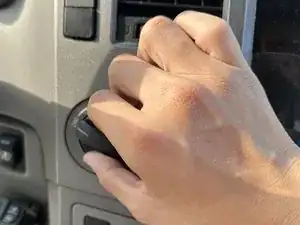
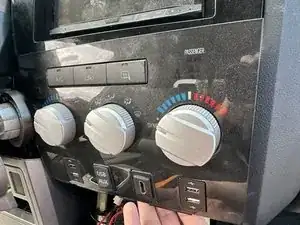
Remove the switch cover on the left side of the radio by turning it to the "2WD" mode and pulling it straight out.
-
-
-
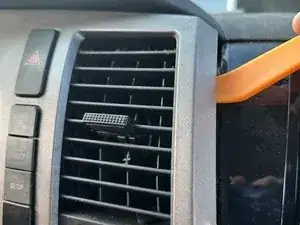
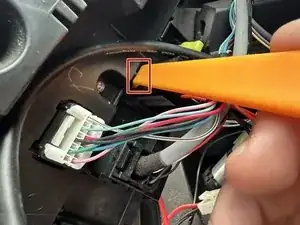
Use the plastic pry tool to separate the part of the dashboard behind the steering wheel from the rest of the vehicle.
-
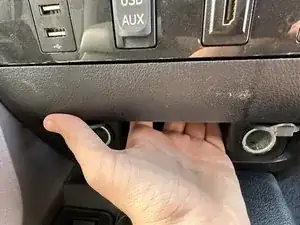
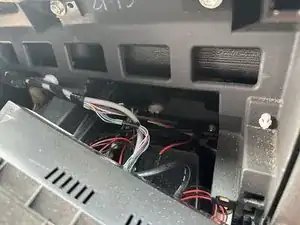
Disconnect the connectors between the panel and the rest of the dashboard.
-
-
-
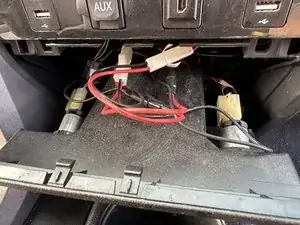
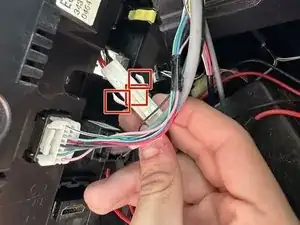
Disconnect the wires from the rest of the vehicle by pushing in all of the tabs simultaneously and pulling them apart.
-
-
-
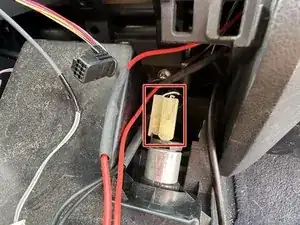
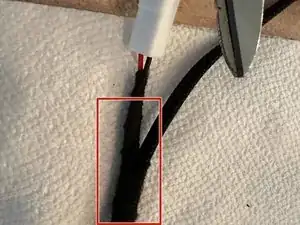
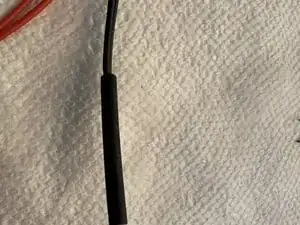
Remove the cloth surrounding the wires on the old charging port.
-
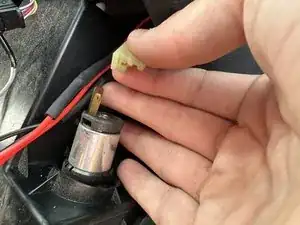
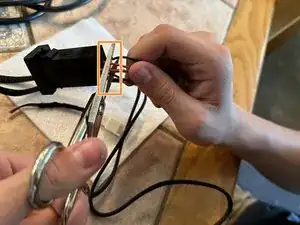
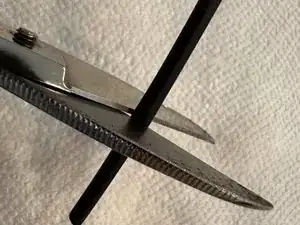
Cut the wires near the base of the old charging port.
-
-
-
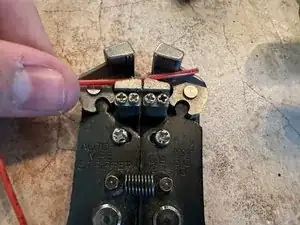
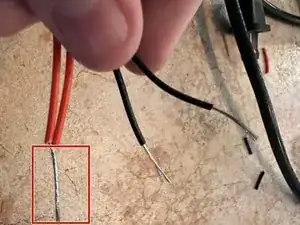
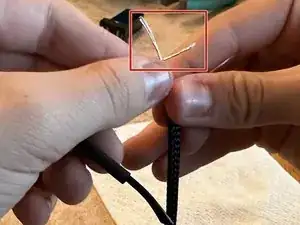
Use a wire stripper to strip the cover from the ends of all of the wires.
-
Twist the same colored wires and put heat shrink over them.
-
-
-
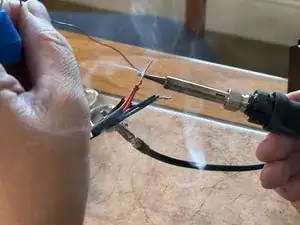
Solder the old and new wires together so that the black wires are soldered together and the red wires are soldered together.
-
-
-
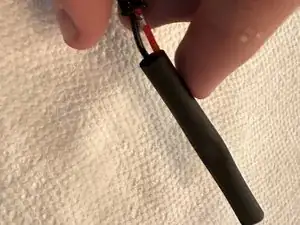
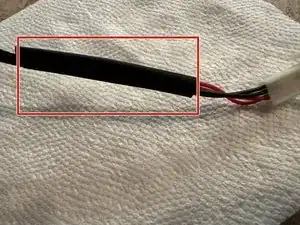
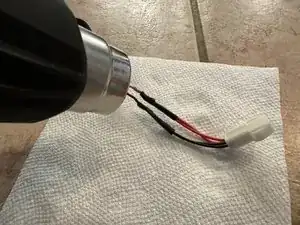
Put the small heat shrink over the exposed wire and warm it with the heat gun so that it cinches the wires.
-
Do the same with the larger heat shrink.
-


To reassemble your device, follow these instructions in reverse order.