Introduzione
After about 40,000 miles of driving, your tail lights might begin to burn out, so they must be replaced.
This guide demonstrates how to replace the tail light of a 2009-2014 Ford F150 tail light so you can maintain your own safety and the safety of those around you.
Gather your materials: A ratchet, ratchet extension, and 8mm socket to help remove and replace the bolts, a Sylvania Long Life Mini Bulb 4057LL to replace the one that is currently burnt out, and some latex gloves. Please note that latex gloves are optional but will reduce the amount of oil transferred from your skin to the bulb's surface, which could help the bulb last longer.
Strumenti
Ricambi
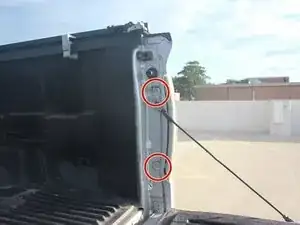
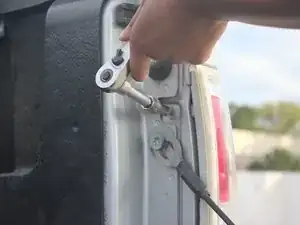
-
-
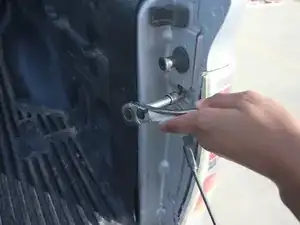
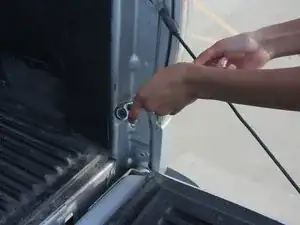
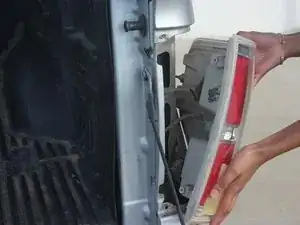
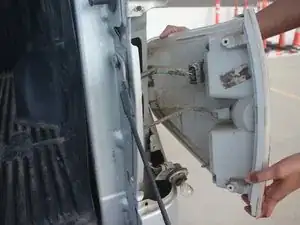
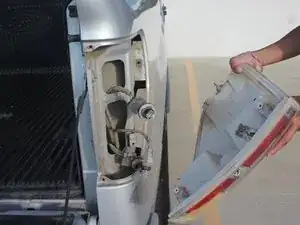
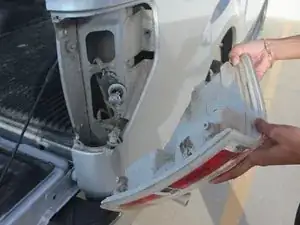
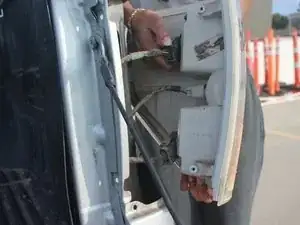
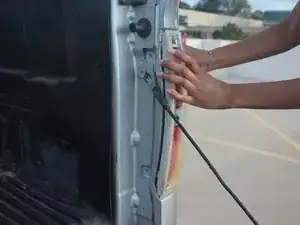
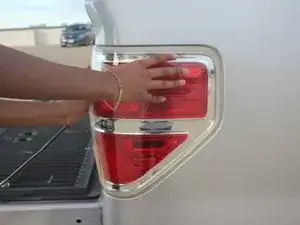
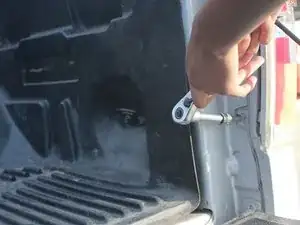
Carefully remove the taillight assembly from the truck by pulling it out towards you.
-
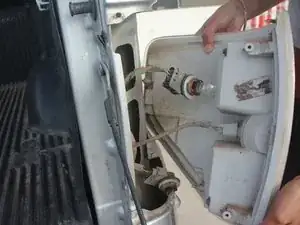
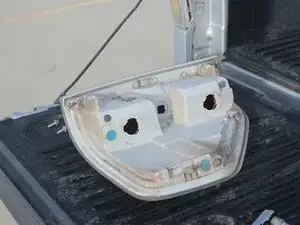
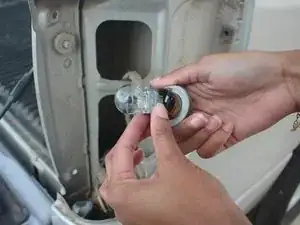
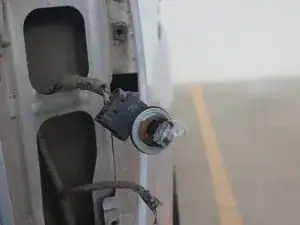
Twist the bulb sockets counterclockwise to remove them from the assembly.
-
-
-
Remove the bulb you need to replace from the wire harness by pulling it straight out; set it down.
-
Remove the new bulb from the packaging, while being careful not to touch the bulb with your bare hands, and push it into the wire socket.
-

Congratulations on completing our guide to repairing a tail light on a 2014 Ford F150! We hope that this guide will ensure your own safety as well as other drivers around you. We also hope this guide will prevent you from receiving a citation from a police officer, protect your right to repair your belongings, and avoid all of the potential added costs acquired from the repairing process. We thank you for taking the time to read our guide.