Introduzione
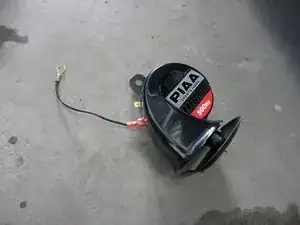
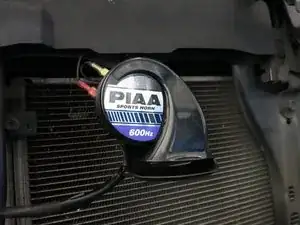
I wanted a nice sounding horn, so I replaced the stock honkers with a set of PIAA 500hz/600hz "sports" horns.
This guide is a bit of a cheat -- the car was in the shop, and the front body panels were already removed from the car. So to accomplish this at home, you'll either have to finagle your way through the bumper, or better yet, take off the front bumper before embarking on this adventure.
I'll try to include instructions for bumper removal once the car returns from the shop.
Strumenti
-
-
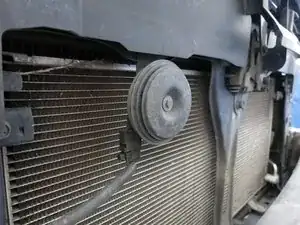
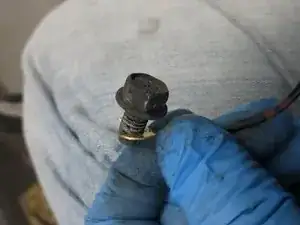
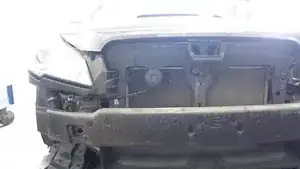
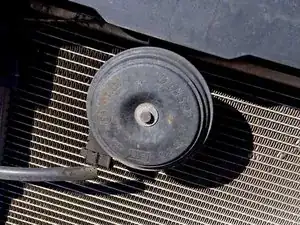
These are the [stock] horns you are looking for. One is located on the left-side of the radiator (when looking at the car), while the other one is next to the air intake / water tank.
-
-
-
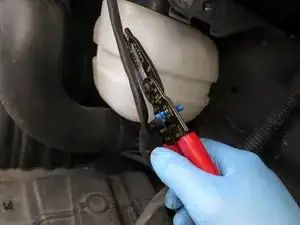
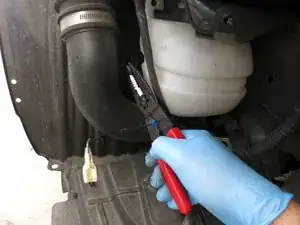
Unplug the power connector from the horn, and use a wire stripper to expose a bare portion of the wire. The "20 ga" hole seemed the best fit for this purpose.
-
Snip about 4" of the ground cable wire (the 1/4" female spade connector side) and use a butt connector to attach it to the horn's power wire.
-
-
-
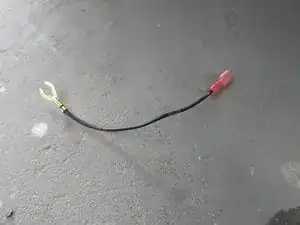
Now you should have a shortened ground cable with a bare wire on one end, and that half-loop connector on the other.
-
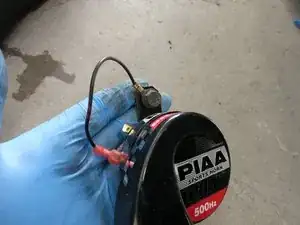
Attach another 1/4" female spade connector to the end of the ground cable, and plug it into the lower of the two male spade connectors on the PIAA horn.
-
-
-
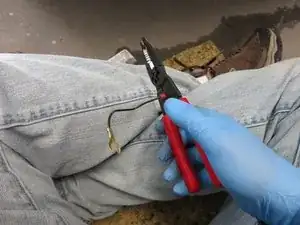
The factory bolt is a bit larger in diameter than the half-circle connector will allow -- unless it is expanded! So insert a needle-nose plier into the center for the connector and then spread it apart in order to accommodate the bolt.
-
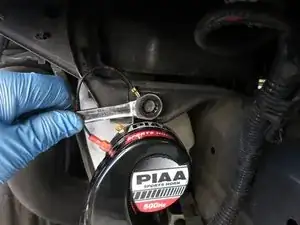
Route the bolt through the horn's mounting hole.
-
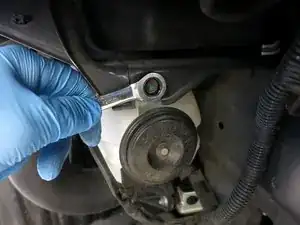
Screw the bolt / ground wire / horn assembly into the factory mounting hole.
-
-
-
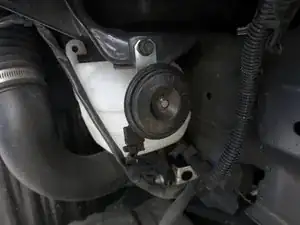
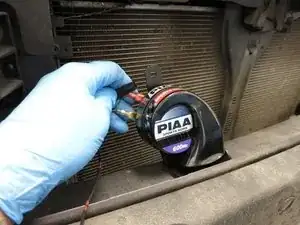
Plug in the DC power line into the top male connector of the horn. The final wiring / horn assembly can be seen in the first image.
-
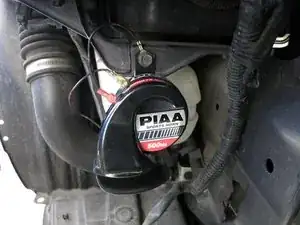
Once you're done with the first horn, the second should be the same exact procedure -- so go get 'em!
-
-
-
So that's it! Here's a before-and-after horn comparison, so you get an idea of the sound difference.
-
I don't believe the PIAAs are that much more loud, but they are definitely a nicer sounding setup than the stock honkers.
-