Introduzione
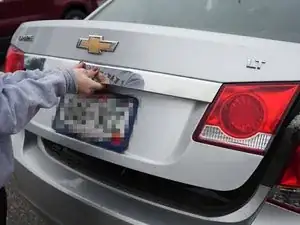
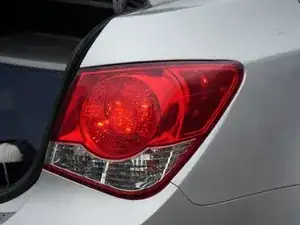
This guide shows how to replace the taillight bulb on a 2014 Chevy Cruze. Taillight bulbs have a limited lifespan and can be expensive to replace, but are a necessity for any vehicle owner. However, it is common for drivers to not know how to replace their car’s taillights by themselves, leading them to rely on dealerships and/or repair shops to do the work for them. This can lead drivers to delay or even forgo replacing their taillight bulbs, resulting in unsafe driving practices. This guide makes it easier for 2014 Chevy Cruze owners to replace their taillights in an affordable and environmentally friendly way, without needing to rely on maintenance shops or dealerships to do it for them.
Turn off the engine, engage the parking brake, and ensure that there is no risk of the car’s ignition being turned on during the repair.
-
-
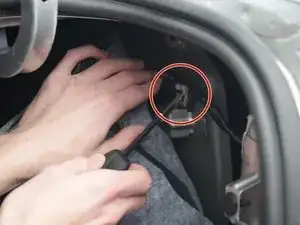
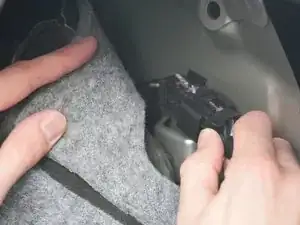
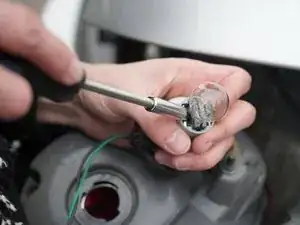
Remove the grey plastic connector with a flathead screwdriver, gently sliding it off.
-
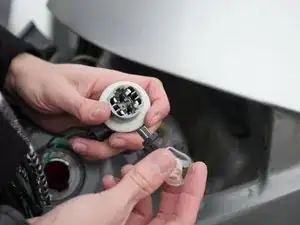
Unplug the taillight cable.
-
-
-
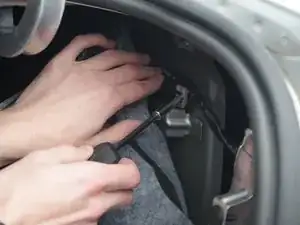
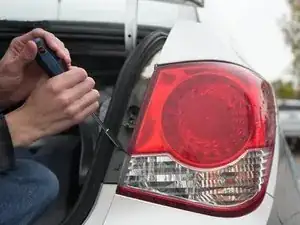
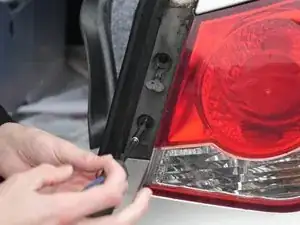
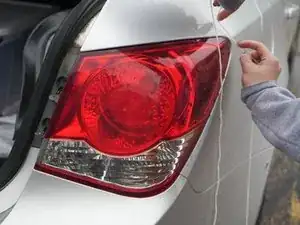
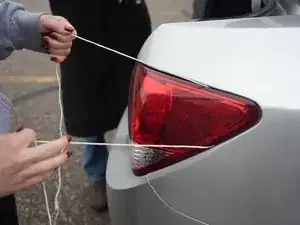
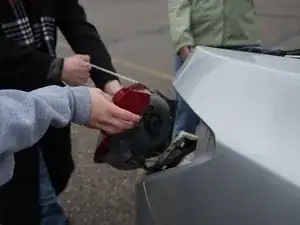
To remove the taillight assembly, first use a flathead screwdriver to pry the taillight up and slide a piece of twine beneath each side.
-
-
-
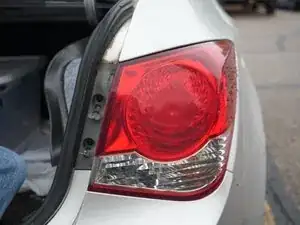
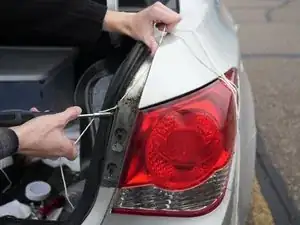
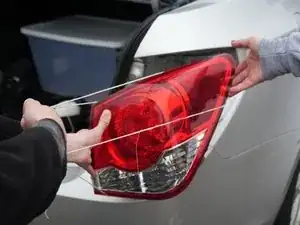
Once the twine is securely behind the taillight assembly, take hold of both pieces of twine and pull straight back to pop the assembly out.
-
-
-
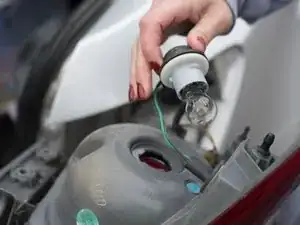
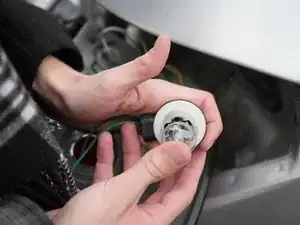
Push the new lightbulb into the socket.
-
Ensure that all the lights are working properly before driving the car.
-


To reassemble your device, follow these instructions in reverse order.