Introduzione
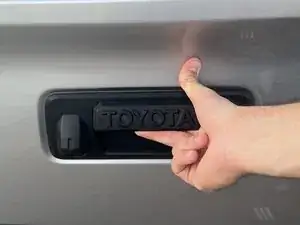
If your Toyota Tacoma 3rd generation's tail light has burned out and is no longer responding to the brake pedal or the hazard lights, use this guide to restore your tail light to working order.
Strumenti
Ricambi
-
-
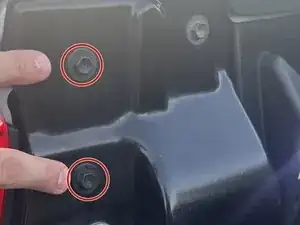
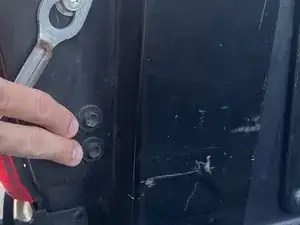
Identify the 4 bolts on the inside of the tailgate.
-
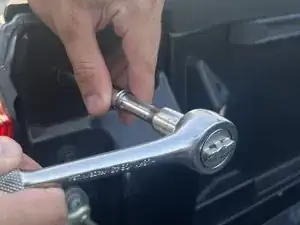
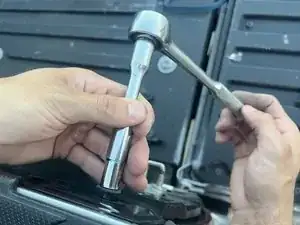
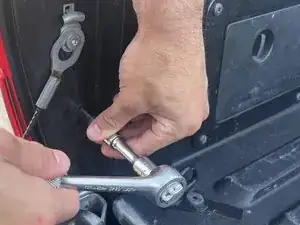
Use a 10mm socket to remove the four bolts that secure the headlight housing to the chassis bracket.
-
-
-
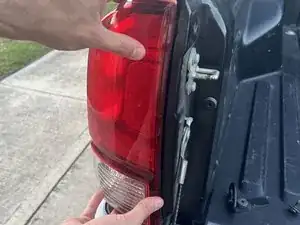
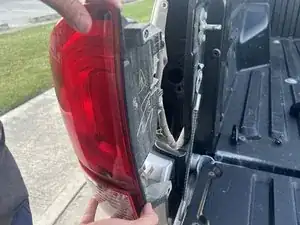
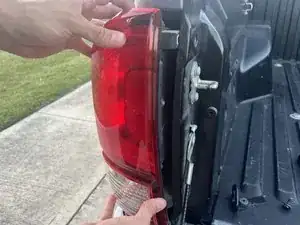
Grasp the top and bottom of your taillight.
-
Ensure you are pulling directly back. If this is your first time taking off your taillight it will be tight and require some force to pull off.
-
-
-
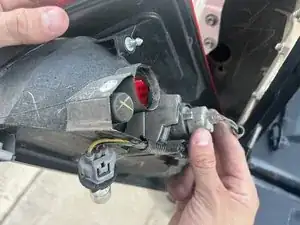
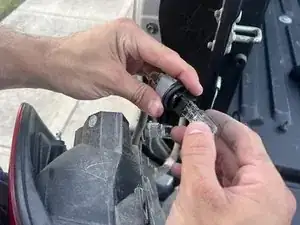
The lights are housed in 2 separate sockets. Decide which one needs to be replaced. The disassembly process is the same for both lights.
-
Grasp the gray portion of the light and twist clockwise.
-
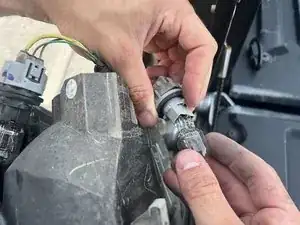
The Socket will loosen and disengage still housing the bulb.
-
-
-
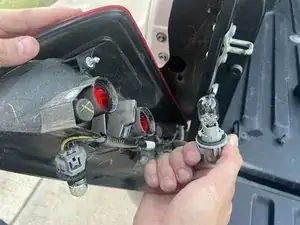
Grasp the bulb and pull. The bulb will disengage from the socket with minimal effort.
-
Properly discard the bulb opting for the most environmentally friendly option.
-
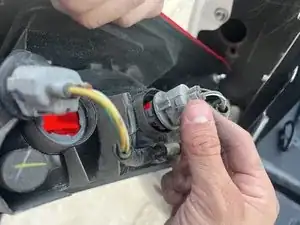
Replace the bulb by pushing the new one straight into the bulb's housing using minimal force.
-
-
-
Insert the whole bulb assembly back into the housing.
-
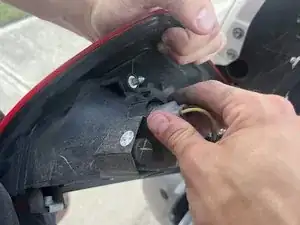
Grasp the grey portion of the bulb assembly and twist counterclockwise.
-
-
-
Grasp the top and bottom of your entire taillight assembly.
-
Insert the assembly by pushing straight forward in a firm fashion.
-
-
-
Use a 10mm socket to tighten the 4 bolts to secure the headlight housing to the chassis bracket.
-

To reassemble your device, follow these instructions in reverse order.